Table of Contents

Summary of Contents for Cisco Meraki Go GR12
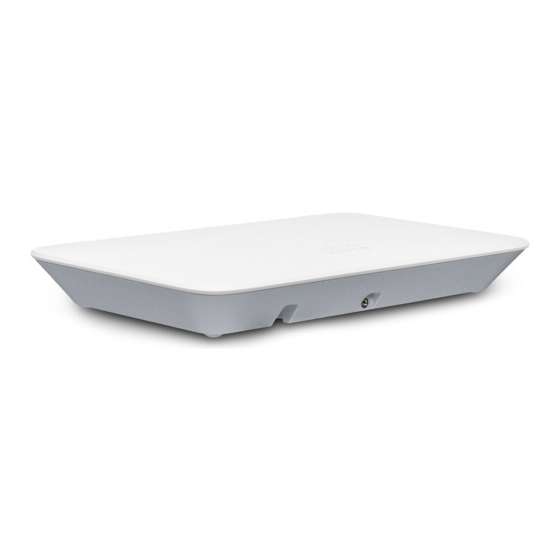
- Page 1 Meraki Go GR12 Installation Guide The Cisco Meraki GR12 is a dual-band enterprise class 802.11ax cloud-managed access point. Package Contents The GR12 package contains the following: • GR12 Cloud-Managed Access Point • Mount plate...
- Page 2 • Mount Kit ◦ Wall screws, wall screw anchors, and security screws Understanding the GR12 Your Meraki GR12 has the following features:...
-
Page 4: Security Features
The mount plate has the following features: Security Features The GR12 features multiple options for physically securing the access point after installation: 1. Security screw – The accessory kit includes screws that can be used to secure the access point to the mount cradle. -
Page 5: Pre-Install Preparation
Factory Reset Button If the button is pressed and held for at least five seconds and then released, the GR12 will reboot and be restored to its original factory settings by deleting all configuration information stored on the unit. LED Indicators and Run Dark Mode Your GR12 is equipped with a multi-color LED light on the front of the unit to convey information about system functionality and performance: •... -
Page 6: Check And Configure Firewall Settings
Check and Configure Firewall Settings If a firewall is in place, it must allow outgoing connections on particular ports to particular IP addresses. The most current list of outbound ports and IP addresses for your particular organization can be found here. Assigning IP Addresses to GR12s All gateway GR12s (GR12s with Ethernet connections to the LAN) must be assigned routable IP addresses. -
Page 7: Collect Additional Hardware For Installation
Collect Additional Hardware for Installation You will need the following hardware to perform an installation: Installation Instructions Choose Your Mounting Location A good mounting location is important to getting the best performance out of your GR12 access point. Keep the following in mind: 1. - Page 8 2. Power over Ethernet supports a maximum cable length of 300 ft (100 m). 3. If being used in a mesh deployment, the GR12 should have line of sight to at least two other Meraki devices. A Cisco Partner can help ensure that your AP placement is ideal. Mount the GR12 Attach the GR12 to the Mount Cradle The GR12 attaches to the mount cradle with two tabs on the cradle that insert into the GR12, and is secured to the cradle using one screw.
- Page 13 To release the GR12 from the mount cradle, first remove the security screw that secures the GR12 to the cradle’s bottom tab. While holding the GR12 with one hand, press the cradle’s bottom tab upwards, releasing the GR12 from the bottom of the cradle. Then remove the GR12 from the cradle’s top tab. Desk or Shelf Mount The GR12 can be placed on a desk or shelf resting on the non-scratch rubber feet.
-
Page 14: Verify Device Functionality And Test Network Coverage
Secure the GR12 Depending on your mounting environment, you may want to secure the GR12 to its mount location. Your GR12 can be secured in several ways. If the GR12 has been installed using the mount cradle, it should be secured via security screw (Torx security screws are included) and/or Kensington lock. If the mount cradle was not used, the GR12 can still be secured using a Kensington lock. - Page 15 • Increase the separation between the equipment and receiver. • Connect the equipment into an outlet on a circuit different from which the receiver is connected. • Consult the dealer or an experienced radio/TV technician for help. FCC Caution Any changes or modifications no expressly approved by Meraki could void the user’s authority to operate this equipment.
- Page 16 第十四條 低功率射頻電機之使用不得影響飛航安全及干擾合法通信;經發現有干擾現象時,應立即停用,並改善至無干擾時方得繼續使用。 前項合法通信,指依電信法規定作業之無線電通信。 低功率射頻電機須忍受合法通信或工業、科學及醫療用電波輻射性電機設備之干擾。 電磁波曝露量MPE標準值1mW/cm ,本產品使用時建議應距離人體 20 cm。 1. 使用此產品時應避免影響附近雷達系統之操作。 2. 高增益指向性天線只得應用於固定式點對點系統。...


Need help?
Do you have a question about the Meraki Go GR12 and is the answer not in the manual?
Questions and answers