
Related Manuals for Saswell SCU209DE

Summary of Contents for Saswell SCU209DE
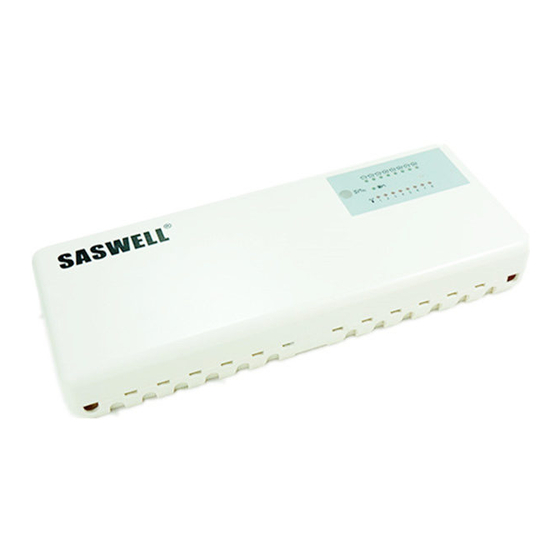
- Page 1 SI | Brezžična Centralna priključna letev za talno ogrevanje ENG | Wireless terminal strip centre for underfloor heating SASWELL SCU209DE Uporabniški priročnik User manual...
- Page 2 Compatible models: T19WHB-7-DF, SAS908XWHB-7-DF, SAS816WHB-0-DF, SAS918WHB-0-DF...
-
Page 3: Si | Navodila Za Uporabo
SI | Navodila za uporabo Brezžična centralna priključna letev za upravljanje talnega gretja Saswell SCU209DE omogoča upravljanje do 8 termo glav oz. priklopa do 8 brezžičnih termostatov in je tudi pripravljena za upravljanje ogrevalnega vira ter obtočne črpalke. Navodila za uporabo in vzdrževanje so del splošnih prodajnih pogojev. Pridržujemo si pravico do sprememb detajlov, tehnologije in izvedbe. - Page 4 Za izdelek je bila izdana izjava o skladnosti. Ta in ostala dokumentacija je dostopna na spletni strani www.sen- controls.eu. Proizvajalec izdelka je SASWELL CONTROLS (HONGKONG) LTD. Uvoznik in distributer za Saswell je Sen Controls d.o.o., Belokranjska cesta 29, 8340 Črnomelj, Slovenija...
- Page 5 Lastnosti Specifikacije enote Možnost žičnega priklopa do 8 • Napajanje: AC 100-240V 50/60Hz elektrotermičnih pogonov ter do 8 brezžičnih termostatov Temperatura okolice delovanja: od 0°C do 50°C • Vsaka centralna priključna letev ima ževgrajen modul za vklop/izklop obtočne Skladiščna temperatura: od -10°C do 60°C črpalke in kotla oz.
- Page 6 Opis naprave in priklopa Namestitev in montaža Pred samo vezavo centralne priključne letve boste morali odpreti ohišje. To storite tako, da na sprednji strani ohišja ob straneh pritisnete zatiča navznoter in previdno odstranite pokrov. Sedaj imate dostop do vezja in opravite želeno vezavo. Ponovno, pred samo nastavitvijo si zopet preberite vsa varnostna opozorila in izklopite glavno napajanje! Po končani vezavi, namestite zadnji del ohišja s priloženimi vijaki na željeno mesto (stena, …).
- Page 7 Opis priklopov L – Faza N – Nula PE – Ozemljitev RA1 do RA8 – priklopi za posamezne termo glave oz. upravljanje ogrevalnih vej prostorov Pump – Priklop za obtočno črpalko Boiler – Brez napetostni kontakt za priklop ogrevalnega vira...
- Page 8 Opis sprednjega dela ohišja – LED indikatorji in tipka Za lažje razumevanje in upravljanje s priključno letvijo ima naprava na sprednji strani LED indikatorje delovanja. Razlaga LED prikazovalnikov je razložena v spodnji tabeli. Ko poteka komunikacija med Če je naprava Ob vklopu termostatom, se indikator nad ogrevalnega vira...
- Page 9 št. 2 oz. vse do 8. Glede na osvetljen indikator boste shranili termostat na izbrano pozicijo. Tako je letev pripravljena oz. čaka na paritev s termostatom. Sedaj vzemite v roke termostat, katerega želite spariti s priključno letvijo (recimo Saswell T19WHB-7-DF, Saswell SAS908XWHB-7-DF, …) in sledite postopku navodil za uporabo za vaš termostat.
- Page 10 Wireless terminal strip for underfloor heating Saswell SCU209DE allows you to connect up to 8 wireless thermostat and 8 actuators or valves. The SCU209DE also allows you to connect to the heating source and heat pumps for control of your whole heating system.
- Page 11 Declaration of conformity has been issued for the product. This and other documentation is available on the website www.sen-controls.eu. Producer of this product is SASWELL CONTROLS (HONGKONG) LTD. Importer and distributor for Saswell is Sen Controls d.o.o., Belokranjska cesta 29, 8340 Črnomelj, Slovenia...
-
Page 12: Specifications
Features Specifications • Power supply 100-240V, AC 50/60Hz Can control up to 8 thermo actuators and 8 wireless thermostats Wireless, RF, 868 MHz Communication • (FSK), half duplex The control centre can also control a heating source (boiler, …), manifold Up to 100m (no RF range pumps, …... - Page 13 Device description and installation Installation and wiring Again, before preforming the installation and wiring, make sure you’ve read all of the safety instructions and turned off the main power supply! Before installation and wiring, you’re going to have to open the housing. You can do that by pressing on pins on the sides of the case and slowly remove the front part.
- Page 14 Connector and wiring description L – Live N – Neutral PE – Grounding, Earth RA1 do RA8 – Connectors for each thermal actuators or heating zones Pump – Connector for manifold pump Boiler – Volt free contact for connecting a heating source or a boiler, etc…...
- Page 15 Front side description – LED indicators and the button For easier use and understanding, the device has an LED indicator on the front side. The description of the indicators is described below. When there is communication When the heat If the device is going on between the control source or the When there is a need for...
- Page 16 So if you are in connectivity mode and you’ve selected the desired position for the thermostat (1-8), then you have to put your thermostat (Saswell T19WHB-7-RF, Saswell SAS908XWHB-7-DF, …) in connectivity mode and pair it. The connectivity process for the thermostats are different for each one, so be sure to read the manual of your thermostat. If the connection is successful, the selected LED should blink three times as a sign of confirmation of connectivity.
Need help?
Do you have a question about the SCU209DE and is the answer not in the manual?
Questions and answers