Subscribe to Our Youtube Channel
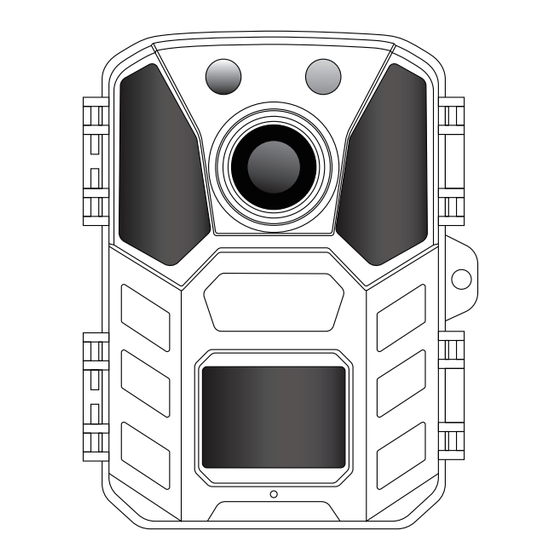
Summary of Contents for Osenous SV-TCP
- Page 1 USER MANUAL Hunting Trail Camera CAUTION: 1. Format your TF (micro SD) card before use; 2. TF (micro SD) card Supports 16/32 GB and more.
- Page 2 Camera View ( P SERIES ) ON TEST OFF External power supply...
-
Page 3: Preparation Before Use
Preparation before use 1. Power Supply 1. Night Vision Sensor T h i s c a m e r a s u p p o r t 2 p o w e r s u p p l y 2. Infrared LEDs modes: AA battery and external power. - Page 4 Manually shooting or recording under " TEST " mode Camera Picture Camera Mode Video Image Quantity Image Size Card Time Card 9999 00:00:00 00/00/00 00:00:00 00/00/00 00:00:00 Date Time Date Time Video interface Photograph interface ● Slide the switch to “TEST” position (The screen is on). ●...
- Page 5 Menu Overview (Default parameters) ● Slide the switch to“TEST”position(The screen is on); Setting Mode ● Press“Menu”key to enter the setting interface; PIR Interval PIR Level ● Press ▲, ▼ to scroll through the setting options, and Capture Num Video Length the “OK”...
- Page 6 Setting of " Time Setting " You can enable it to set a working period for the camera.It Timer Setting will enter the standby mode if the time is not within the Timer Setting Hr : Min period. Start : 00 * If the start time is earlier than the current time, the Stop : 00 setting will take effect the next day.
-
Page 7: Tf Card Setting
TF card setting ● Slide the switch to “TEST” position (The screen is on); Setting ● Press "PLAY" to enter TF card browsing → Press the Delete current file "MENU" key → Press "OK" to enter the delete option → Delete all files Activate slide show Select "One"... - Page 8 Access User Guide www.osenous.com Note: Only in TEST mode can you see the screen and set related modes. In ON mode, the screen goes black after 5 seconds, indicating that it has entered the working mode.


Need help?
Do you have a question about the SV-TCP and is the answer not in the manual?
Questions and answers