Table of Contents
Advertisement
Quick Links
Advertisement
Table of Contents

Related Manuals for TOUGHBUILT TB-H2-LL-100-L2


Summary of Contents for TOUGHBUILT TB-H2-LL-100-L2
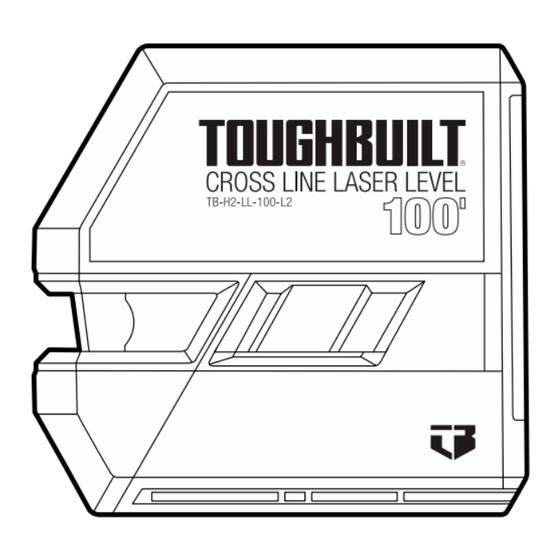
- Page 1 OPERATING / SAFETY INSTRUCTIONS ToughBuilt Industries, Inc. 6671 S. Las Vegas Blvd. 100' Cross-Line Building D, Suite 210 Laser Level Las Vegas, NV 89119 USA Made in China TB-H2-LL-100-L2 IMPORTANT! Read all safety warnings and instructions before using. TB-H2-LL-100-L2.EN.v2 Date: 2022-09-14...
-
Page 2: Table Of Contents
Battery Charge Level Indicator Battery Compartment Cover Height-Adjustment Knob The specifications and general appearance of the instrument are subject to change without notice and without obligation by ToughBuilt Industries, Inc. and may differ Pendulum Locked Indicator Threaded Mount Laser Target Plate ®... - Page 3 Batteries can explode or leak and cause injury or fire if installed backward, WARNING! use ToughBuilt accessories specifically designed for this product. ƒ ALWAYS disassembled, or exposed to water, fire, or high temperature. To reduce this risk: The use of any other accessories may create a risk of injury.
- Page 4 mix old and new batteries. Replace all batteries at the same time, Always wear ANSI-approved safety goggles. Safety equipment ƒ DO NOT ƒ Use safety equipment. with the same make, brand, and charge level. such as dust masks, non-skid safety shoes, hard hats, or hearing protection used for appropriate conditions will reduce the risk of personal injuries.
-
Page 5: Product Information
(L x W x H) Instrument Weight 0.80 lb (0,36 kg) (without batteries) * Measuring accuracy and working range are dependent on lighting conditions of the work environment. * Batteries that ship with the instrument are not warranted by ToughBuilt ®... -
Page 6: How To Operate
3. HOW TO OPERATE If the instrument is tilted beyond its self-leveling limits (± 4°), the Pendulum NOTE: Locked Indicator will flash and the laser beam will rapidly flash. Reposition the instrument until the beam stabilizes and the indicator stops flashing. When moving the instrument from a warm environment into a cool environment, CAUTION! To power OFF, slide the Pendulum Switch... -
Page 7: Setting The Operating Function
They can be attached to various upright surfaces such as steel and wood framing studs, steel door frames, I-beams, angle iron or acoustical ceiling grid. Only use ToughBuilt accessories that are designed for this product. ®... -
Page 8: Using Ceiling Bracket
Magnets allow attaching the Target Plate to steel surfaces, for hands-free leveling of the suspended objects. Kickstand allows positioning the Target Plate on flat surfaces. Contact ToughBuilt Customer Service for additional support. ®... -
Page 9: Accuracy Check
If, during one of the tests, the measured deviation exceeds the allowable deviation, repeat the test procedure. Should the readings persist over the allowable deviation, the instrument is out of calibration and must be serviced. Contact ToughBuilt Customer Service for additional support. ®... - Page 10 Align the height of the horizontal laser line (using the tripod or by placing objects Measure the vertical distance between a1 and a2 that indicates the actual height underneath the instrument as required) with the previously marked point b on wall B. deviation of the instrument.
- Page 11 Step 3: Checking the Leveling Accuracy of the Vertical Line Swivel the instrument 45° to the right to position 2 (Pos.2) and mark the horizontal line projected by the instrument on wall A (point a2). For this check, the most practical recommendation is to consider a door opening with at Swivel the instrument 90°...
-
Page 12: Troubleshooting
Low charge or depleted No Laser Replace with new batteries batteries Beam Corroded battery terminals Clean the battery terminals Defective Instrument Contact ToughBuilt Customer Service ® Instrument tilted beyond its Reposition the instrument ± 4° self-leveling range Depleted batteries Replace with new batteries... -
Page 13: Care And Maintenance
Before and after each use, thoroughly inspect the instrument for any damage. ƒ If the instrument is soiled, wipe with a damp cloth. Alkaline batteries that are shipped with the instrument are not warranted by ToughBuilt ® Blow the debris from the Laser Beam Window For warranty details, visit www.toughbuilt.com...
Need help?
Do you have a question about the TB-H2-LL-100-L2 and is the answer not in the manual?
Questions and answers