
Related Manuals for otometrics AURICAL HIT

Summary of Contents for otometrics AURICAL HIT
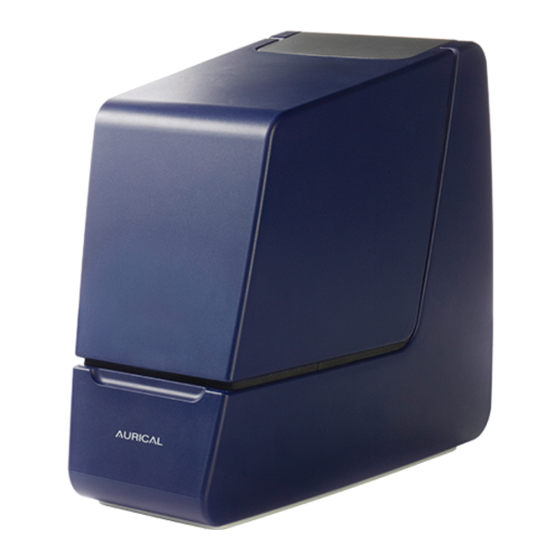
- Page 1 AURICAL HIT and the OTOsuite HIT Module User Guide Doc. No. 7-50-1230-EN/02 Part No. 7-50-12300-EN...
- Page 2 Copyrightnotice No part of this documentation orprogram may be reproduced, stored in a retrieval system, ortransmitted, in any form orby any means, electronic, mechanical, photocopying, recording,or otherwise,without the prior written consent of GN Otometrics A/S. Copyright© 2014, GN Otometrics A/S Published in Denmark byGN Otometrics A/S, Denmark All information, illustrations, and specifications in this manual are based on the latest productinformation available at the time of publication.
-
Page 3: Table Of Contents
Table of Contents Introduction Unpacking AURICAL HIT Installation The test chamber Testing hearing instruments Maintenance and Calibration Other references Standards Operating environment 10 Transport and storage 11 Definition of symbols 12 Warning notes 13 Manufacturer Otometrics - AURICAL HIT... -
Page 4: Introduction
Indicates that there is risk of death or serious injury to the user or patient. • Caution Indicates that there is a risk of injury to the user or patient or risk of damage to data or the device. • Note Indicates that you should take special notice. • Otometrics - AURICAL HIT... -
Page 5: Unpacking Aurical Hit
Connecting the device 1. Install OTOsuite on the PC. See the OTOsuite Installation Guide. 2. Connect the USB cable from the USB socket under AURICAL HIT to a USB socket in the PC. AURICAL HIT is powered by the PC. AURICAL HIT is selected automatically in OTOsuite. - Page 6 Elevation plate ► 8 Cable groove ► 8 The AURICAL HIT handle ► 8 (some models only) The coupler assembly The coupler assembly consists of the following parts: A. Coupler adapter B. 2 cc coupler cavity C. Coupler microphone Otometrics - AURICAL HIT...
- Page 7 B. ITE, RIE, thin-tube testing - High coupler position In the Accessory Box Connect the mini-jack cable from the Accessory Box to the mini-jack socket under AURICAL HIT, and insert the coupler microphone in the microphone socket in the Accessory Box. A. Wireless hearing instrument testing Otometrics - AURICAL HIT...
- Page 8 The handle is designed for carrying AURICAL HIT. Caution If you carry AURICAL HIT by its handle, do not use your other hand to support it by the lid, as this may • cause the lid to open and squeeze your fingers. Otometrics - AURICAL HIT...
-
Page 9: Testing Hearing Instruments
Testing a hearing instrument involves the following main tasks: Calibrating the reference microphone Otometrics recommends that you calibrate the reference microphone daily or weekly. Set up the interval to suit your pur- Calibrating the reference microphone ► 9 poses. See... - Page 10 AURICAL HIT automatically detects the battery simulator. Caution When you have connected the battery simulator, make • sure that it does not touch other metal parts as this may short-cir- cuit the system. Otometrics - AURICAL HIT...
- Page 11 To fix the hearing instrument on the adapter, snap the adapter off the coupler cavity, and attach the hearing instrument to the adapter outside the test chamber. Traditional BTE hearing instruments This procedure applies to any type of standard BTE hearing instruments with traditional ear molds. Using the HA-2 adapter and BTE adapter tube Otometrics - AURICAL HIT...
- Page 12 Ear (RIE)/Receiver In the Canal (RIC), and pre-bent tubing. Using the HA-1 ITE adapter Note If you place some acoustic putty on the receiver wire this will shift its resonance frequency. This will prevent • the wire from vibrating and creating feedback during testing. Otometrics - AURICAL HIT...
- Page 13 (transmitter) from the output device (receiver). • To do so, place the transmitter in AURICAL HIT and the receiver on the coupler microphone in the Accessory Box. The coupler assembly ► 6 • To set up the Accessory Box, see Otometrics - AURICAL HIT...
- Page 14 This will start a sequence of selected tests. 10. Make sure that you follow the on-screen instructions. 11. If you wish to redo an individual test, click on the Start button next to the test. Otometrics - AURICAL HIT...
-
Page 15: Maintenance And Calibration
Maintenance and Calibration Warning Under no circumstances disassemble AURICAL HIT. Contact your supplier. Parts inside AURICAL HIT must • only be checked or serviced by authorized personnel. Calibration of the coupler microphone, and calibration of a new reference or coupler microphone must only be performed by authorized personnel. -
Page 16: Other References
See also the OTOsuite Installation Guide provided in the OTOsuite software DVD box. Standards AURICAL HIT CE-marked according to the Electrical Safety Directive IEC 61010- Test standards ANSI S3.22 IEC 60118-7 IEC 61326-1 Operating environment Operating environment Indoors Otometrics - AURICAL HIT... -
Page 17: Transport And Storage
This requirement applies in the European Union. Do not dispose of these products as unsorted municipal waste. You can return your device and accessories to Otometrics, or to any Otometrics supplier. You can also con- tact your local authorities for advice on disposal. -
Page 18: Warning Notes
15. Changes or modifications not expressly approved by the manufacturer could void the user's authority to operate the equipment. 16. The device can be disposed of as normal electronic waste, according to local regulations. 17. Use only the power supply specified in Technical Specifications, in the AURICAL HIT Reference Manual. Otometrics - AURICAL HIT... -
Page 19: Manufacturer
The electrical installation to which the equipment is connected complies with EN/IEC requirements. • The equipment is used in accordance with the instructions for use. The manufacturer reserves the right to disclaim all responsibility for the operating safety, reliability and performance of equipment serviced or repaired by other parties. Otometrics - AURICAL HIT... - Page 20 13 Manufacturer Otometrics - AURICAL HIT...
Need help?
Do you have a question about the AURICAL HIT and is the answer not in the manual?
Questions and answers