
Related Manuals for Beeper RWEC110X


Summary of Contents for Beeper RWEC110X
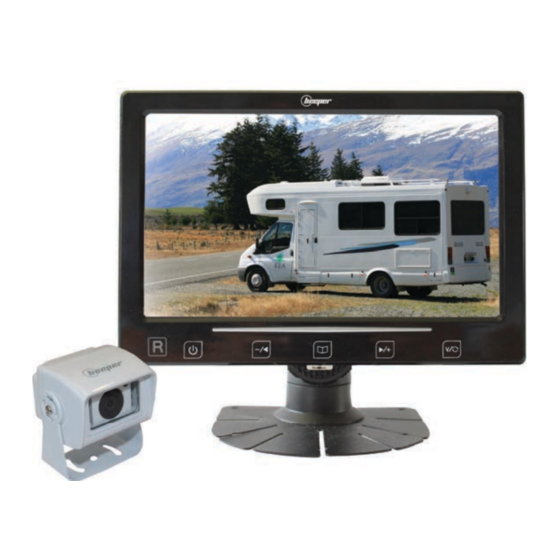
- Page 1 VIDEO DE RECUL H A U T E D E F I N I T I O N MICRO•LED MANUEL D'INSTALLATION & D'UTILISATION USER & INSTALLER MANUAL...
- Page 2 Introduction Nous vous remercions d'utiliser un produit BEEPER pour la sécurité et le confort de votre véhicule. Les innovations BEEPER sont conçues pour vous assurer de longues années de tranquillité. Notre service technique est à votre disposition pour toute information complémentaire.
-
Page 3: Table Of Contents
4. Camera nstallation ..................................P.16 5. Display functions ..................................... P.17 5. Using the system ..................................... P.18 6. Warranties & Technical data ................................P.19 7. Declaration of Conformity ................................P.19 7. Declaration of Conformity Continuez la découverte sur www.beeper.fr Keep on discovering on www.beeper.fr... -
Page 4: Avant L'installation
RÉCUPÉRER LE SIGNAL POSITIF OU NÉGATIF TRANSITANT PAR CE FIL. Les systèmes BEEPER sont totalement compatibles avec lʼensemble du parc automobile européen et leur installation ne peut annuler ou modifier les conditions de garantie du véhicule. Pour toute information ou conseil, nous vous demandons de contacter nos services techniques au 0 892 690 792 (0,34 ETTC / min) -
Page 5: Connexion Du Système
2. CONNEXION DU SYSTEME POSITION DE LA CAMERA • Connecter la rallonge de 20 mètres entre l'écran et la caméra • Brancher le faisceau (6 fils) à l'écran • Brancher le fil NOIR à la masse d'origine • Brancher le fil ROUGE à une source +12V après contact (+15) •... -
Page 6: Installation De Lʼécran
3. INSTALLATION DE LʼECRAN POSITION DE L'ECRAN Nous vous conseillons de définir le positionnement idéal de l'écran avec l'utilisateur du véhicule. La position idéale de votre écran est sur le bas de votre pare brise (emplacement classique d'un GPS déporté) Si cette position n'est pas possible, ou ne vous convient pas, vous pouvez positionner l'écran sur le tableau de bord de façon visible lors d'une marche arrière. -
Page 7: Installation De La Caméra
4. INSTALLATION DE LA CAMERA POSITION DE LA CAMERA Nous vous conseillons de définir la position de la caméra avec l'utilisateur du véhicule en fonction de la surveillance souhaitée. Idéalement la caméra se positionne à l'arrière du véhicule au centre et le plus haut possible, tout en évitant de dépasser de la hauteur réelle du véhicule. L'orientation de la caméra doit se faire après avoir connecté le système afin de contrôler l'angle de vue optimal grâce à... -
Page 8: Fonctions De L'écran
5. FONCTIONS DE LʼECRAN Les boutons en façade de l'écran permettent de commander certains réglages de l'écran BACK Cam + AV1• AV2 : Sélection de la caméra ou entrées vidéos Si vous avez installé 2 ou 3 caméras ou si une autre source vidéo (lecteur DVD, ...) est connecté à l'écran, ce bouton permet de commuter sur les autres entrées vidéos. -
Page 9: Utilisation Du Système
S'il est utilisé et connecté en tant que surveillance d'un autre angle, il s'activera dès la mise au contact du véhicule. Vision en VIDEO de RECUL Vision en RETROVISION Il est possible d'ajouter une ou deux caméras au système RWEC110X. La référence de la caméra supplémentaire est RWEC110X/CAM et des câbles supplémentaires RX-45/20... -
Page 10: Déclaration De Conformité
228 Rue de lʼAncienne Distillerie 69400 GLEIZÉ France 031848 Déclarons sous notre propre responsabilité que le(s) produit(s) RWEC110X sous référence initiale de production ET6601+ET718 Caméra de recul Type : Auquel cette déclaration sʼapplique, sont conformes aux normes applicables & documents normatifs suivants : Emark 2009/19 EC sous le N°... - Page 12 USER MANUAL Introduction Thank you for using a product BEEPER safety and comfort of your vehicle. BEEPER innovations are designed to ensure many years of tranquil- ity. Our technical department is at your disposal for any further information. The video system is back RWEC110X automotive electronics product requiring the skills of an automotive electrician for installation. Even if the system is universal and without complexity, we advise you to call a professional to avoid damage to your vehicle.
-
Page 13: Before Installation
OR NEGATIVE SIGNAL HANDLED BY THIS THREAD. BEEPER systems are fully compatible with the entire European fleet and installation can not cancel or modify the terms of the vehicle warranty. For further information or advice, we urge you to contact our technical department at 0892690792 (0.34 ETTC / min) -
Page 14: System Connection
2. SYSTEM CONNECTION POSITION OF THE CAMERA • Connect the extension of 20 meters between the screen and the camera • Connect the beam (6 son) on the screen • Connect the BLACK wire to the original mass • Connect the RED wire to ignition +12 V source (15) •... -
Page 15: Display Installation
3. DISPLAY INSTALLATION DISPLAY POSITION We recommend that you define the perfect positioning of the screen with the user of the vehicle. The ideal position of your screen is on the bottom of your windshield (standard location of a remote GPS) If this position is not possible or does not suit you, you can position the screen on the dashboard so visible during reversing. -
Page 16: Camera Nstallation
4. CAMERA INSTALLATION CAMERA POSITION We recommend that you set the position of the camera with the user of the vehicle depending on the desired monitor. Conveniently the camera is positioned at the rear of the vehicle in the center and as high as possible while avoiding to exceed the actual height of the vehicle. The orientation of the camera must be connected after the system to control the optimal viewing angle through the display. -
Page 17: Display Functions
5. DISPLAY FUNCTIONS The buttons on the front of the screen allow you to control certain settings screen BACK • AV1 AV2 + Cam: Selecting the camera or video input If you have installed 2 or 3 cameras or other video source (DVD player, ...) is connected to the screen, button to switch to the other video inputs. - Page 18 If used and connected as supervision of another angle, it will be activated as soon as the contact with the vehicle. REARVIEW vision MIRROR vision It is possible to add one or two cameras on RWEC110X system. The reference oh these additionnal camera is RWEC110X/CAM and RX-45/20 to additional cable...
- Page 19 This product is guaranteed for 1 year from production (excluding LED panels and mechanical elements) If a defect is presented during the warranty period, we ask you to check the warranty and after-sales service available on our website www.beeper.fr. For technical questions, please call our HOT LINE TECHNIQUE.
Need help?
Do you have a question about the RWEC110X and is the answer not in the manual?
Questions and answers