Table of Contents
Advertisement
Quick Links
Advertisement
Table of Contents

Related Manuals for Omega OTEC IEFC-D Series


Summary of Contents for Omega OTEC IEFC-D Series
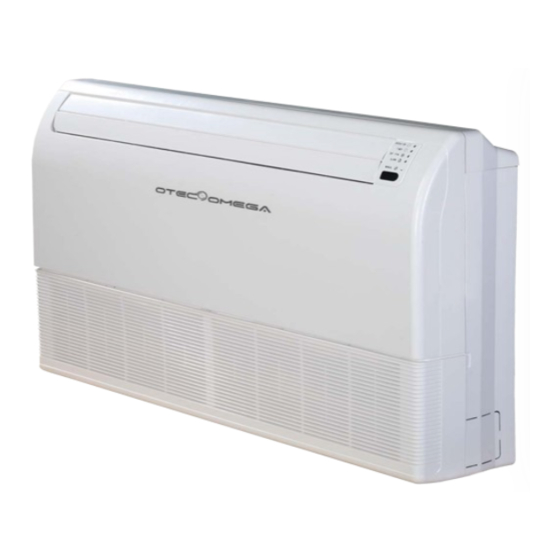
- Page 1 IEFC-D Series Floor Ceiling Installation Manual...
-
Page 2: Table Of Contents
CONTENTS PAGE Install according to this installation instructions strictly. If installation is defective, it will cause water leakage, electrical shock and fire. PRECAUTIONS..................1 When installing the unit in a small room, take measures INSTALLATION INFORMATION..............2 against to keep refrigerant concentration from exceeding ATTACHED FITTINGS................2 allowable safety limits in the event of refrigerant leakage. -
Page 3: Installation Information
If the refrigerant leaks during installation, ventilate the 2. INSTALLATION INFORMATION area immediately. Toxic gas may be produced if the refrigerant comes into the place contacting with fire. To install properly, please read this "installation manual" at The temperature of refrigerant circuit will be high, please first. -
Page 4: Indoor Unit Installation
WOODEN CONSTRUCTION Remote controller & Its Frame 1. Remote controller........1 Put the square timber traversely overthe roof beam, then install the hanging screw bolts. 2. Remote controller holder......1 Timber over the beam 3. Mounting screw (ST2.9x10-C-H)....2 Roof beam Ceiling 4. Alkaline dry battery(AM4) ......2 Hanging screw bolts Fig.4-1 NEW CONCRETE BRICKS... - Page 5 4.3 Ceiling Installation Fig. 4-6 Hanging arm Fig.4-9 Hook Remove the side board and the grille.(Refer to Fig. 4-10) (For models 48 and 60, do not remove the grille.) Side board Fig. 4-7 Grille 1.Fix the hook with tapping screw onto the wall.(Refer to Fig. 4-8) Fig.
-
Page 6: Install The Connecting Pipe
4.5 Material and size of the piping 3.Hang the unit on the hanging arm by sliding backward. Securely tighten the mounting bolts on both sides. Hanging Table 4-2 screw bolt Pipe Materi al Copper Pipe for Air Conditioner Hanging arm Mo de (R 4 10 A) 036 - 060 Φ6.4... -
Page 7: Connect The Drain Pipe
Bend the connecting pipe of small wall thickness. 6. CONNECT THE DRAIN PIPE Cut out a desired concave at the bending part of the insulating pipe. 6.1 Install the drainpipe of the indoor unit Then expose the pipe(cover it with tapes after bending). To prevent collapsing of deforming, please bend the pipe at its The outlet has PTI screw bread, Please use sealing materials biggest radius. -
Page 8: Wiring
7.2 Electrical Connection Diagram 7. WIRING (For 036 - 060) Specified power cables should be used. Do not apply any pressure on the terminals used to connect. Improper connection may cause fire. Power (220-240V~ 50Hz/208-230V~ 60Hz) Grounding must be properly done. The grounding wire should be away from gas pipes, water pipes, telephone, lightening rods or other grounding wires. - Page 9 ■ Outdoor Unit Electric box cover TO CCM TO CCM TO INDOOR&OUTDOOR TO INDOOR&OUTDOOR COMM.BUS COMM.BUS COMM.BUS COMM.BUS Connecting 036 / 048 electrical cable Please adopt the shielded twisted-pair wire, Fig. 7-3 and connect the shielded layed to (E) 10mm 40mm Wire Display...
-
Page 10: Control Operation
1. Install the remote controller mounting rack according to the user's CAUTION requirements. The location of the mounting rack must be such that the remote control signal can be successfully transmitted to the indoor unit. Please switch off the power before setting,otherwise the 2. -
Page 11: The Explain Of The Display Panel
SW6 Definition J1 Definition without jumper“J1”for auto RESERVED restart function with jumper“J1”for non-auto restart function SW7 Definition RESERVED 9. THE EXPLAIN OF THE DISPLAY PANEL The appearance of display panel are shown in Figure 9.1. E-heat Infrared signal Digital Anti-cold air / receiving window... -
Page 12: Test Operation
OMEGA IECS Round-Flow Ceiling Cassette Technical Manual info@omegavrf.com info@otecvrf.com www.omegavrf.com www.otecvrf.com IECSJ3A-IM1D0622...
Need help?
Do you have a question about the OTEC IEFC-D Series and is the answer not in the manual?
Questions and answers