Advertisement
Quick Links
Advertisement

Subscribe to Our Youtube Channel
Related Manuals for Tornado HI-FAN-16WMPRO-1P


Summary of Contents for Tornado HI-FAN-16WMPRO-1P
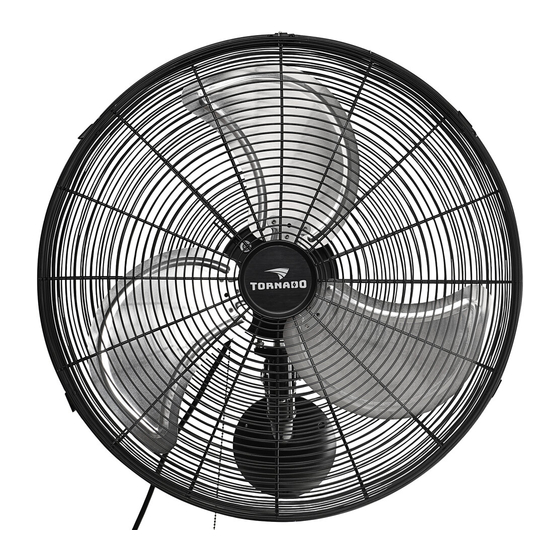
- Page 1 Tornado-Metal Wall Fan HI-FAN-16WMPRO-1P HI-FAN-20WMPRO-1P...
-
Page 2: Before You Begin
BEFORE YOU BEGIN When using electrical appliances, basic precautions should always be followed to avoid the risk of fire, electric shock and injury to persons. So please READ FOLLOWING INSTRUCTIONS CAREFULLY BEFORE OPERATION. 1. Only use this fan as described in this manual, other non-recommended use may cause fire, electric shock, or injury. - Page 3 12. Indoor use only, Do not use outdoor. Do not place the fan in or near window. rain may create an electrical hazard. 13. To disconnect, grip plug and pull from wall outlet. Never yank on cord. 16. To avoid fall down causes injury or damage, only operate the unit after it is firmly mounted on a strong flat wall surface.
- Page 4 1. Rear grill assembly 2-1. Unscrew the screw on the front of the motor (Fig. 1-A for HI-FAN-16WMPRO-1P, Fig.1-B for HI-FAN-20WMPRO-1P). 2-2. Place the rear grill against the motor housing(Fig.1 & Fig.2)...
- Page 5 Fig.1-B for HI-FAN-20WMPRO-1P 3. Propeller assembly 3-1. Remove the nut from the motor shaft (Fig.2) 3-2. Slide the propeller onto the motor shaft by aligning its slot with the pin in the shaft (Fig.2) 3-3. Secure the propeller with the nut. (Fig.2)
- Page 6 4. Front grill assembly 4-1. Remove the screw and nut in the bottom of the front grill (Fig.3) 4-2. Place the front grill against the rear grill with its top buckle encase the rim of the rear grill, then turn all other buckles encasing the rim also.(Fig.3) 4-3.
- Page 7 Drill three holes in the vertical line with a diameter as that of the wall plugs provided. space between two holes is 6.4 cm. (Fig.5). Insert each hole a wall plug . ( Fig.6) Put bracket on wall, align its three holes at three wall plugs (Fig.6 ) Drive three tapping screws provided through the three holes of the bracket into the wall plug and secured it firmly against the wall .(Fig.6) Drive two screws provided ( M4 ) into two upper holes in the bracket, leaving a...
-
Page 8: Operation
Now the unit is ready for use. III. OPERATION The unit can be used alone or in conjunction with an air conditioner unit to circulate already cooled air or force it into other rooms. To operate the fan, slide the speed control bar to High “3”, for strong wind, Low ”1”... - Page 9 CLEANING / MAINTENANCE INSTRUCTIONS Follow these instructions to correctly and safely care for your unit.. ATTENTION Always unplug the fan before cleaning or disassembling. Do not allow water to drop on or enter into fan housing. Be sure to use a soft cloth moistened with a mild soap solution. Do not use any of the following as a cleaner.
- Page 10 Tornado Fans warrants this product to be free of defects in material and workmanship for the applications specified in the Owner's Manual for a period of 12 months for the whole fan from the date of purchase. This warranty only applies to the original purchaser of this product.
Need help?
Do you have a question about the HI-FAN-16WMPRO-1P and is the answer not in the manual?
Questions and answers