Neheme NH525 Drone 6-AXIS GYRO Manual
- User manual (12 pages) ,
- Quick start manual (8 pages)
Advertisement
![]() www.neheme.com
www.neheme.com
![]() support@neheme.com
support@neheme.com
FORBIDDEN: Special design for indoor&outdoor, keep it far from obstacles
This product is suitable for indoor(the wind grade should be no more than 4), please choose a place without obstacles, and keep a distance from the crowd and pets. Don't play it under unsafety, for instance, heat source, wire or electric power source, avoid being damaged by collision landing, entanglement, electric shock or causing unnecessary loss of lives and property.

Obtain the assistance of an experienced pilot
The products are suitable for more than 14 years old, at the beginning it will have some certain difficulties in learning, suggestions or guidance by the experienced is needed before playing.
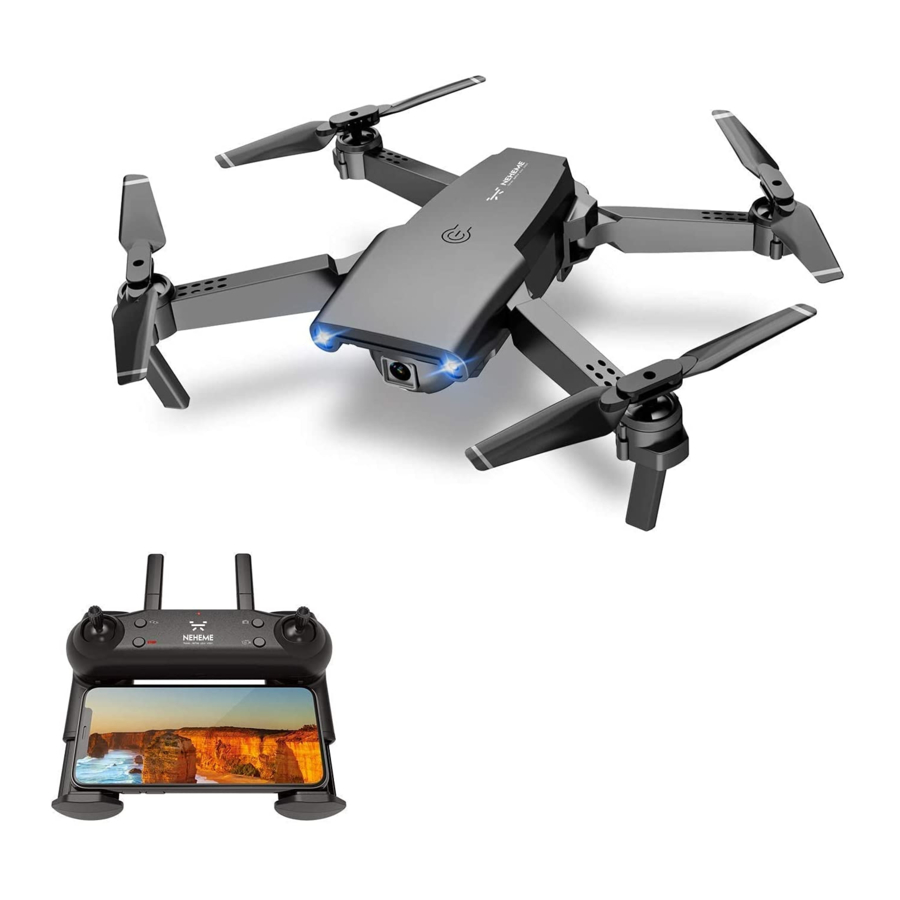
DRONE
Foldable Design


Propeller guards Installation:
Unfold the drone, and then push the propeller shields upwards from below.

CHANGE BLADES
Replacing damaged blades: Your set comes with 2 replacement rotors, A and B type. You will see the 'A' and 'B' letter typed on the blade. Put the rotor on the motor accordingly.
*If the replacement of wind blades is incorrect, the drone will not be able to control.

- IMPORTANT NOTES
- This product is NOT A TOY. It may cause damage by using incorrectly. Please use this it following this instruction. And do not disassemble this product by yourself.
- This flying model requires practice before you use it. Please follow this instruction and practice patiently or guided by the experienced pilot. Otherwise, the manufacturer shall not be responsible for any damage to the product or injury to any person.
- SAFETY NOTES
Fly only in safe areas away from other people. Do not operate R/C drone within the vicinity of crowds. R/C drone is prone to accidents, failures, or damage and injury because of operation error, or radio interference. Pilots should be responsible for their behaviors for possible damage or injury that may occur during the operation or causing R/C drone models broken.
TRANSMITTER

NOTE: The right arm of the transmitter is Power ON / OFF By extending the right arm, the controller will automatically Power ON and make a beep sound. The Power Indicator will turn ON. Also, closing the right controller arm will turn off the controller.
ASSEMBLED REMOTE CONTROLLER
- Open the battery cover on the back of the remote controller.
- Insert 2*AAA batteries in accordance with the instructions on the battery box. (Battery should be purchased separately, old and new or different types of batteries shouldn't be mixed.)


BATTERY INSTRUCTIONS
- RECHARGING: While battery is charging, LED light on USB is on; When fully charged, LED light goes off. The whole recharge time will be around 60 minutes.
- SAFETY: Different types of batteries or old and new batteries should not be mixed.
- Only use the provided charger line to charge.
- Follow the polarity correctly installed batteries power and ensure terminals shall not be short-circuited.
- Rechargeable batteries can only be charged under the supervision of the adult.
- Do not use rechargeable battery overcharging.
- Exhausted batteries should be taken out of the remote control.
- Use batteries according to the environmental protection agency.


OPERATION AND CONTROL
READY TO FLY: Make sure the propeller is installed correctly and fastened
- Turn the right remote control leg support to turn on the remote control.

- Push the throttle lever up and down. The controller connects to the drone.


TAKEOFF METHOD 1
- Put the drone at a level position, push two levers down to 45-degree for 2-3s as picture shows, the light on drone keeps flashing, after 2-3s, the light remains on.

- Push two rockers at the same time as shown in Figure for 2-3s to unlock the drone.

- Slowly push the throttle stick to take off the drone.


TAKEOFF METHOD 2
- Place the drone at a level position, push two levers down to 45-degree for 2-3s as picture shows, the light on drone keeps flashing, after 2-3s, the light remains on.

- Press the one key taking off button, the drone starts to take off.


LANDING METHOD 1
Press the throttle down slowly and hold it on the button for 2-3 seconds until the blade stop spinning.

LANDING METHOD 2
Press the One Key Landing button, the drone will land slowly.

EMERGENCY LANDING
In the case of the emergency situation, press the Emergency Stop button, and the drone will fall down immediately. This is only for urgent situations using.

FLYING CONTROLLED AND FINE TUNING
| Ascend/descend | Push the left stick up or down to make the drone ascend or descend. |  |
| Turning | Push the left stick to left/right, the drone will rotate to left/right. |  |
| Forward/backward | Push the right stick up and down to make the drone fly forward and backward. |  |
| Side fly | Push the right stick to left/right, the drone will fly to the left/right. |  |
| Side-fly fine tuning | Pull down the right stick, you will hear 'bi bi' from the drone, push the right stick to left/right for trimming. |  |
| Forward/backward fine tuning | Pull down the right stick, you will hear 'bi bi' from the drone, push the right stick forward/backword for trimming. |  |
Headless Mode: Press the button on the controller, you will hear beep sounds, then you get into compass mode. When the drone is taking off, the direction, which the drone is headed, will be the front side. The left/right/backside are also be recognized by geographic direction. During headless mode, the LED light will be flashing all the time.
One Key Come Back: When the drone is taking off, we put the drone on the floor, and the backside points to the player. During flying, we press one key come back, the drone will fly back to the player. Pls kindly make sure there's enough distance when you are using one key come back function. Otherwise, it might hurt the player.
3D Action Operation: Fly your drone in the height of more than 3 meters, press the 3D Roll button on the top right of controller. Then immediately push the right controller stick to left/right/ forward/backward side to flip your drone.

CAMERA ADJUSTMENT
The angle of camera could be adjusted 45° up and down by hand before flight.

APP OPERATING GUIDE
- Install mobile phone client
Please scan the corresponding QR code to download APP
IOS
![]()
![apps.apple.com]()
Google play
![]()
![play.google.com]()
- Add a device
- Turn on the product power switch
- Enter the phone "settings" and open WIFI
- Find the WIFI (WIFI_1080P **** / WIFI_4K **** / FLOW_4K_****) from the WIFI list, click on the connection directly without using password
- Open APP, click the start icon to enter the real-time interface
- Click on the "Album" icon to enter the real-time interface
- Operating instructions
From icon meaning of each operating and player interface, please see below.


COMMON PROBLEM AND SOLUTION INSTRUCTION
| Problem | Cause | Solution |
| Can not take off | Battery of quadcopter is not charged completely | Recharge the drone battery |
| Main blades rotate too slow | Push up the throttle stick | |
| Main blade does not rotate | Main blade is assembled too tight from motor | Pull up the main blade and make it stay in an appropriate state from motor |
| Main blade rotates but can not take off | Battery of drone is depleted | Charge or Replace with fully charged battery |
| Deformed main blades | Replace main blades | |
| AB blade installed in mistake | Install AB blade correctly | |
| Motors do not respond to throttle stick, receiver LED keeps flashing | Battery of drone is depleted | Fully charge the battery or replace with a fully charged battery |
| Motor stops working | Get stuck by outer stuff | Take the stuff out |
| Transmitter fails to connect the drone | Refresh the Drone | |
| Motor damaged or motor line broken | Change motor or check the line inside | |
| Out of control | Exceed the effective control distance | Control distance beyond 80 meters |
| The throttle stick hasn't been pulled to the end while completing revising frequency and the Drone automatically rises | Throttle stick should be pulled to the end during revising frequency | |
| The Drone was violently shaking or lurched sideways | Main blade is out of shape | Replace the blade |
| Drone rotates during left/right pirouette after trimming | Mix the Trimmer of transmitter or Drone | Manual the trimmer of transmitter or Refresh Drone |
| Main blade damaged | Replace main blade | |
| Damaged motor | Replace the motor | |
| Main blades continue to spin after landing | The throttle trimmer accidentally upwards during flight | Confirm the throttle trimmer in the middle place or slightly below |
| The drone still moves forward after the trimmer adjusted when hovering | The gyroscope is not under the state of level | After turning on the Drone, fine-tuning it to return-to-Zero (Refresh Drone) |
PRECAUTION
- The remote-controlled distance will be shortened when the power(drone or transmitter) is insufficient.
- It is difficult to take off or fly high when the power of the drone is insufficient.
- When the drone is damaged, please stop operating and repair it in time, or it may lead to injury.
- If you don't use the transmitter for a long time, please remove the batteries to avoid battery leakage.
- Do not drop the transmitter from a high altitude or crash it badly, otherwise, it will shorten its using life.
ACCESSORIES
- Top Cover

- Lower Lid

- Paddles

- Escort

- Motor

- Receiver Board

- Battery

- USB

- WIFI Camera

- Remote Controller


VideosNeheme NH525 Pocket Drone - First Flight & Review Video
Documents / Resources
References
Download manual
Here you can download full pdf version of manual, it may contain additional safety instructions, warranty information, FCC rules, etc.
Advertisement


Need help?
Do you have a question about the NH525 and is the answer not in the manual?
Questions and answers