Table of Contents
Advertisement
Advertisement
Table of Contents

Related Manuals for Radio Shack 22-812


Summary of Contents for Radio Shack 22-812
- Page 1 46-Range Digital Multimeter with PC Interface...
-
Page 2: Table Of Contents
ˆ Contents Features ......................4 Meter Features ..................4 Software Features ..................5 System Requirements ................5 A Word About Safety .................. 6 Special Panel Markings ................7 Specifications ....................8 A Quick Look at Your Meter ................. 11 Preparation ....................13 Installing a Battery .................. - Page 3 Measuring Frequency/Duty Cycle/Pulse Width ........26 Measuring AC Voltage Frequency ............. 27 Measuring AC Current Frequency ............. 28 Measuring h FE ..................28 Using the Meter With a Computer ..............28 Installing the Meter’s Software/Hardware ..........29 Configuring/Using the Meter and Software ..........30 Care and Maintenance ...................
-
Page 4: Features
ˆ Features Your RadioShack 46-Range Digital supplied software to log and graph Multimeter is a portable, compact, measurements. auto-ranging, digital multimeter. It is Diode Check Function — safely ideally suited for field, lab, shop, and checks semiconductor junctions for home applications. The multimeter open, short, or normal. -
Page 5: Software Features
UL Listed — your meter has passed and store data. The software logs the the stringent safety tests required by time for each reading, helping you Underwriters Laboratories. keep track of each sample. You can also save logged data in your hard Note: The UL mark does not indicate drive for future reference. -
Page 6: A Word About Safety
A WORD ABOUT SAFETY • This equipment is rated for instal- lation category (maximum We have taken every precaution in 3600VA). designing this meter to ensure that it is as safe as we can make it. But safe • Because many AC/DC sets have operation depends on you, the opera- a potentially hot chassis, be sure tor. -
Page 7: Special Panel Markings
SURE CURRENT AND VOLT- SPECIAL PANEL COMMERCIAL MARKINGS ELECTRICAL PANELS. For your safety, we have added spe- UNLIKE A HOME AC OUTLET, cial markings to the meter’s panel to COMMERCIAL ELECTRI- remind you of the measurement limi- CAL PANEL HAS TREMEN- tations. -
Page 8: Specifications
ˆ Specifications (Accuracies at 73.4 ° F (23 ° C) 5 ° , <75% RH) 4A ......± 0.8% of Reading, ± ± 5 in Last Digit VOLTS (Maximum Measurement: 10A ......± 1.0% of Reading, 1000V) ± 5 in Last Digit 400mV ...... - Page 9 Note: Accuracy with film capacitor or bet- (AC voltage frequency, with function selector set to dBm / ~ V and maximum measuring ter, specified from 9.5% of full scale to full frequency 1 kHz for signal above 40V) scale except 4.0nF range from 0.5nF to full scale.
- Page 10 Battery Life at 30 minutes use per day ..About 200 days, Alkaline Sleep Mode Timing ..30 ± 10 Minutes Range Up Detect Value ..... Overflow (>4000 Counts) Range Down Detect Value ..380 Counts Low Battery Indication ..6.3V ± 0.3 V Sleep Mode Current ..
-
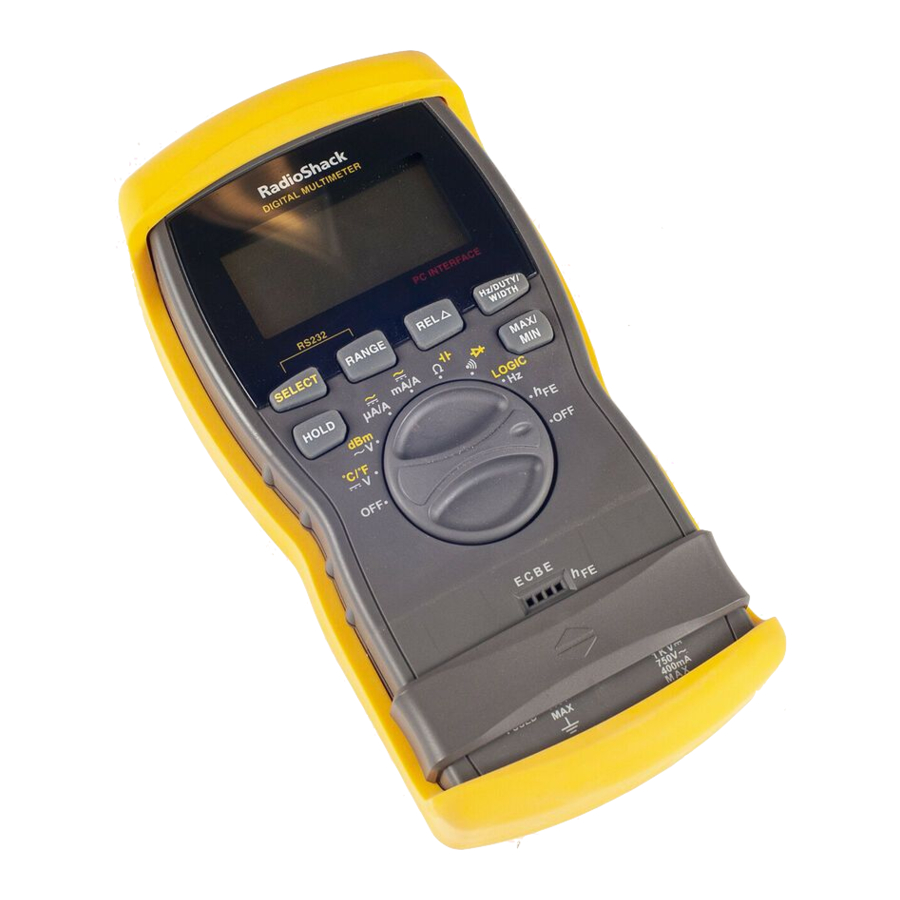
Page 11: A Quick Look At Your Meter
ˆ A Quick Look at Your Meter • • • • — mea- / mA/A — sures ohms and measures capacitance. current. / µ µ µ µ A/A — „ „ „ „ – – – – — measures checks current. - Page 12 € — lets you RANGE — se- work with relative lects auto or measurements. manual rang- ing. Hz/DUTY/WIDTH — measures SELECT — frequency, duty selects options. cycle, and pulse width. HOLD — holds a measurement value. MAX/MIN — lets dBm / ~ V — you store maxi- selects AC voltage mini-...
-
Page 13: Preparation
ˆ Preparation INSTALLING A BATTERY 4. Snap a fresh 9V battery onto the terminals of the battery clip in the Your meter requires one 9-volt bat- battery compartment. tery (not supplied) for power. For the 5. Replace the battery cover and best performance and longest life, we secure it with the screw. -
Page 14: Using The Stand
If necessary, slide up the guard on USING THE STAND the front of the meter. Plug the black The stand on the back of the meter test lead’s right-angled end into –COM lets you place it upright on a flat sur- (common) on the front of the meter, face for easier viewing. -
Page 15: Before You Start
BEFORE YOU START Position Description Follow these steps to familiarize your- / mA/A • Measures current, self with the meter’s operation before DC 40/400 mA you use it for the first time. and AC 40/400 mA Warning: Always turn off power to •... - Page 16 3. To select manual range mode, Range Display press disap- RANGE AUTO pears. Then repeatedly press ZZZ$ZýL ZZZ$ZýL ZZZ$ZýL ZZZ$ZýL 400 V until the range you want RANGE ZZZZýL ZZZZýL ZZZZýL ZZZZýL 1000 V DC/750 V AC appears. The decimal point shifts µ...
-
Page 17: Holding Ameasurement
the meter in relative mode with the “Making Measurements” small value as reference, it does not Page 19. display this value when you measure E E E E ý < ý < ý < ý < Caution: If (overflow) appears, a component. -
Page 18: Automatic Power Off
To turn the meter back on after it au- shows a negative value. This is not a malfunction. tomatically turns off, press any but- ton. E E E E ý < ý < ý < ý < • appears if you measure val- ues outside the meter’s currently Using Power Lock E E E E ý<... -
Page 19: Making Measurements
Note: The meter automatically sets it- Then repeatedly press MAX/MIN self to manual mode when you use it to read the currently selected to monitor. maximum value (if appears) or the currently selected mini- 1. Set the meter to any f un ct io n mum value (if appears). -
Page 20: Displaying Temperature
when the voltage is above 30 V RMS 4. To set manual range control, press disappears. and 42.4 V peak or 60V DC. RANGE AUTO Repeatedly press RANGE 1. Set the function selector to change the range. ° ° ° ° C/ ° ° ° ° F / 5. -
Page 21: Measuring Ac Voltage Riding On A Dc Source Bias
Measuring AC Voltage never try to measure an AC volt- age above 750 volts RMS. Riding on a DC Source Bias 1. Set the function selector to dBm / WARNING: To avoid injury or dam- age to your meter, never try to mea- sure an AC voltage that is riding on a 2. -
Page 22: Measuring Dc/Ac Current
1. Rotate the function selector rated line-to-ground voltage by 1.732 / µ µ µ µ A/A (the square root of 3). For example, if ý ý ý ý for 0.4/4mA and 4/10A the rated line-to-ground voltage is ranges or for 40/400mA / mA/A and 4/10A ranges. -
Page 23: Measuring Resistance
Note: If your measurement exceeds 3. If necessary, press until SELECT E E E E ý < ý < ý < ý < , or Ω Ω Ω Ω KΩ Ω Ω Ω MΩ Ω Ω Ω appears to set the the currently selected range, meter to measure resistance. -
Page 24: Measuring Capacitance
Hint: If you want to accurately mea- manually select the range you sure a very small resistance, you can want. view the resistance of the meter’s test 4. Attach the red test lead to the leads, then subtract that resistance positive side of the capacitor and from the measured value. -
Page 25: Checking Continuity
CHECKING DIODES “Using Relative Measurement” on Page 17). This procedure lets you check diodes, • The accuracy of capacitance transistors, and other semiconductors measurement depends on the for opens, shorts, and normal opera- measurement method and also tion. It also lets you determine the for- differs with different types of ward voltage and polarity for diodes. -
Page 26: Checking Diode Polarity
5. Reverse the test leads and note ing the red test lead is the anode (+) the second reading. side. The side of the diode where the Eý <ý Eý <ý Eý <ý Eý <ý meter shows using the red test If one reading shows a value and the lead is the cathode (–) side. -
Page 27: Measuring Ac Voltage Frequency
2. To select the frequency function, set the meter for maximum sen- press until , or sitivity when measuring a new SELECT appears. signal, press to select SELECT the ACV function then press Otherwise, to select the duty to select the fre- DUTY/WIDTH cycle or pulse width function, quency function. -
Page 28: Measuring Ac Current Frequency
å å å å , µ µ µ µ S, or mS appears and you Measuring AC Current 5. If want to select the frequency Frequency function again, repeatedly press Note: If the meter is set to measure until , or Hz/DUTY/WIDTH current, it cannot measure the fre- appears. -
Page 29: Installing The Meter's Software/Hardware
information recorded by the meter on The window shows the available your computer. drives on your computer. Then double-click the icon for your CD- drive double-click INSTALLING THE . The CD starts. setup.exe METER’S SOFTWARE/ HARDWARE 3. After you finish installing the soft- ware, restart your computer. -
Page 30: Configuring/Using The Meter And Software
CONFIGURING/USING clicking COM1, COM2, COM3, or COM4. THE METER AND SOFTWARE Note: If you select the wrong COM port, an error message You must configure your meter to appears. Repeat Step 4 to select work with the Meter View software the correct COM port. -
Page 31: Replacing The Fuses
WARNINGS: 3. Remove the battery. • Do not let any water drip inside 4. Use a Phillips screwdriver to the meter while cleaning it. loosen the screws from the back cover and gently pull apart the • Make sure that the meter is com- case. - Page 32 This warranty gives you specific legal rights, and you may also have other rights which vary from state to state. RadioShack Customer Relations, 200 Taylor Street, 6th Floor, Fort Worth, TX 76102 We Service What We Sell 12/99 22-812 AO0069ABA1 RadioShack Corporation 12A01 Fort Worth, Texas 76102...
Need help?
Do you have a question about the 22-812 and is the answer not in the manual?
Questions and answers