
Related Manuals for Spowdi Mobile Pro MKII


Summary of Contents for Spowdi Mobile Pro MKII
- Page 1 Solar-powered water pump Mobile Pro MKII Drip system manual Doc number: 003 English language (original) Revision: PA9...
-
Page 2: Table Of Contents
Table of Content How to read this manual ................3 Drip system components ................4 3 Overview of the drip system............... 5 How to install ....................6 4.1 Water filter ......................6 4.2 Main valve .......................8 4.3 Main line ......................9 4.4 Drip line ......................11 4.4.1 Start the system....................13 Doc number: 003 Revision: PA9... -
Page 3: How To Read This Manual
The manual describes a general installation. For the system to work properly it needs to fullfil different requirements. In order to better understand the requirements the Spowdi figure helps the reader: Spowdi figure is happy when it is correct. Spowdi figure is sad when something is NOT correct. -
Page 4: Drip System Components
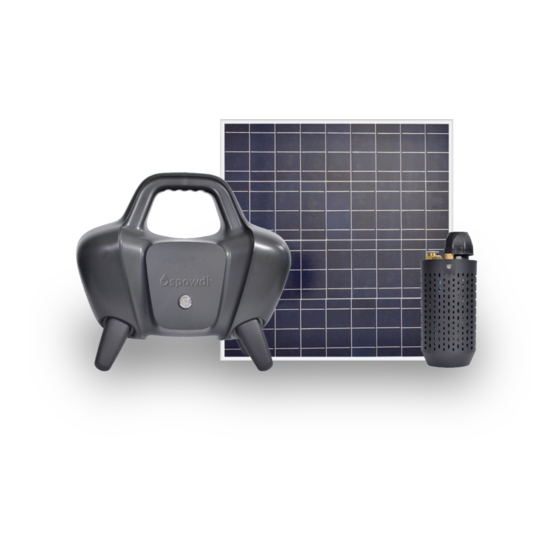
2 Drip system components The components of drip system. A1. Main Line A2. Drip line A3. Drip connector, Ø25mm, 100m Ø16mm, 500m Ø16mm, 20 pcs A4. Main valve. Threaded Ø25mm, 1 pc A5. Water filter, Ø25mm, 1 pc A6. Female adapter, threaded A7. -
Page 5: Overview Of The Drip System
3 Overview of the drip system Spowdi Mobile Pro MKII can irrigate 1 acre farmland. Drip starter package is for Spowdi recommends 30m in 500sqm farmland. length for one growing area. Doc number: 003 Revision: PA9... -
Page 6: How To Install
4 How to install 4.1 Water filter Connection of water filter to water extraction tube 1 See MK II system installation manual for the connection of water extraction tube. 2 Remove cap on one of female adapter (A6). 3 Take out plastic parts and O-ring as shown in the figure. - Page 7 6 Screw water filter (A5) to female adapter (A6) and fasten it. Make sure arrow on water filter is according to direction of water flow. 7 Cut one length of 0,5 meter from main 0,5 meter line Ø25mm (A1). 8 Follow the same steps mentioned above to mount another female adapter (A6) on cut length of main line.
-
Page 8: Main Valve
4.2 Main valve Connection of main valve to cut main line of water filter 1 Take one male adapter (A7), remove cap and follow the procedure same like female adapter (A6). 2 Mount a male adapter on main line. 3 Screw male adapter (A7) to main valve (A4) and fasten it. -
Page 9: Main Line
4.3 Main line Connection of main line to main valve 1 Take another male adapter (A7), remove the cap and follow the above procedure to connect male adapter to the main line (A1), still on roll. 2 Screw male adapter (A7) to main valve (A4) and fasten it. - Page 10 3 Roll out main line (A1) from main valve (A4) to the furthest END of the growing area (after last growing bed). Make sure not to bend the main line. 4 Cut main line at the very END of growing area, after last growing bed.
-
Page 11: Drip Line
6 Make holes in main line for each drip line with Multi tool (A10). Make holes halfway (45°) between top of main line and side fronting growing bed. 4.4 Drip line Connection of drip line to main line 1 Push a drip connector (A3) into each of new hole in main line. - Page 12 2 Roll out drip line (A2) from drip connector (A3) to end of growing bed and cut off drip line to same length. Repeat for all growing beds along main line (A1). 3 Connect a drip line to each drip connector.
-
Page 13: Start The System
5 Mount drip holder pin (A11) along drip line in order to hold drip line in place. 4.4.1 Start the system 1 Open the valves of drip connectors. 2 Open the main valve. Doc number: 003 Revision: PA9... - Page 14 3 Turn ON power button (K) of the PMB. 4 Operate the system for 5 minutes. 5 Check water is pouring out from dripers on drip line. 6 Drip installation is completed. Note! 1. Make sure there is no leakage in all connectors. 2.
- Page 15 Spowdi AB Registration number: 559098-2954 Augustendalsvägen 7 (11 fl), 131 52 Nacka Strand, Sweden www.spowdi.com | info@spowdi.com...
Need help?
Do you have a question about the Mobile Pro MKII and is the answer not in the manual?
Questions and answers