Table of Contents
Advertisement
Quick Links
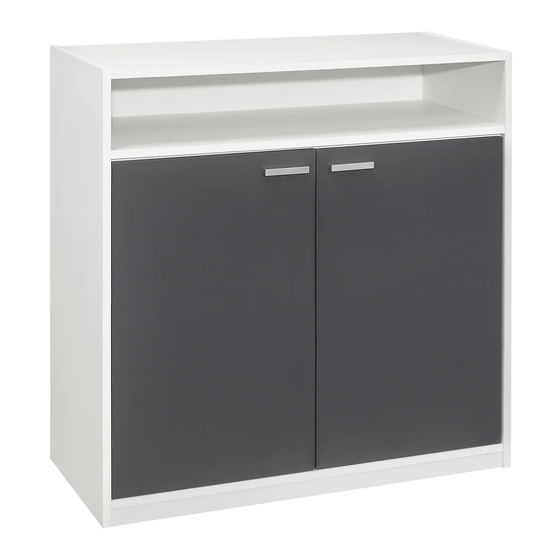
MODEL : #SR6551 SHOE CABINET
NOTE TO CUSTOMERS:
For ease and speed of assembly we recommend that before you commence each step of the
assembly that you identify all the parts required to complete that step.
We recommend that where possible you allow sufficient space to assemble the item as close
as possible to the place where it will be once assembled.
For the protection of your furniture we recommend that the product is placed on a dry, soft,
smooth and clean surfaces during assembly to prevent any damage. Avoid damp and direct
sunlight.
During assembly do not over tighten the screws or bolts, as this may damage the product.
Please ensure you retain all the product packaging until the item is completely assembled.
Periodically check all fitting and re-tighten as necessary.
Never allow any liquids to remain on your furniture as absorption can cause the wood to warp
or finish to de-laminate.
It is recommended that this item should be assembled by two adults.
PAGE 1 OF 3
Advertisement
Table of Contents

Related Manuals for 2K Furniture Designs SR6551


Summary of Contents for 2K Furniture Designs SR6551
- Page 1 MODEL : #SR6551 SHOE CABINET NOTE TO CUSTOMERS: For ease and speed of assembly we recommend that before you commence each step of the assembly that you identify all the parts required to complete that step. We recommend that where possible you allow sufficient space to assemble the item as close as possible to the place where it will be once assembled.
- Page 2 ITEM: #SR6551- SHOE CABINET Side Panel Left Side Panel Right Top Panel Upper Shelf Panel Base Panel Quantity: 2 Large Back Panel Left Door Adjustable Shelve Panel Apron/Skirt Rail Small Back Panel Quantity: 1 Right Door Hinge’s Screw M3.5 x 14...
- Page 3 ITEM: #SR6551- SHOE CABINET STEP 4 STEP 3 STEP 5 STEP 6 STEP 7 STEP 9 STEP 8 Guidelines of xing the hinges A-Lateral adjustment C-Front to back by B-Vertical adjustment by adjusting the by adjusting the sliding by adjusting the screws screws in hinges arm.
Need help?
Do you have a question about the SR6551 and is the answer not in the manual?
Questions and answers