MZ electronic EV-020 Instructions For Use Manual
Chain counter
Hide thumbs
Also See for EV-020:
- Instructions for use manual (125 pages) ,
- Manual (4 pages) ,
- Instructions for use manual (72 pages)

Related Manuals for MZ electronic EV-020


Summary of Contents for MZ electronic EV-020
- Page 1 Istruzioni per l’uso Instructions for use Instructions d'utilisation Gebrauchsanweisung Instrucciones de uso CONTAMETRI CHAIN COUNTER COMPTEUR MÉTRIQUE METERZÄHLER CUENTAMETROS EV-020 Rev. 11 – 2014...
- Page 2 sensore magnetico magnetic sensor Part. B magnete Part. A magnet cavo sensore min.44 mm(1”3/4) sensor cable Fig. 1A Fig. 1B sensore magnetico magnetic sensor Part. C Part. A cavo sensore Fig. 2A Fig. 2B sensor cable Fig. 2C...
-
Page 3: Installation
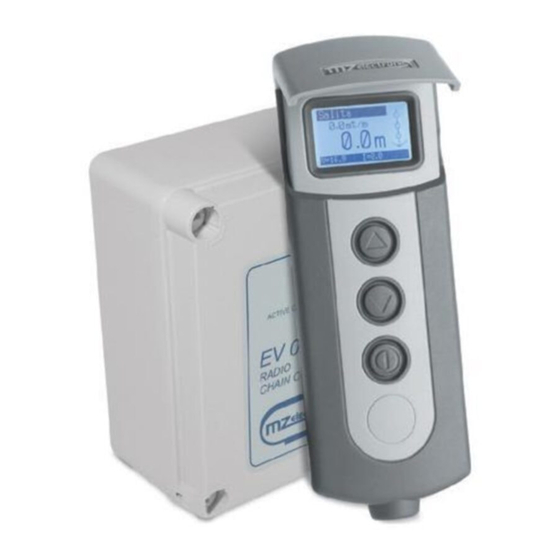
English Description The EV-020 chain counter displays the length of chain let out or down, expressed in metres or feet and the speed of the same. Technical data Power supply from 10 to 30 V DC Current intake min. 5 mA – max 50 mA... - Page 4 Fit Part C with the magnetic sensor on support A and fix it in place using an • adhesive for plastic (two-component epoxy glue) or silicone. Using the same glue, attach the sensor to Part C. • Installing the chain counter (see connection diagram) EV-020 Rev. 11 – 2014...
- Page 5 The instrument complies with EMC • standards (EN55022) and must be positioned at a distance of: 30 cm (~1 Ft) from the compass; − 50 cm (~1.5 Ft) from radio − EV-020 Rev. 11 – 2014...
- Page 6 During parameter setting, the two keys allow the User to move around the menu and vary parameter values. When switched on, the instrument will make a beep and the following page will appear for a few seconds: EV-020 Rev. 11 – 2014...
-
Page 7: Chain Counter Setting Menu
Once one is positioned on the parameter press the (ON) key to enable modification. According to the type of parameter, using the (DOWN) and (UP) keys it is possible to reduce/increase the value of the same or disable/enable the function. EV-020 Rev. 11 – 2014... - Page 8 Select with winch stops; after which it is only possible to Select value with give pulsed commands. Confirm with Settable values: 1.0 - 1.5 - 2.0…5.0 (metres or feet). EV-020 Rev. 11 – 2014...
- Page 9 Select with This function allows the user to enable or = No = Yes disable the buzzer (emitted each time a key Confirm with is pressed). Exit Confirm with To return to the settings menu. EV-020 Rev. 11 – 2014...
- Page 10 Once the “Sensor Detection” function has recognised a “Standard” type sensor instead of a “Project” sensor, when the “Sensor Calibrat.” menu is entered again, the menu options will “configure” themselves according to the sensor detected. EV-020 Rev. 11 – 2014...
- Page 11 Table 1. If you use the 2-wire magnetic sensor leave the value set to 1. Select with Select value with Confirm with Exit Confirm with To return to the settings menu. EV-020 Rev. 11 – 2014...
- Page 12 12 ISO-13 DIN 766-7/16”HT 1:75 3/8”HT 1:75 3/8”Proof Coil 1:75 10 DIN 766-3/8”BBB Project 2000 1:75 10 ISO 1:75 14 ISO 1:75 12 ISO-13 DIN 766 1:75 13 DIN 764 * factory setting of instrument EV-020 Rev. 11 – 2014...
-
Page 13: Instrument Calibration
Before using the instrument the following parameters must be set: choice of unit of measurement (metres or feet); • detection of type of sensor (Standard or Project); • gipsy diameter setting (default value 33 cm) or reduction factor (default value 57). • EV-020 Rev. 11 – 2014... - Page 14 Select the row “Auto Down” and set the value at which the anchor must stop. Then press the (ON) (DOWN) keys for at least three seconds. Once anchor casting has commenced, release the keys. For safety reasons it is however possible to interrupt automatic descent by pressing any instrument key. EV-020 Rev. 11 – 2014...
-
Page 15: Troubleshooting
Warranty does not include the complete replacement of the goods and refers exclusively to the replace of faulty pieces and necessary labour. It does not include transfer or transport expenses. The Customer will not ask for expenses refund. EV-020 Rev. 11 – 2014...
Need help?
Do you have a question about the EV-020 and is the answer not in the manual?
Questions and answers