
Related Manuals for MZ electronic EV-040


Summary of Contents for MZ electronic EV-040
- Page 1 Istruzioni per l’uso Instructions for use Instructions d'utilisation Gebrauchsanweisung Instrucciones de uso RADIO CONTAMETRI RADIO CHAIN COUNTER RADIO COMPTEUR MÉTRIQUE RADIO METERZÄHLER RADIO CUENTAMETROS EV-040 Rev. 10 – 2014...
- Page 2 sensore magnetico magnetic sensor Part. B magnete Part. A magnet cavo sensore min.44 mm(1”3/4) sensor cable Fig. 1A Fig. 1B sensore magnetico magnetic sensor Part. C Part. A cavo sensore Fig. 2A Fig. 2B sensor cable Fig. 2C...
-
Page 3: Technical Data
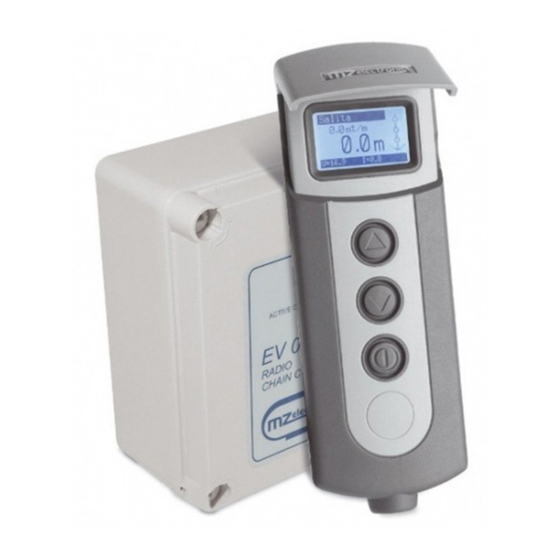
English Description The EV-040 radio-chaincounter displays the length of chain let out or down, expressed in metres or feet and the speed of the same. Technical data Receiver Power supply from 10 to 30 V DC No-load current intake max 50 mA... - Page 4 Fit Part C with the magnetic sensor on support A and fix it in place using an • adhesive for plastic (two-component epoxy glue) or silicone. Using the same glue, attach the sensor to Part C. • EV-040 Rev. 10 – 2014...
- Page 5 • 30 cm (~1 Ft) from the compass; − 50 cm (~1.5 Ft) from radio equipment; − 2 metres (~6.5 Ft) from radio transmitter equipment; − 2 metres (~6.5 Ft) from the radar beam. − EV-040 Rev. 10 – 2014...
- Page 6 Open the cap on the rear of the transmitter, insert the plug of the battery charger making sure • that the reference mark is facing upward. Plug the battery charger into a cigarette lighter to start charging. When the charger is switched on the blue LED will light up. • EV-040 Rev. 10 – 2014...
- Page 7 ICONS: this is the part of the display bearing the icons that indicate the hoisting or casting of the anchor and any failure. When the instrument is turned on for the first time, it will set up as programmed in the factory (see table). EV-040 Rev. 10 – 2014...
- Page 8 (ON) key to confirm. Using the (DOWN) key go to the Exit option and press the (ON) key again to return to the setting menu. The same procedure must be used to return to the main page. EV-040 Rev. 10 – 2014...
- Page 9 Select with pressing (for at least 3 seconds) of the keys Select value with Confirm with Settable value: 5 - 10 - 15…40 (metres or feet). Load Default Select with EV-040 Rev. 10 – 2014...
- Page 10 Select with This function allows the user to set the turnoff Select value with time after the last command given (default Confirm with value 30 seconds). Exit Confirm with To return to the settings menu. EV-040 Rev. 10 – 2014...
- Page 11 Once the “Sensor Detection” function has recognised a “Standard” type sensor instead of a “Project” sensor, when the “Sensor Calibrat.” menu is entered again, the menu options will “configure” themselves according to the sensor detected. EV-040 Rev. 10 – 2014...
- Page 12 (magnet and sensor placed on barbotin) Gipsy Circumference Gipsy Circumference Chain Type Number of recesses (cm) (inches) 6 mm 7 mm 8 mm 10 mm 12 mm 13 mm 14 mm * factory settings of instrument EV-040 Rev. 10 – 2014...
- Page 13 Confirm with Software Version Indicates the version of the software installed. Work Hours Indicates the hours of operation of the winch. Exit Confirm with To return to the settings menu. EV-040 Rev. 10 – 2014...
- Page 14 Select the row “Auto Down” and set the value at which the anchor must stop. Then press the (ON) (DOWN) keys for at least three seconds. Once anchor casting has commenced, release the keys. For safety reasons it is however possible to interrupt automatic descent by pressing any instrument key. EV-040 Rev. 10 – 2014...
- Page 15 While the battery is V=11.6 charging the red LED of the adaptor will remain lit. When the LED goes off it means the battery is fully recharged. EV-040 Rev. 10 – 2014...
- Page 16 MZ ELECTRONIC S.R.L. www.mzelectronic.com e-mail:info@mzelectronic.com...
Need help?
Do you have a question about the EV-040 and is the answer not in the manual?
Questions and answers