Advertisement
Quick Links
Advertisement

Related Manuals for GetPro HD-A-J3020-R-SN

Summary of Contents for GetPro HD-A-J3020-R-SN
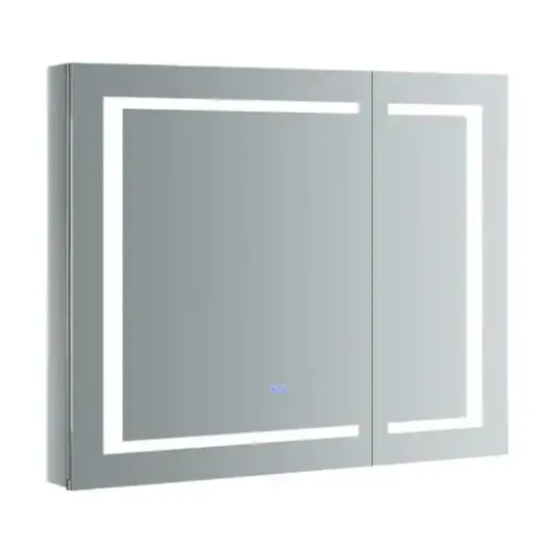
- Page 1 Build for Luxury Life DIY YOUR BATHROOM SPACE INSTALLATION MANUAL...
-
Page 2: Use And Maintenance
Do Not Return Product to the Store. Contact GETPRO® service team with any questions USE AND MAINTENANCE The interior is constructed of mirrored glass and aluminum. Use only a damp cloth to clean. Ammonia or vinegar-based cleansers can damage mirrors. -
Page 3: Important Safety Instructions
IMPORTANT SAFETY INSTRUCTIONS ELECTRIC CONNECTIONS www.getprohome.com E-mail:service@getprohome.com Hotline:+1 5714125962... -
Page 4: Hardware And Tools
HARDWARE AND TOOLS Mallet Tape Measure Safety Goggles 1/4" & 1/8" Drill Bits Pencil level Power Drill HARDWARE LIST ITEM REFERENCE IMAGE NAME Top Mounting Bracket Glass Shelf Screw ST4*35 Wall Anchor Step 1 Level and mark the cabinet's location on the wall. Connect the wire to Junction Box inside the wall. - Page 5 Build for Luxury Life Step 2 Fix Top Mounting Bracket on the Wall Wall Measure the distance between the 3 holes in the Top Mounting Bracket www.getprohome.com E-mail:service@getprohome.com Hotline:+1 5714125962...
- Page 6 Build for Luxury Life Step 3 Hanging the Cabinet on the top mounting bracket. Make sure top brackets are locked in the grooves. Wall Move the cabinet to the right posi�on and Step 4 screw in the bo�om suppor�ng bracket and fix it. www.getprohome.com E-mail:service@getprohome.com Hotline:+1 5714125962...
- Page 7 Build for Luxury Life Step 5 Optional Door Adjustment www.getprohome.com E-mail:service@getprohome.com Hotline:+1 5714125962...
- Page 8 Build for Luxury Life Step 6 Insert clear snap in shelf clips into holes on the sides of the cabinet. Install the glass shelf. Adjust the height according to your preference. www.getprohome.com E-mail:service@getprohome.com Hotline:+1 5714125962...
- Page 9 Build for Luxury Life Step 2 Fix Top Mounting Bracket on the Wall level Wall Measure the distance between the 3 holes in the Top Mounting Bracket www.getprohome.com E-mail:service@getprohome.com Hotline:+1 5714125962...
- Page 10 Build for Luxury Life Step 3 Hanging the Cabinet on the top mounting bracket. Make sure top brackets are Wall locked in the grooves. Move the cabinet to the right posi�on and Step 4 screw in the bo�om suppor�ng bracket and fix it. www.getprohome.com E-mail:service@getprohome.com Hotline:+1 5714125962...
- Page 11 Build for Luxury Life DIY YOUR BATHROOM SPACE Product More Options Depends on You Component Parts 20” 30” 20” 30” 20” 30” 10” 30” 10” 30” www.getprohome.com E-mail:service@getprohome.com Hotline:+1 5714125962...
- Page 12 Build for Luxury Life A�er power on, the bu�on shows blue and it is in wai�ng state Click the light bu�on to turn on and the color changes to white Click again to change the light color Click the fourth �me to turn off the light Long press to make the light gradually dims Long press again and the light gradually brightens Touch key to turn on/off...
Need help?
Do you have a question about the HD-A-J3020-R-SN and is the answer not in the manual?
Questions and answers