Advertisement
Item #1006456732
Model #6CUwheelbarrow
USER GUIDE
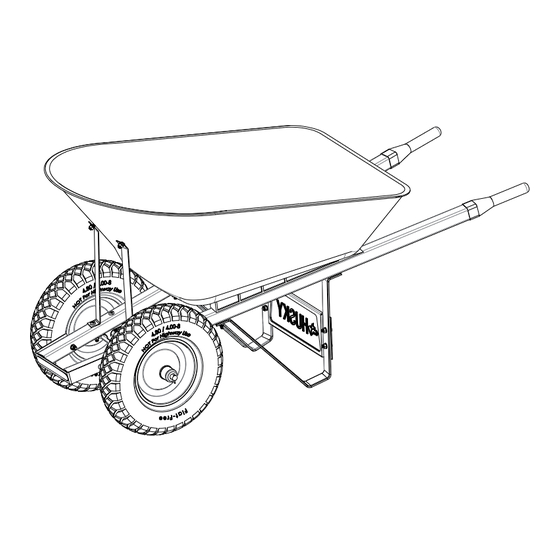
6 CU FT POLY DUAL-WHEEL FLAT-FREE
Questions, problems, missing parts?
Before returning to the store, call
Husky Customer Service
8 a.m. – 7 p.m., EST, Monday-Friday
9 a.m. – 6 p.m., EST, Saturday
1-888-43-HUSKY
HUSKYTOOLS.COM
THANK YOU
ly
create quality products designed to enhance your home. Visit us online to see our full line of products available for your
home improvement needs. Thank you for choosing Husky!
Advertisement
Table of Contents

Subscribe to Our Youtube Channel
Related Manuals for Husky 6CUwheelbarrow


Summary of Contents for Husky 6CUwheelbarrow
- Page 1 9 a.m. – 6 p.m., EST, Saturday 1-888-43-HUSKY HUSKYTOOLS.COM THANK YOU create quality products designed to enhance your home. Visit us online to see our full line of products available for your home improvement needs. Thank you for choosing Husky!
-
Page 2: Table Of Contents
Table of Contents Table of Contents Tools required Safety Information HARDWARE INCLUDED Pre-installation Package Contents Planning Installation Assembly Safety Information □ Before using this product, please read, understand and DANGER: Do not allow children to use the wheelbarrow follow all instructions. without supervision. -
Page 3: Hardware Included
M8x58 mm bolt, washer, and nut M8x23 mm bolt, washer, and nut Cotter pin Washer PACKAGE CONTENTS Part Description Quantity Tray Handle Leg brace Wedge Nose guard Wheel Axle bracket Axle Tray Brace HUSKYTOOLS.COM Please contact 1-888-43-HUSKY for further assistance. -
Page 4: Assembly
Assembly Attaching Wedges to Tray Placing Handles on Wedges Push bolts (AA & BB) through bottom of tray (A) Turn tray (A) over,so the tray is at an angle of 45 degrees □ □ and through wedge (E). to the ground. Repeat for second wedge. - Page 5 Slide axle (I) into attached axle bracket (H). □ Attach wheels (G) on to both ends of the axle (I). □ Secure the wheels (G) with washers (FF) and cotter pins (EE). □ Fully tighten all nuts. □ HUSKYTOOLS.COM Please contact 1-888-43-HUSKY for further assistance.
- Page 6 Questions, problems, missing parts? Before returning to the store, call Husky Customer Service 8 a.m. – 7 p.m., EST, Monday-Friday, 9 a.m. – 6 p.m., EST, Saturday 1-888-43-HUSKY HUSKYTOOLS.COM Retain this manual for future use.
Need help?
Do you have a question about the 6CUwheelbarrow and is the answer not in the manual?
Questions and answers