Advertisement
Quick Links
Advertisement

Related Manuals for Electrolux Ergorapido ZB3003


Summary of Contents for Electrolux Ergorapido ZB3003
- Page 1 MARQUE: ELECTROLUX REFERENCE: ZB3003 CODIC: 4038819...
- Page 2 Vacuum cleaner User manual Støvsuger Brugervejledning Пылесос Руководство пользователя Aspirateur Mode d’emploi Polynimuri Kayttoohje Staubsauger Bedienungsanleitung Aspirapolvere Istruzioni per l’uso Stovsuger Bruksanvisning Stofzuiger Gebruikershandleiding Aspirador Manual de Instruções Aspiradora Manual de instrucciones Dammsugare Bruksanvisning مكنسة كهربائية دليل المستخدم Прахосмукачка Ръководство на потребителя Usisivač...
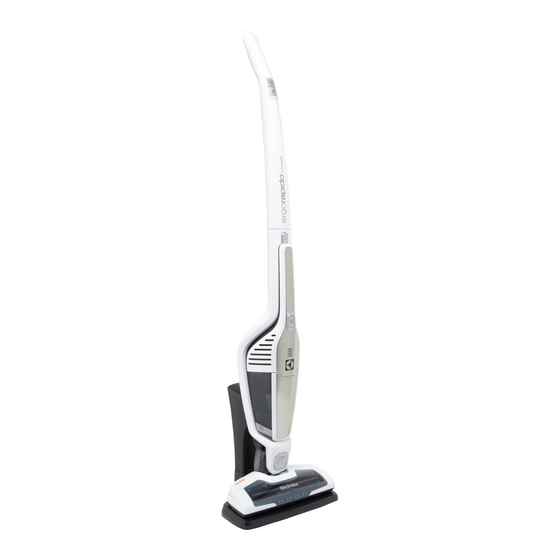
- Page 3 ERGORAPIDO™. ERGORAPIDO™ est un aspirateur balai sans fil conçu pour une utilisation en intérieur et adapté aux poussières domestiques légères sèches. Pour des résultats optimaux, utilisez toujours des accessoires et des pièces de rechange Electrolux. Ils ont été spécialement conçus pour votre aspirateur.
-
Page 4: Avant La Première Utilisation
Informations destinées au client . . . . . . . . . . . . . . . . . . . . . . . . . 56 Profitez bien de votre Electrolux ERGORAPIDO™! - Page 5 De tels dommages ou blessures ne sont pas couverts par la garantie ni par Electrolux. La garantie ne couvre pas la réduction de la durée de vie de la batterie en raison de son âge ou de son utilisation, car la durée de vie d’une batterie dépend...
- Page 7 DESCRIPTION D’ERGORAPIDO™ 1. Marche/Arrêt 2. Mise sous tension/hors tension 3. Marche/Arrêt, unité manuelle 4. Poignée 5. Corps de l’appareil 6. Vis de blocage 7. Touche de déverrouillage, unité manuelle 8. Station de charge, élément mural 9. Station de charge, élément au sol 10.
- Page 8 40 40 Unpacking and assembly 2. Secure the handle by tightening the locking screw supplied. Use Charging station 1. Insert the adaptor into the mains and position the charging station on a stable 1. Fit the handle by carefully inserting it into the main and horizontal surface away from heat sources, direct sunlight or wet places.
- Page 9 41 41 Charging ERGORAPIDO™ On ERGORAPIDO™ Lithium Plus the numbers of LED lamps will indicate the level of charge. 3 LED = fully charged. If The charging indicator will be lit with orange light when ERGORAPIDO™ is placed in the charging station. When ERGORAPIDO™...
- Page 10 Vacuuming with ERGORAPIDO™ Before vacuuming, check that the nozzle The wall unit can also be mounted on a wall. Start and stop ERGORAPIDO™ by pushing the ON/OFF button A. ERGORAPIDO™ has 2 power settings which is wheels and the brush roll are clean from sharp objects in order to avoid Separate it from the floor unit.
- Page 11 Vacuuming furniture, car seats etc. 1. The crevice nozzle and small brush are stored in the charging station and BRUSHROLLCLEAN™ Technology ERGORAPIDO™ 12V with BRC, 14,4V and 18V models are equipped with can also be´placed on the handle. 2. Attach the crevice nozzle to facilitate cleaning of areas difficult to reach. Attach BRUSHROLLCLEAN™...
- Page 12 1. Place ERGORAPIDO™ on a hard and even surface. Do not use the BRUSHROLLCLEAN™ function on carpets. 2. Press the BRUSHROLLCLEAN™ pedal with your foot while the cleaner is switched on. Hold for 5 seconds until hairs and fibres are removed and then release the pedal.
- Page 13 Please note that the BRUSHROLLCLEAN™ function might not be Emptying of the dust container. able to remove thicker threads, wires or fibres that are caught in a) Open the dust container by pressing the dust b) Take out the filters by pressing the release buttons c) Empty the contents into a dustbin.
- Page 14 Cleaning the filters. Pull the filter cleaning rod (B) to its end position and release it to remove dust (Recommended every 5th emptying). Separate both filters. from the inner filter. Repeat 5 times. Take out both filters by pressing the release buttons Filterreinigung Filterreinigungsstab (B) vorsichtig bis zum Anschlag in den Filter hineinführen, um Staub aus dem Innenfilter zu entfernen.
- Page 15 Rinse the filter parts carefully under lukewarm water without using any Shake to remove excess water and leave to dry minimum 12h. IMPORTANT - FILTER CLEANING! detergents. (never use the dishwasher or washing machine) Make sure that the filter parts are completely dried before putting them The filters must be cleaned at regular intervals to ensure a high cleaning back into the cleaner.
- Page 16 Cleaning the hose and air channel Cleaning the wheels Loosen the hose behind the nozzle from its upper connection. Remove any object that can be blocking the airflow in If the wheels need to be cleaned or get jammed, remove them carefully by using a flat screwdriver. the hose or in the air channel to the dust cup, and put the hose back.
- Page 17 50 50 Voyants - fonctionnement normal Que signifient-ils ? Que faire ? 3 voyants = le niveau de la batterie est toujours bon, il reste plus Modèle 18 V (batterie au lithium-ion) : de 75 % 2 voyants = le niveau de la batterie est toujours bon, il reste plus 1 à...
- Page 18 If the supply cord or charger is damaged, it must be replaced by Si le câble d’alimentation ou le chargeur est endommagé, il doit être Electrolux or its service agent or an equally qualified person in order to remplacé par Electrolux ou un technicien qualifié afin d’éviter tout avoid a hazard.
- Page 19 Français Le symbole sur le produit ou son emballage indique que ce produit ne peut être traité comme déchet ménager. Il doit plutôt être remis au point de ramassage concerné, se chargeant du recyclage du matériel électrique et électronique. En vous assurant que ce produit est éliminé...
- Page 20 Share more of our thinking at www.electrolux.com 2198910-01...
Need help?
Do you have a question about the Ergorapido ZB3003 and is the answer not in the manual?
Questions and answers