Hunter DEMPSEY Accessories Manual
Hide thumbs
Also See for DEMPSEY:
- Installation manual ,
- Installation manual (12 pages) ,
- Installation manual (12 pages)
Advertisement
Quick Links
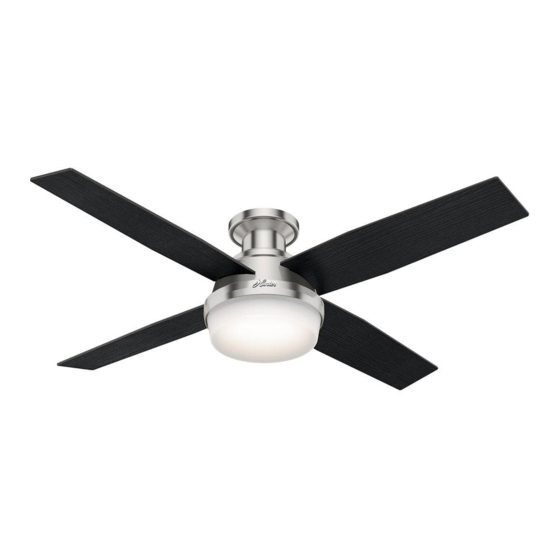
HUNTER - DEMPSEY - CEILING FAN
1886
Position the notches in the outer rim of the globe
so they line up with the three tabs on the inside rim
of the housing. Carefully lift the globe up inside the
housing as far as it will go, then rotate the globe
clockwise until it is held tightly in place by the tabs.
The remote control is already
paired for use.
Battery Door
Battery
Screw
To access the battery compartment, remove the small
Phillips head screw that secures the battery door to
the transmitter assembly. Install one 3-Volt, CR2032
battery, found in the remote control hardware bag, into
the transmitter. Clean the battery contacts and also
those of the device prior to battery installation. The
battery should be installed with the positive (+) side up.
Please contact your local battery recycling center for
proper battery disposal information.
9
Ceiling Bracket
Hanging Fan
Wiring
#2 Chootoo Road, South Aranguez, San Juan, Trinidad
ACCESSORIES GUIDE
Installing the Glass
Tab
NOTE: Check to ensure
proper engagement.
Preparing the Remote Control
NOTICE
• Always purchase the correct size and grade of battery most suitable for the intended use.
• Replace all batteries of a set at the same time.
• Clean the battery contacts and also those of the device prior to battery installation.
• Ensure the batteries are installed correctly with regard to polarity (+ and -).
• Remove batteries from equipment which is not to be used for an extended period of time.
• Remove used batteries promptly.
Canopy
Blades
Light
Notch
ON
WARNING
GLASS FALL HAZARD
To prevent SERIOUS INJURY or DEATH, make
sure that glass is properly secured.
Glass
Remote
Troubleshooting
Downrod
Advertisement

Subscribe to Our Youtube Channel
Related Manuals for Hunter DEMPSEY


Summary of Contents for Hunter DEMPSEY
- Page 1 HUNTER - DEMPSEY - CEILING FAN ACCESSORIES GUIDE 1886 Installing the Glass Notch WARNING Position the notches in the outer rim of the globe so they line up with the three tabs on the inside rim of the housing. Carefully lift the globe up inside the...
- Page 2 Choose between warm white (3,000K), cool white (4,000K), and daylight (5,000K) with the easy push of a button on the exclusive handheld remote. Create the perfect ambiance Light On/Off in your space with your new Hunter fan. Tunable White Fan On/Off Raise Fan...
Need help?
Do you have a question about the DEMPSEY and is the answer not in the manual?
Questions and answers