Table of Contents
Advertisement
Quick Links
Advertisement
Table of Contents

Summary of Contents for AIRVERSA Purelle
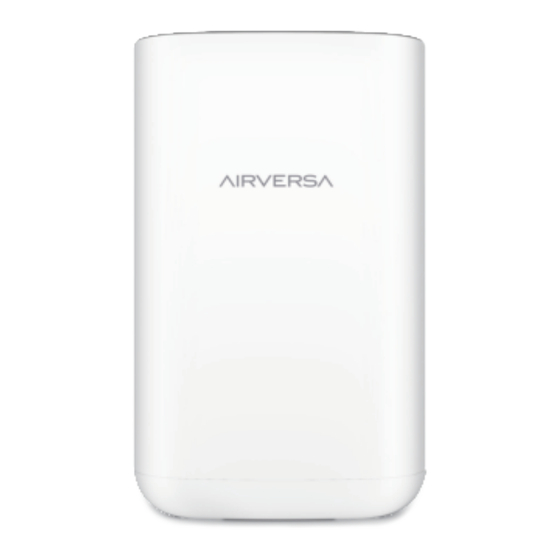
- Page 1 Purelle Smart Air Purifier Model: AP2 User Manual...
- Page 2 Thread technology, the latest future proof wireless protocol for the smart home. With a thread-enabled Border Router (HomePod mini or 2021 Apple TV 4K), you can control your Purelle using your iOS devices anytime, anywhere. Its advanced 3-Stage True HEPA Filtration system removes 99.97% of airborne contaminants down to 0.3 microns.
-
Page 3: Important Safety Instructions
IMPORTANT SAFETY INSTRUCTIONS READ ALL INSTRUCTIONS BEFORE USING. IF THE POWER CORD OR UNIT DOES NOT WORK, CONTACT AIRVERSA CUSTOMER SERVICE IMMEDIATELY. When using electrical products, especially when children are present, basic safety precautions should always be followed, including the following: ATTENTION Check your air purifier cord and plug connections. - Page 4 MUST DOs Always unplug the air purifier when not in use for a long time. Always unplug the air purifier from the electrical outlet immediately before cleaning or replacing filters. Always keep the cord away from heated surfaces. Always place the air purifier on a firm, leveled surface. Always place the air purifier at least 6 inches away from walls and 3 feet from heat sources such as stoves, radiators, or heaters.
- Page 5 Do not block air intakes or exhaust in any manner. Do not use on any soft surface, like a bed, where openings may become blocked. Do not operate Purelle air purifier without filters. Do not wash and reuse the filters.
-
Page 6: What's In The Box
Air Inlet Purelle Smart Air Purifier Model: AP2 User Manual 1 Purelle Smart Air Purifier 2 H13 True HEPA Composite Filter Set (Inside Device) 3 User Manual 4 *Power Adapter The image shown here is indicative only. If there is inconsistency between the image and the actual product, the actual product shall govern. - Page 7 filter. Please dispose the used filters as combustible rubbish. Do not wash and reuse the filters. For optimal performance, only Airversa filters should be used with this unit. To purchase replacement filters, please go to:...
-
Page 8: Specifications
SPECIFICATIONS Model Name Rated Input Voltage 100-240 V 50/60 Hz Rated Power 24 W Standby Power 0.5 W CADR 130 CFM / 221 m³/h Noise Level 28 – 53 dB Optimal Room Size 28 m² or 300 sq. ft. Working Temperature 4–104 °F / 0 –... - Page 9 SET UP PURELLE Unscrew the knob on the base Remove and put aside the base. according to the directional marks. Take out the new filters (wrapped Remove the plastic films on in plastic films) from the product. the filters. Install the filters into the product.
-
Page 10: Let's Begin
LET’S BEGIN Once connected to the air purifier, plug Tab the power button on the control the adapter to a standard AC outlet, panel to turn it on. Meanwhile, the and you will hear a “ding” sound. screen lights up. Air Quality LED Ring Real-time... -
Page 11: How To Use
When the time is finished, based on air quality. For example, Purelle will turn off. To cancel a the better the air quality, the lower timer, tap the button repeatedly the fan speed, or vice versa. - Page 12 Filter Life Indicator Indicates filter consumption Press & Hold to reset filters Blinks red when the filter should be checked or replaced. Press and hold for approx. 5s Power Button to reset the Filter Status Indicator. Tap to turn Purelle on/off...
-
Page 13: Smart Setup
Apple App Store and then open it on pairing mode. your iOS devices. Once setup complete, you may Add Purelle to the app following have access to exclusive features the on-screen instructions. such as PM2.5 Charts & Reports, Scheduling, Screen Brightness... -
Page 14: Filter Replacement
FILTER REPLACEMENT Unscrew the knob on the base Remove and put aside the base. according to the directional marks. Pull the tabs to remove the old Remove the plastic films on filters from the air purifier. the new filters. Install the new filters into the Install the base to the air purifier, the air purifier. -
Page 15: Cleaning And Maintenance
Once connected to the air purifer, plug Press and hold the Filter Status the adapter to a standard AC outlet, Indicator for approx. 5s to reset and you will hear a “ding” sound. the indicator. CLEANING AND MAINTENANCE Cleaning the Pre-Filter It is recommended to vacuum the pre-filter once a month under normal usage: 1 Unplug the air purifier. -
Page 16: Troubleshooting
The Filter Status Press and hold the Filter remains lit after indicator needs Status Indicator for approx. filter replacement to be reset 5s to reset the indicator If you need further assistance, please feel free to contact us via support@airversa.com... -
Page 17: Warranty
To damages or defects caused by service or repair of the product performed by an unauthorized service provider or by anyone other than Airversa; To damages or defects occurring during commercial use, rental use, or any use for which the product is not intended;... - Page 18 If you discover that your product is defective within the specified warranty period, please contact Customer Support via support@airversa.com. DO NOT dispose of your product before contacting us. Once our Customer Service Team has approved your request, please return the product with a copy of the invoice and order ID.
-
Page 19: Customer Support
CUSTOMER SUPPORT support@airversa.com www.airversa.com If you have any questions or concerns about your new product, please feel free to contact our Customer Service Team.


Need help?
Do you have a question about the Purelle and is the answer not in the manual?
Questions and answers