Advertisement
Quick Links
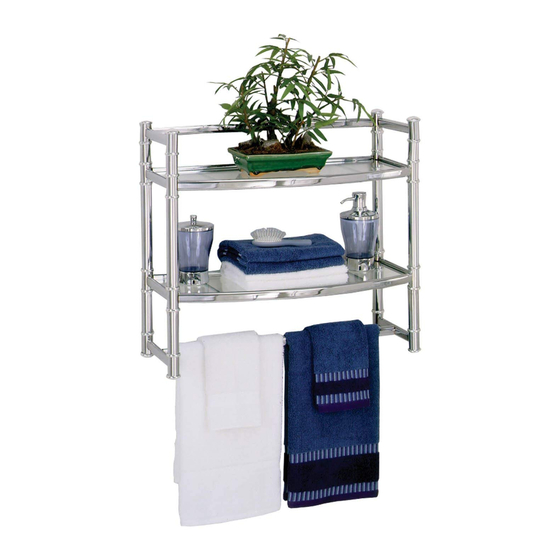
Assembly Instructions - Model 9012SS (Chrome)
Before You Begin
Thank you for purchasing this prod-
uct. We've included easy to follow
step-by-step instructions which have
been carefully written to ensure
quick, easy assembly of your furni-
ture. Be sure to read the instructions
(a time saver in the long run).
Identify all part
s and hardware.
.
IS9012-I7
Pg 1 of 10
©2006 Zenith Products Corp.
BB 04/17/06
Advertisement

Related Manuals for Zenith 9012SS


Summary of Contents for Zenith 9012SS
- Page 1 Assembly Instructions - Model 9012SS (Chrome) Before You Begin Thank you for purchasing this prod- uct. We’ve included easy to follow step-by-step instructions which have been carefully written to ensure quick, easy assembly of your furni- ture. Be sure to read the instructions (a time saver in the long run).
-
Page 2: Tools Needed
Tools Needed NOTE: tools only needed for mounting to wall, not for assembly List of Parts (B) 1 Allen Wrench for use with (A) 4 Large Screws Large Screws (A) (D) 4 Threaded Inserts (C) 24 Chrome Collars (E) 4 Top Caps (G) 8 Rubber Shelf Collars (F) 4 Bottom Caps (I) 4 Mounting Spacers... - Page 3 (1) 1 Top Piece (2) 1 Bottom Piece (3) 2 Tubular Shelves (4) 2 Glass Shelves (6) 4 Medium Tubes 4 Tubos medianos 4 tubes moyens (7) 4 Long Tubes (5) 4 Short Tubes (8) 4 Thin Interior Tubes IS9012-I7 Pg 3 of 10...
- Page 4 Screw threaded inserts (D) into one end of thin interior tubes (8). Please note: For ease of assembly, this product is being assembled upside down. Screw thin interior tubes (8) into top piece (1). IMPORTANT: Make sure top piece (1) is oriented like this. IS9012-I7 Pg 4 of 10...
- Page 5 Slide chrome collars (C) and short tubes (5) onto thin interior tubes (8). Slide a tubular shelf (3), chrome collars (C) and long tubes (7) onto thin interior tubes (8). NOTE: The cross wires should be face up. IS9012-I7 Pg 5 of 10...
- Page 6 Slide chrome collars (C) and a tubular shelf (3) onto thin interior tubes (8). NOTE: The cross wires should be face up. IS9012-I7 Pg 6 of 10...
- Page 7 Slide medium tubes (6) and chrome collars (C) onto thin interior tubes (8). Fasten bot- tom piece (2) to unit with large screws (A). IMPORTANT: Make sure bottom piece (2) is oriented like this. Make sure all chrome collars (C) are straight and properly aligned before tightening large screws (A).
- Page 8 Screw on top caps (E). Insert bottom caps (F). IMPORTANT: Once bottom caps (F) are inserted, they CAN NOT be removed without causing damage to the unit. Be sure to confirm that unit is properly assembled and tight- ened before inserting bottom caps (F). IS9012-I7 Pg 8 of 10...
- Page 9 Mount the unit to the wall. WARNING: FOR SAFETY REASONS, IT IS IMPERATIVE THAT THIS UNIT BE MOUNTED TO THE WALL. WE HAVE PROVIDED MOUNTING HARDWARE FOR YOUR CONVENIENCE. Mounting Instructions: Warning: Before cutting, drilling or ham- mering into any wall surface, verify the location of electrical, plumbing and gas lines.
- Page 10 Install rubber shelf collars (G). Install glass shelves (4). IS9012-I7 Pg 10 of 10 Learn more about other home bath & faucets by Zenna Home on our website.
Need help?
Do you have a question about the 9012SS and is the answer not in the manual?
Questions and answers