Table of Contents
Advertisement
Quick Links
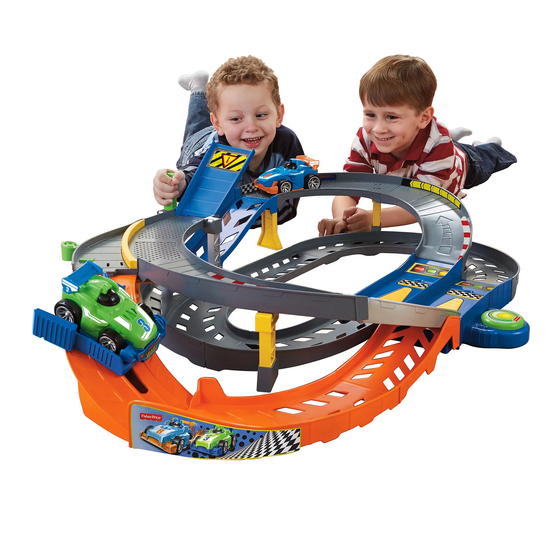
BDD52
Press and
hold the GO
button and
they're off!
CAUTION
To prevent entanglement,
keep hair away from wheels.
Please keep this instruction sheet for future reference,
as it contains important information.
Requires four AA (LR6) alkaline batteries (not included) for vehicle operation.
Adult assembly is required. Tool required for battery installation:
Phillips screwdriver (not included).
The vehicles are not recommended for use on loose dirt or wet surfaces.
Wipe this toy with a clean cloth dampened with
a mild soap and water solution. Do not immerse any part of this toy.
This toy has no consumer serviceable parts. Do not take the vehicles apart.
fisher-price.com
1
Advertisement
Table of Contents

Related Manuals for Fisher-Price BDD52


Summary of Contents for Fisher-Price BDD52
- Page 1 BDD52 Press and hold the GO button and they’re off! CAUTION To prevent entanglement, keep hair away from wheels. Please keep this instruction sheet for future reference, as it contains important information. Requires four AA (LR6) alkaline batteries (not included) for vehicle operation.
- Page 2 B digital device, pursuant to Part 15 of the FCC Rules. These limits are designed to provide reasonable protection against Fisher-Price, Inc., 636 Girard Avenue, East Aurora, NY 14052. harmful interference in a residential Hearing-impaired consumers: 1-800-382-7470. installation. This equipment generates,...
- Page 3 Battery Installation Battery Safety Information 1,5V x 4 AA (LR6) In exceptional circumstances, batteries may leak fluids that can cause For longer life, use alkaline batteries. a chemical burn injury or ruin your product. To avoid battery leakage: • Do not mix old and new batteries or batteries of different types: alkaline, standard (carbon-zinc) or rechargeable (nickel-cadmium).
- Page 4 Lower Track Assembled Parts Each track piece has a number on the bottom. Simply match the numbers and fit the pieces together! For best performance, we suggest assembling on a hard, flat surface. “Snap” a short trestle, labeled 8, “Snap” both tall to the track piece trestles, labeled 4, and labeled 2 - 3.
- Page 5 Upper Track Assembled Parts Each track piece has a number on the bottom. Simply match the numbers and fit the pieces together! “Snap” the wide based trestle, labeled 10, to the track piece labeled 9 - 11.
- Page 6 Decoration Before applying the labels, wipe the surface with a clean, dry cloth to remove any dust or oils. Place the labels exactly as shown in the illustration and avoid repositioning the labels. After applying a label, rub it firmly with a clean dry cloth, starting at the center, to remove any air bubbles.
- Page 7 Race to Win! • Lift the starting gates on the track. • Lift the track lever to lift the upper • Set the vehicles on the arrows behind track and send a vehicle to the the starting line. lower track. •...
Need help?
Do you have a question about the BDD52 and is the answer not in the manual?
Questions and answers