Advertisement
Quick Links
STEPS
STEP 1
All legs and transformer are located at the rear of the Seat.
STEP 2
Place the washers onto bolts and slide bolts through the
hole in each leg.
STEP 3
Attach each wood leg to the bottom of product using
bolts and then tighten all securely.
NOTE: Please do not over tighten the legs as this could
cause damage.
ÉTAPES
ÉTAPE 1
Les pattes et le transformateur sont situés à l'arrière du
siège.
ÉTAPE 2
Placer les rondelles sur les boulons et faire glisser ceux-ci
dans les trous des pattes.
ÉTAPE 3
Rattacher les pattes sous le siège à l'aide des boulons.
Serrer pour bien faire tenir en place.
NOTE : Ne pas trop serrer les pattes car cela pourrait
endommager le produit.
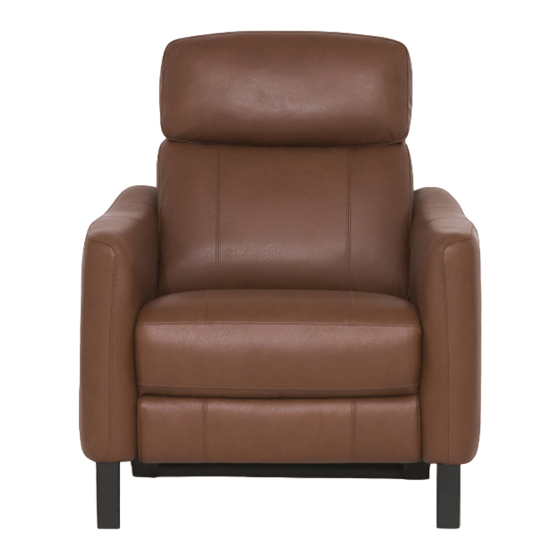
Assembly Instructions of Nash Recliner
Instructions d'assemblage du fauteuil inclinable Nash
PARTS LIST / LISTE DES PIÈCES
Front wood Leg
Patte avant en bois
x 2
Rear wood Leg
Patte arrière en bois
x 2
Bolt and washer
Boulon et rondelle
x 4
Front Wood legs
Pattes avant en bois
Rear Wood legs
Pattes arrière en bois
1/2
Advertisement

Related Manuals for Urban Barn Nash


Summary of Contents for Urban Barn Nash
- Page 1 Assembly Instructions of Nash Recliner Instructions d'assemblage du fauteuil inclinable Nash STEPS STEP 1 PARTS LIST / LISTE DES PIÈCES All legs and transformer are located at the rear of the Seat. Bolt and washer Front wood Leg STEP 2...
- Page 2 Assembly Instructions of Nash Recliner Instructions d'assemblage du fauteuil inclinable Nash 2. Locate the power cord C attached to the bottom back and connect to plug D located at the rear of seat. 2. Localiser le cordon électrique C rattaché à la partie arrière du dessous et le connecter à...