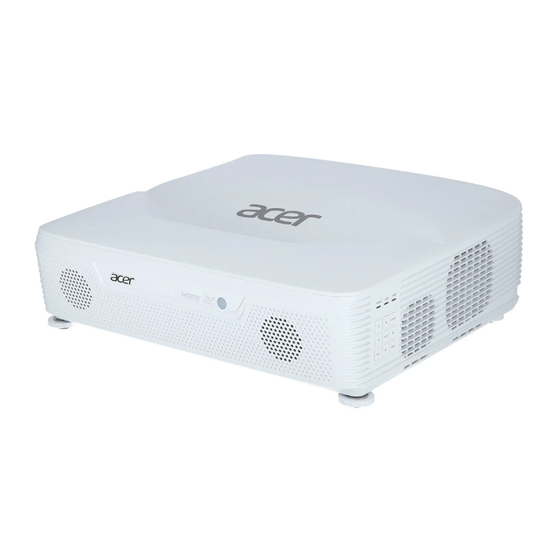
Summary of Contents for Acer L811
- Page 1 Acer Smart Projector L811 Smart System User’s Guide Copyright © 2021. Acer Incorporated. All Rights Reserved. Acer Projector User’s Guide Original Issue: 08/2021...
-
Page 2: Table Of Contents
TABLE OF CONTENTS SMART FUNCTIONS ................. 3 Acer Smart Projector ......................... 3 Remote control layout........................ 5 Home page overview ......................... 7 Configure system settings ......................8 Firmware Update ........................12 Aptoide app ..........................14 Accessing apps ........................15 Adding apps to favorites ......................16 Wireless display app ......................... -
Page 3: Smart Functions
SMART FUNCTIONS Acer Smart Projector The Acer Smart Projector comes with a powerful and easy-to-use media center where you can wirelessly project any content from your iOS, Android, or Windows based device, access and project various default apps that are installed to the projector, manage and organize the media center Home page according to your preferences, and more. - Page 4 SMART FUNCTIONS Note: If the selected Wi-Fi network is secured, you are prompted to enter a password. Enter the password and then click Connect to continue. Set Date & Time settings including Automatic date&time, Timezone, Date, Use-24-hour format. Then click to go to home page to complete the initial setup.
-
Page 5: Remote Control Layout
SMART FUNCTIONS Remote control layout Icon Function Description Infrared transmitter Sends signals to the projector. POWER Turns the projector on or off. Mouse Smart mode: Switch to mouse mode for Navigation key. Others: Forbidden function. SOURCE Changes the active source. Select/Enter Confirms your selection of items. - Page 6 SMART FUNCTIONS Icon Function Description KEYSTONE Adjusts the image to compensate for distortion caused by tilting the projector. BACK Returns to the previous operation. Smart: Forbidden function. Others: change source to the VGA connector. FREEZE Forbidden function. PgUp Smart: Forbidden function. Others: Select the previous page under VGA or HDMI source.
-
Page 7: Home Page Overview
App shortucts Wireless display shortcut Navigating the Acer Smart Projector Home page The items on the Home page can be accessed by using the remote control or Bluetooth mouse. Note: The media center does not support the projector keypad. -
Page 8: Configure System Settings
SMART FUNCTIONS Configure system settings To configure Android system settings, click Setting on the Home page. Select a menu item to configure its preferences. Network & Internet & Bluetooth Note: Before configuring the network settings, make sure the Wi-Fi dongle is connected to the USB port on the rear of the projector. - Page 9 SMART FUNCTIONS System Configure Android keyboard settings, system date and time settings, backup options, reset options, and advanced system settings. Sound • Volumes Increase or decrease the volume. • Touch Sounds If enable Touch sound, sound will be heard while move remote controller. •...
- Page 10 SMART FUNCTIONS Storage Shows the storage used of the OS. Apps List all apps installed. You can choose an application and force to shut down the app, uninstall the app, clear user data, move to SD card and clear cache data. English...
- Page 11 SMART FUNCTIONS System - Language & input Change OSD language and input method. The default input method is android standard keyboard. System---Reset You can reset all the settings and apps to factory default. Note: You might want to backup important data before resetting the projector. Once you choose to rest to factory default, all data/apps will be deleted.
-
Page 12: Firmware Update
SMART FUNCTIONS System - About device Firmware Update Note: Do the following steps if there is newer version or update. Open the local update. apk. in the APP List. When Auto Download is ON, the APP can automatically detect the new version of firmware and English... - Page 13 SMART FUNCTIONS donwnload the update package. You can click Online Update to check if there is newer version or software update. After download completes, a message appears. If you choose Upgrade Now, the update process begins immediately. If you choose Upgrade Next Time, the update process will automatically begin when you turn on the projector next time.
-
Page 14: Aptoide App
To use Aptoide app, make sure the projector is connected to the Wi-Fi network. • • Apps that are not pre-loaded by Acer may not be compatible or work properly. • Some apps may require a keyboard and mouse. •... -
Page 15: Accessing Apps
SMART FUNCTIONS Accessing apps You can access apps directly from the Home page or from the APP List. To view and access all the default apps, click APP List on the Home page. Click directly on the app icon to open the app. To add the app shortcuts to the Home page for quick access, do either of the following: •... -
Page 16: Adding Apps To Favorites
SMART FUNCTIONS Adding apps to favorites You can favorite apps for quick access. To favorite apps, do the following: Click My Favorite on the Home page. Click and check up to 12 apps to add them as favorite apps. When the app is selected as a favorite, the star next to it turns from gray to yellow >... -
Page 17: Wireless Display App
SMART FUNCTIONS Wireless display app Via Wireless display app, you can wirelessly cast your Android or Windows device’s screen to the projector. Click Wireless display on the Home page to start the wireless display service. Note: • The wireless display service requires Internet connection. Make sure the projector is connected to the Wi- Fi network. -
Page 18: Wireless Projection Support
SMART FUNCTIONS For Android: 1. Open the Settings app. 2. Tap on Connected Devices to open the menu. 3. Select Connection Preferences from the list of options. 4. Tap on Wireless Projection for Android. 5. Select your desired wireless display device. 6.


Need help?
Do you have a question about the L811 and is the answer not in the manual?
Questions and answers