Advertisement
Quick Links
©
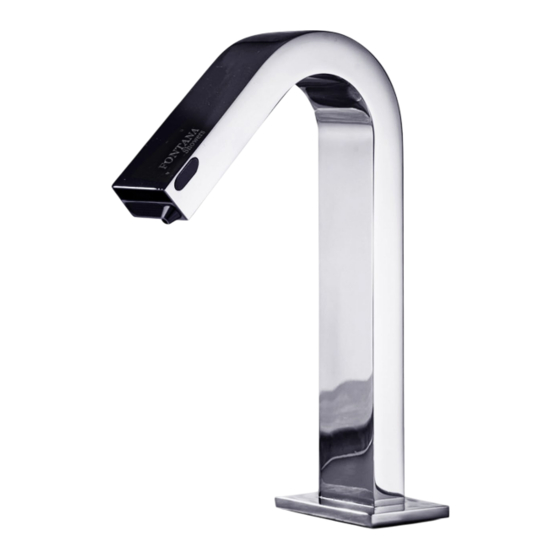
Product code: FS10012DF
Fontana Sensor Faucets
DUAL FUNCTION AUTOMATIC DECK MOUNT CHROME
SENSOR WATER FAUCET AND SOAP DISPENSER
INSTALLATION INSTRUCTIONS
PRIOR TO INSTALLATION
Please read installation instructions below. All plumbing should be
installed in accordance with applicable building codes and regulations.
Unpack and inspect the items for any shipping damages. If you find
damages, do not install.
All products must be installed by a professional and certified plumber
otherwise warranty may be voided.
POSSIBLE TOOLS REQUIRED*
Level
Plumbers Tape
Tape Measure
Adjustable Wrench
Hex Wrench
Thread Sealant
Pencil or Marker
Screwdriver
Drill
*not included
fontanasensorfaucets.com
Fontana Sensor Faucet
1
Customer Service: 800-684-4489
Advertisement

Related Manuals for FONTANA SENSOR FAUCETS FS10012DF


Summary of Contents for FONTANA SENSOR FAUCETS FS10012DF
- Page 1 © Product code: FS10012DF Fontana Sensor Faucets DUAL FUNCTION AUTOMATIC DECK MOUNT CHROME SENSOR WATER FAUCET AND SOAP DISPENSER INSTALLATION INSTRUCTIONS PRIOR TO INSTALLATION Please read installation instructions below. All plumbing should be installed in accordance with applicable building codes and regulations.
- Page 2 © Fontana Sensor Faucets Hole Size Chart Faucet Deck Mount Installation Faucet Body Threaded Tube O ring Max counter top thickness without Pre-drilled hole size requirements: deck plate: Rubber Washer Washer Min: 1.26”/32mm - Max: 1.38”/35mm 1.38”/35mm Nut and locking bolts...
- Page 3 © Fontana Sensor Faucets Overview Faucet Body Soap Bottle Faucet Body Soap Bottle fontanasensorfaucets.com Fontana Sensor Faucet Customer Service: 800-684-4489...
- Page 4 © Fontana Sensor Faucets Control Box Installation Instructions 3. Reinstall Battery Box & Control Box Cover Re-install the battery box cover, matching the alignment arrows together. Set the battery box back 5 inch into the control box, and re-assemble the control box cover using the previously removed screws ensuring they are all fully tightened.
- Page 5 © Fontana Sensor Faucets Please wait approximately seconds after 4b. Mount the control box on the wall. Drill two 1/8" connecting the sensor cable for sensor calibration to (3mm) holes as shown, and push drywall anchors complete and to begin using the faucet.
- Page 6 © Fontana Sensor Faucets Battery Override Sensor Range In the event of a power failure, the sensor faucet will This sensor faucet can automatically adjust the automatically switch to battery-operated mode to inductive range within 10 seconds of electrification. ensure the faucet continues to function. The sensor...
- Page 7 © Fontana Sensor Faucets Installation of Soap Bottle Install the bracket Insert the pump Insert the locking on the wall onto the bracket plate into bracket Soap Refill Process Affix the bottle with Unscrew the Add soap into full soap onto the pump, empty bottle.
-
Page 8: Battery Box
© Fontana Sensor Faucets Deck Mounted Faucet Overview Battery Box Battery case Battery case cover - + Screws + - Batteries fontanasensorfaucets.com Fontana Sensor Faucet Customer Service: 800-684-4489... - Page 9 © Fontana Sensor Faucets 1. Remove cover of battery case. 2. Install four (4) D size alkaline batteries. Anode Cathode Note: Make sure the batteries are installed in correct orientation (polarity). 3. Replace battery case cover. 4. Tighten screws. The standard life cycle time is 2 years, based on average use 2000 times/month.
Need help?
Do you have a question about the FS10012DF and is the answer not in the manual?
Questions and answers