
Related Manuals for HOIN HOP-M581

Summary of Contents for HOIN HOP-M581
- Page 1 80MM Thermal Receipt Printer User Manual Please read this manual carefully before using it, and keep it for future reference...
- Page 2 80MM Thermal Receipt Printer User Manual About this manual Thanks for your purchase of our company's 80MM thermal printer. This manual can help you to use this product. Please read this manual before use, and safekeeping, so that all the user of this product can read it.
- Page 3 80MM Thermal Receipt Printer User Manual ●The power adapter of the printer should be connected to the grounding socket. Avoid to use the same socket with other large motor or other equipment can lead to voltage fluctuation. Otherwise, it may lead abnormal to printer and even damage to the printer.
- Page 4 80MM Thermal Receipt Printer User Manual ●Catering industry bill printing ●Tax bill printing Package: ●Printer ●Standard power adapter (including power line) 1SET ●Paper roll 1ROLL ●Data line 1PC ●User manual 1PC ●Driver CD 1PC Printer Features: ●Support vertical placing and printing; ●Ultra-low power consumption, and ultimate power saving;...
- Page 5 80MM Thermal Receipt Printer User Manual Printer Parameters: Item Parameters Printing Method Thermal Line Printing width 72mm Resolution 8dots/mm,203dpi Print speed 160mm/s(Max) Line Spacing 3.75mm(Can adjust line spacing by command) Line No. FontA-48Lines/FontB-64Lines/Simple,tradition al Chinese-24 lines Character Standard GB18030 simplified / BIG5 traditional Chinese Fonts(Japanese and Print Korean optional)
- Page 6 80MM Thermal Receipt Printer User Manual Bar code Graphics Supports bitmap download and print (Each Character printing bitmap size max to 20k) Cutter Cutter Function Full cut/Half cut Type Thermal Paper Width 79.5±0.5mm Paper Diameter ≤82mm Feed method Easy feed(Clameshell feed) Print Commands ESC/POS...
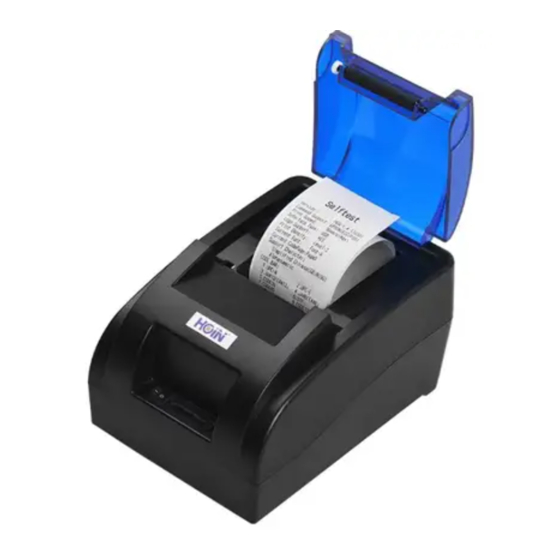
- Page 7 80MM Thermal Receipt Printer User Manual Printer connection 1. Connect the power adapter cable with printer. 2. Connect the data cable(eg: USB line) with printer also. 3. Connect Cash drawer line with printer as well. Install thermal paper 80MM series thermal printer using 80MM thermal paper, using easy paper structure, convenient to install paper.
- Page 8 80MM Thermal Receipt Printer User Manual Note: take care of the roll direction, if reverse direction, the content won’t be print out. Power switch, press bottom, indicators and their functions 1 Power switch button The switch can turn on and off the printer power supply. 2 Feed button Press this button can feed the paper out, if keep pressing, will continue to feed.
- Page 9 80MM Thermal Receipt Printer User Manual 3 Paper light indicator When this paper light and the Error light flashing at the same time, it indicates printer is lack of paper; When this paper light and the Error light are off, means the printer has paper. 4 Power light indicator This light on indicates that the printer is connected to the power supply, this light off indicates that the printer power is off.
- Page 10 80MM Thermal Receipt Printer User Manual release the feed button, then you have set the printing density successfully. How to back to factory setting: Connect printer to the power adapter, press feed button and turn on power button at the same time, keep pressing the Feed button until the Paper light and error light all turn off, and paper light and error light turn on again, then you will see printer print “Factory Mode set, please...
- Page 11 80MM Thermal Receipt Printer User Manual Note: do not open cover by force, or may cause unrecoverable damage to the print head and the cutter. Printer driver 80MM series thermal printer driver mode has two kinds, one is using the port for directly printing, the other is install driver in Windows system to print.
- Page 12 80MM Thermal Receipt Printer User Manual 2.Install driver in windows system Install driver stored in CD under windows system, you use the driver under the program and realize printing. In this way, it is Windows driver that turn the character into a graphic dot and realize printing. Windows driver installation instructions, pls see Step (1)-(6): (1)...
- Page 13 80MM Thermal Receipt Printer User Manual (3) Select "I accept this Agreement", click "next" (4) Click "install"...
- Page 14 80MM Thermal Receipt Printer User Manual (5) Setup software will automatically identify the version of the Windows system, click "Next” (6) Click "finish" to complete the driver installation. After this step completed, mean the driver have been installed successfully.
- Page 15 80MM Thermal Receipt Printer User Manual (7) For Ethernet printing,need to add the Ethernet port in your side. Open Driver POS-80MM-Series and right click it,choose the Printer Properties and add new Ethernet port.The Exact adding way show as following . (Only Printer with Ethernet port need to check following steps)
- Page 16 80MM Thermal Receipt Printer User Manual...
- Page 17 80MM Thermal Receipt Printer User Manual...
- Page 18 80MM Thermal Receipt Printer User Manual Printer Repair and maintenance 1. printer external and warehouse cleaning: please use a wet cloth gently wipe the printer surface and internal paper warehouse. 2. Printer core clean: printer core must be clean on time, especially the quality of printing is decline, cleaning methods are as follows: put cotton dipped in anhydrous alcohol and gently wipe the printer core ceramic parts as shown in the picture below until clean enough.
- Page 19 80MM Thermal Receipt Printer User Manual The printer print The print head not Put cotton dipped in light in density clean for a long anhydrous alcohol and time gently wipe the printer core ceramic parts until clean enough The thermal paper Pls choose high quality is not good thermal paper...
Need help?
Do you have a question about the HOP-M581 and is the answer not in the manual?
Questions and answers