Table of Contents
Advertisement
Quick Links
Advertisement
Table of Contents

Related Manuals for OK DIGITAL LF10 Series


Summary of Contents for OK DIGITAL LF10 Series
- Page 1 LF10 Series Installation Guide...
-
Page 2: Table Of Contents
Table of Contents Page Models Accessories Install LF11-PL for right-hand door Install LF12-FL for right-hand door Install LF13-HL for right-hand door 9-10 Install LF11-PL for left-hand door 11-12 Install LF12-FL for left-hand door 13-14 Install LF13-HL for left-hand door 15-16 Install LF11-PL for two doors 17-18 10. -
Page 3: Models
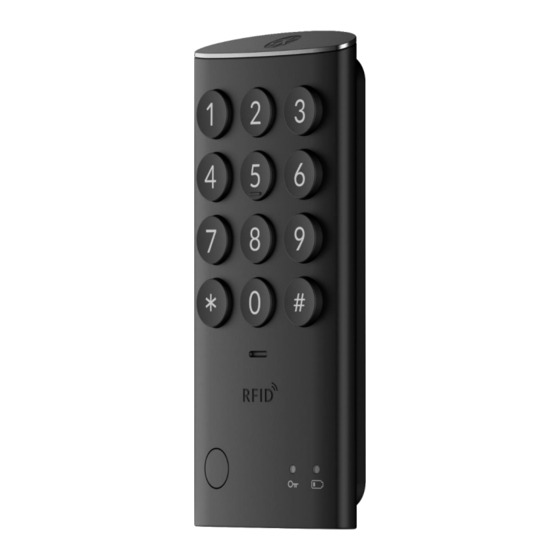
Models Supported door thickness: 15mm / 18mm / 20mm ⚫ Please refer to User Guide for punching installation holes FRONT LF11-PL LF12-RL LF-13HL REAR LR11... -
Page 4: Accessories
Accessories Battery Bracket Link Bolt Screw Battery Cover Details of the bolt ⚫ Door Thickness Size of the bolt 15mm ~ 20mm Flat Head Bolt M4 X 20mm Details of the link ⚫ Type Door Thickness Link 20mm 30mm (marked “L”) 18mm 28mm (marked “M”) 15mm... -
Page 5: Install Lf11-Pl For Right-Hand Door
Install LF11-PL for right-hand door Connect front cable to the rear. Place the front unit through the lock mounting holes on the front of the door. Insert the link into the link bracket of the rear. ※ Caution: In-use indicator will not work if the link is assembled incorrectly. Link Hole Arrange the cable as above picture. - Page 6 Hold the front and rear and tighten the Install batteries (AA Alkaline). bolt. (Torque: 3 of electric drill) Assemble the battery-Cover. Align the strike to match with center of the deadbolt. Tighten screws into the strike. Test locking and unlocking after installation.
-
Page 7: Install Lf12-Fl For Right-Hand Door
Install LF12-RL for right-hand door Connect front cable to the rear. Place the front unit through the lock mounting holes on the front of the door. Insert the link into the link bracket of the rear. ※ Caution: In-use indicator will not work if the link is assembled incorrectly. Link Hole Arrange the cable as above picture. - Page 8 Hold front and rear and tighten the bolt. Install batteries (AA Alkaline). (Torque: 3 of electric drill) Assemble the battery-Cover. Align the strike to match with center of the deadbolt. Test locking and unlocking after Tighten screws into the strike. installation.
-
Page 9: Install Lf13-Hl For Right-Hand Door
Install LF13-HL for right-hand door Connect front cable to the rear. Place the front unit through the lock mounting holes on the front of the door. Insert the link into the link bracket of the rear. ※ Caution: In-use indicator will not work if the link is assembled incorrectly. Link Hole Align front and rear to insert the link Arrange the cable as above picture. - Page 10 Hold front and rear and tighten the bolt. Install batteries (AA Alkaline). (Torque: 3 of electric drill) Assemble the battery-Cover. Align the strike to match with center of the deadbolt. Tighten screws into the strike. Test locking and unlocking after installation.
-
Page 11: Install Lf11-Pl For Left-Hand Door
Install LF11-PL for left-hand door Connect front cable to the rear. Place the front unit through the lock mounting holes on the front of the door. Insert the link into the link bracket of the rear. ※ Caution: In-use indicator will not work if the link is assembled incorrectly. Link Hole Arrange the cable as above picture. - Page 12 Hold the front and rear and tighten the Install batteries (AA Alkaline). bolt. (Torque: 3 of electric drill) Assemble the battery-Cover. Align the strike to match with center of the deadbolt. Tighten screws into the strike. Test locking and unlocking after installation.
-
Page 13: Install Lf12-Fl For Left-Hand Door
Install LF12-RL for left-hand door Connect front cable to the rear. Place the front unit through the lock mounting holes on the front of the door. Insert the link into the link bracket of the rear. ※ Caution: In-use indicator will not work if the link is assembled incorrectly. Link Hole Arrange the cable as above picture. - Page 14 Hold front and rear and tighten the bolt. Install batteries (AA Alkaline). (Torque: 3 of electric drill) Assemble the battery-Cover. Align the strike to match with center of the deadbolt. Tighten screws into the strike. Test locking and unlocking after installation.
-
Page 15: Install Lf13-Hl For Left-Hand Door
Install LF13-HL for left-hand door Connect front cable to the rear. Place the front unit through the lock mounting holes on the front of the door. Insert the link into the link bracket of the rear. ※ Caution: In-use indicator will not work if the link is assembled incorrectly. Link Hole Arrange the cable as above picture. - Page 16 Hold front and rear and tighten the bolt. Install batteries (AA Alkaline). (Torque: 3 of electric drill) Assemble the battery-Cover. Align the strike to match with center of the deadbolt. Tighten screws into the strike. Test locking and unlocking after installation.
-
Page 17: Install Lf11-Pl For Two Doors
Install LF11-PL for two doors Connect front cable to the rear. Place the front unit through the lock mounting holes on the front of the door. Insert the link into the link bracket of the rear. ※ Caution: In-use indicator will not work if the link is assembled incorrectly. Link Hole Arrange the cable as above picture. - Page 18 Hold the front and rear and tighten the Install batteries (AA Alkaline). bolt. (Torque: 3 of electric drill) 데드랫치 Assemble the battery-Cover. Align the strike to match with center of the deadbolt. Tighten screws into the strike. Test locking and unlocking after installation.
-
Page 19: Install Lf12-Fl For Two Doors
Install LF12-RL for two doors Connect front cable to the rear. Place the front unit through the lock mounting holes on the front of the door. Insert the link into the link bracket of the rear. ※ Caution: In-use indicator will not work if the link is assembled incorrectly. Link Hole Arrange the cable as above picture. - Page 20 Hold front and rear and tighten the bolt. Install batteries (AA Alkaline). (Torque: 3 of electric drill) 데드랫치 Assemble the battery-Cover. Align the strike to match with center of the deadbolt. Tighten screws into the strike. Test locking and unlocking after installation.
-
Page 21: Install Lf13-Hl For Two Doors
Install LF13-HL for two doors Connect front cable to the rear. Place the front unit through the lock mounting holes on the front of the door. Insert the link into the link bracket of the rear. ※ Caution: In-use indicator will not work if the link is assembled incorrectly. Link Hole Align front and rear to insert the link Arrange the cable as above picture. - Page 22 Hold front and rear and tighten the bolt. Install batteries (AA Alkaline). (Torque: 3 of electric drill) 데드랫치 Assemble the battery-Cover. Align the strike to match with center of the deadbolt. Tighten screws into the strike. Test locking and unlocking after installation.
Need help?
Do you have a question about the LF10 Series and is the answer not in the manual?
Questions and answers