
Related Manuals for Artifort Beso


Summary of Contents for Artifort Beso
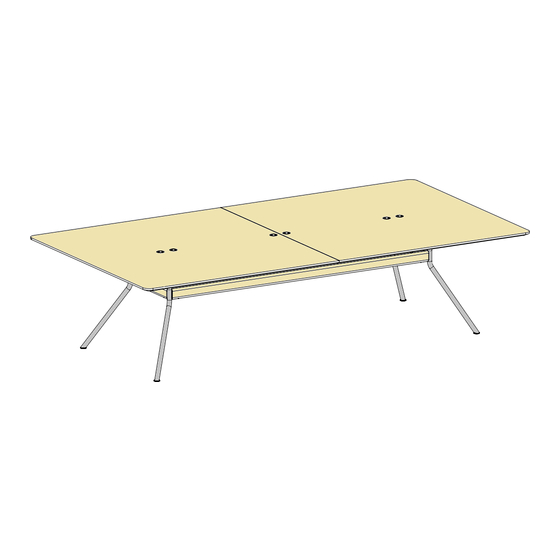
- Page 1 Beso Table Assembly guide Table sizes L 260 x W 140 cm L 260 x W 160 cm L 300 x W 140 cm L 300 x W 160 cm Beso Table | Khodi Feiz...
- Page 2 Index Mounting materials Tools Table parts Option - tools for electrification Assembling instructions...
-
Page 3: Mounting Materials
Mounting materials M6x16 M8x30 M6x55 Lamello Felt sticker 4x (laminate top coat) 6x (veneer top coat) Frame connector to table top Table top connector + 5x20 screw Tools Allen key Allen key Philips screwdriver Wrench 10 mm size 5 size 4... - Page 4 Table parts Table top 2 parts 2x Wooden beam large 2x Wooden beam small 4 x Assembled leg Support frame...
- Page 5 Option: tools for electrification If required, the Beso Table program offers electrification solutions and cable management. Cables are cleverly stored in a cable cover. Electrification can be integrated in the following table sizes: L 260 x W 140 cm L 260 x W 160 cm...
- Page 6 Assembling table top Place the table top on a protection blanket. Connect the two parts of the table top with the lamellos. In case of a veneer top coat, you need to connect the lamellos vertically. In case of a laminate top coat, you need to connect the lamellos horizontally. Place the table top connectors.
- Page 7 Assembling table top Place the support frame and screw in the M6x16 mm bolts on both ends. Screw in the frame connectors on both sides. 16 x frame connector 12x M6x16 mm 16x 5x20 screw...
- Page 8 Option: mount electrification Screw in buttons in order to place the cable cover. Screw in the netbox spots. 4 x per 4 x per unit cable cover Screw button Screw 3x12 mm for cable cover M8x12 mm...
- Page 9 Option: mount electrification Mount the base plate. Slide the splitter on the base plate. Connect the GST plugs to the splitter. Choose the position for the powercable outlet. Place the cable covers.
-
Page 10: Assembling The Base
Assembling the base Connect a small beam between two legs. Screw in the M8x30 mm first. Then screw in the M6x55. Repeat this in order to connect the other two legs. Make sure to carefully slide the beam onto the pins. Place no tention on the wooden beam. -
Page 11: Assembling The Table
Assembling the table Place the assembled leg frame into the recess in the table top. Secure each table leg with four bolts and thighten firmly. 16x M6x16 mm... - Page 12 Place a felt sticker at the bottom of each table leg. Carefully place the assembled table on its side, then on its legs. Make sure this is done with at least two persons Your Beso Table is ready for use.
- Page 13 Artifort is a Lande Group brand | P.O. Box 115 | 5480 AC Schijndel | The Netherlands T +31 73 658 0040 | info@artifort.com | www.artifort.com /weloveartifort /artifort /artifort /artifort_furniture /company/artifort...
Need help?
Do you have a question about the Beso and is the answer not in the manual?
Questions and answers