Advertisement
Quick Links
Advertisement

Subscribe to Our Youtube Channel
Related Manuals for ventyly Hybrid VY25001


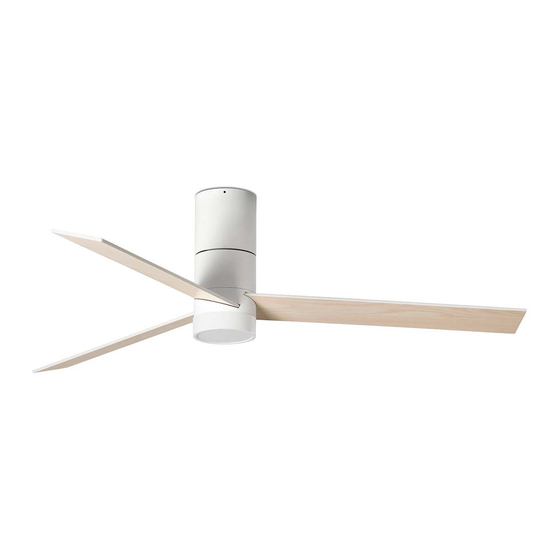
Summary of Contents for ventyly Hybrid VY25001
- Page 1 Ventyly Hybrid Assembly manual Instrucciones de montaje Manuel de montage...
- Page 2 EN. Congratulations on the purchase of your new Ventyly fan that will pro- vide you design, quality and comfort for many years. We are proud of our work and appre- ciate the opportunity to provide one of the best ceiling fans available.
- Page 3 Check list Lista de contenido Liste de contrôle ② Bracket, Soporte, Support de montage Motor, Motor, Moteur (3) Blades, Palas, Pales Plate, Tapa Plaque ** Support for kits, Soporte para kits, Support pour kit ** Light kit, Kit de luz, Kit d’éclairage Remote control kit, Kit mando a distancia, Kit de télécommande...
-
Page 4: Información Information
You will need Necesitarás Vous aurez besoin Information Información Information body blades VY25001 White Alu White + Maple Plywood VY25012 White Alu White + Maple Plywood VY25103 Black Alu Black + Walnut Plywood VY25114 Black Alu Black + Walnut Plywood 220-240 50/60 With Timer... - Page 5 Assembly Montaje Montage ③ ③ Important!! ¡¡Importante!! Disassemble Desensable Important ! Démonter Install the fan bracket Instala el soporte del venti- Disassemble Desensable lador. Installez le support du ventilateur Démonter Install the fan bracket Instala el soporte del venti- Install the fan bracket Instala el soporte del venti- lador.
- Page 6 Assembly Montaje Montage Connect the ceiling fan Conecta el ventilador Connect the receiver Conecta el receptor Connectez le ventilateur Connectez le récepteur Connect the receiver Conecta el receptor Connectez le récepteur 220-240V L AC in live N AC in neutral in earth Make the connections.
- Page 7 Assembly Montaje Montage Motor cover. Cubierta del motor. Motor cover. Cubierta del motor. Capot moteur. Capot moteur. 1 1. Motor cover. Cubierta del motor. Loosen the screws. Aflojar los tornillos. Capot moteur. Desserrer les vis. Blade assembly Monte las palas Tighten the screws.
- Page 8 Assembly Montaje Montage DONE!!! Ventyly Hybrid Place the cover blades Coloca la cubierta de las Without light kit Sin kit de luz palas, Placez la couverture de Lames Sans kit d’éclairage...
-
Page 9: Montaje
Assembly Montaje Montage with light kit with light kit (10) (10) (11) with light kit with light kit (11) DONE!!! with light kit Motor cover. Cubierta del motor. Motor cover. Cubierta del motor. Capot moteur. Capot moteur. - Page 10 Remote Mando Dis- Télécom- Control tancia mande Push to “O” for light kit accessory. or “D” for other accessory Pulsa a “O” para kit de luz ó “D” para otros kits Poussez sur « O » pour l’accessoire du kit d’éclairage au sur «...
- Page 11 Télécom- Remote Mando Dis- mande Control tancia Light Dimmer. Regula la intensidad de la luz. Variateur de lumière ON/OFF Keep Keep pressed!! pressed!! Reverse Function. Función inversa. Fonction inverse ON/OFF Press Press once once Vacation mode. Modo vacaciones. Mode vacances ON/OFF Press Press...
- Page 12 Remote Mando Dis- Télé Control tancia Comande 2700K ON/OFF Press Press ON/OFF once ON/OFF once 3500K 4500K Press Press Press ON/OFF once ON/OFF once ON/OFF once Information Informacion Information Pour le changement de For color change, press on/ couleur, appuyez plusieurs off repeatedly.
- Page 13 Warning Atención Attention Read entire booklet carefully before begin- ately and contact the manufacturer, your ser- ning installation and save these instructions. vice agent or suitably qualified persons. Please contact our technical department with The assembly and replacement of the safe- any queries.
- Page 14 Warning Atención Attention Air flow (CFM/m3min) Fan air flow 2. Review the connections of the terminal block DC motor: The fan operates with direct current according to the indications in the installation. at the same voltage (direct current). It is char- 3.
- Page 15 Warning Atención Attention SYMBOLOGY tilador de techo debe estar conectado a tierra a fin de prevenir posibles descargas eléctricas. La instalación eléctrica debe ser llevada a cabo o aprobada por un electricista autorizado. Asegúrese de no dañar el cableado eléctrico 1- It has an earthing connection.
- Page 16 Warning Atención Attention instalan, mantienen y utilizan el producto. gure la distancia mínima de 2,30 metros entre Nuestros ventiladores cumplen con las normas las aspas de los diferentes ventiladores. de seguridad vigentes. MANTENIMIENTO La manipulación interna o externa de la lu- Importante! Antes de realizar cualquier tar- minaria puede comprometer su seguridad.
- Page 17 Warning Atención Attention 1. Asegúrate que la bola de suspensión del ven- bilidad de cambiar la dirección de rotación de tilador está bien asentada y que los soportes las palas y así optimizar el movimiento del aire. de montaje estén firmemente apretados a la viga del techo.
- Page 18 Warning Atención Attention trique ou de blessure personnelle, ne pas plier Important les supports de pale lors de l’installation des Tension nominale (V) Différence de potentiel supports, de l’équilibrage des pales ou du net- électrique (tension) entre deux points. Cette toyage du ventilateur.
- Page 19 Warning Atención Attention S’assurer qu’elles soient fermement serrées. vissés sur le moteur. Inutile d’huiler votre ventilateur. Le moteur a 4. La plupart des problèmes d’oscillation de des roulements lubrifiés à vie. ventilateur sont causés par des inégalités de Nettoyez périodiquement le ventilateur pour niveaux de pales.
- Page 20 Guarantee Garantia Garantie In Compliance with General Law 23/2003 & The maintenance of the product must be carried R.D.L. 1/2007. out according to the instructions and by special- If any of the parts of your ceiling fan is faulty at ized personnel only.
- Page 21 Guarantee Garantia Garantie de la pieza de forma gratuita. cializado únicamente. Para cualquier reclamación, se deberá adjuntar a Si se determina que un producto es defectuoso o esta garantía el ticket de compra. no funciona de acuerdo con las especificaciones Así...
- Page 22 Guarantee Garantia Garantie De même si la réparation n’est pas satisfaisante l’acheteur doit en aviser par écrit le fabricant. et l’objet ne remplit pas les conditions optimales Toutes les périodes de garantie mentionnées pour l’usage auquel il est destiné, le titulaire de sont soumises à...
- Page 24 ventyly.com...
Need help?
Do you have a question about the Hybrid VY25001 and is the answer not in the manual?
Questions and answers