Table of Contents
Advertisement
Advertisement
Table of Contents

Related Manuals for iFAMILY SM651

Summary of Contents for iFAMILY SM651
- Page 1 size: 128.5x94 mm...
- Page 3 service@ifamily.vip...
- Page 4 service@ifamily.vip...
-
Page 5: Table Of Contents
CONTENT 1. SAFETY INSTRUCTIONS 2. PRODUCT OVERVIEW 2.1 Package list 2.2 Parent unit(monitor) 2.3 Baby unit(camera) 2.4 Icon overview 3. USING THE BABY MONITOR 7-10 4. FUNCTION OVERVIEW 4.1 Pairing the camera and monitor 4.2 Delete the camera 4.3 Lullaby setting 4.4 Feeding timer setting... -
Page 6: Safety Instructions
service@ifamily.vip... - Page 7 service@ifamily.vip...
-
Page 8: Product Overview
service@ifamily.vip... -
Page 9: Parent Unit(Monitor)
Power key: Long press to turn on/o the monitor; short press to screen on/o . Pan/Tilt Press the key to enter into the pan/Tilt mode. Volume + / Up key: Press Volume+ to increase the volume/ To up the camera in the Pan/Tilt mode. - Page 10 *Bear in mind that you can't listen to your baby while you're talking to them; to listen to it, you will have to stop pressing this button. Menu/Exit: Press short Menu/Exit key the menu will pop up, and press again to EXit.
-
Page 11: Icon Overview
Light sensor Speaker infrared LEDs Pair key CMOS sensor DC-Jack Power LED Temperature sensor Antenna... -
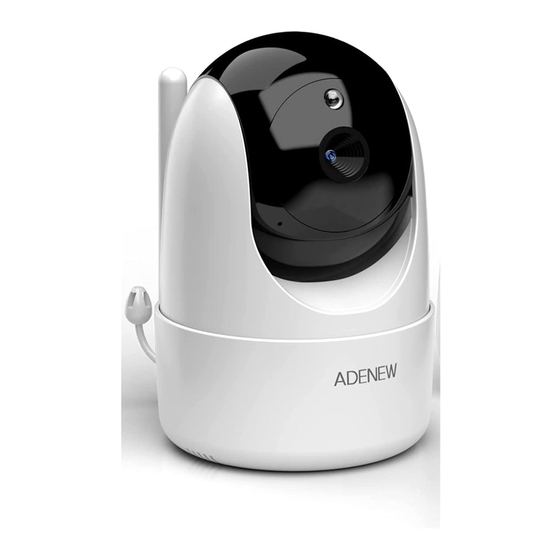
Page 12: Baby Unit(Camera)
3.1 CHARGING AND POWERING THE MONITOR UNIT Step1: Charge the monitor by connecting the A/C adapter included in this package to the monitor and a socket. (It takes about 4 hours for the monitor to be fully charged). Charging: Red/orange... - Page 13 Note: *Place the camera at least 3ft / 1m away from your baby. Gently press and hold the Power Button for 3s to turn on the monitor, then you can see the live view. *Follow your needs to adjust the sound, brightness, and reasonable placement of the camera.
- Page 14 Step1. Press and hold the Menu/Exit key arond 2 seconds enter Zoom mode. Step2. At the Zoom mode, press the Pan/Tilt key to adjust the direction of the camera/image. Step3. Press the LEFT key to pan left; Press RIGHT key pan right;...
- Page 15 service@ifamily.vip...
-
Page 16: Function Overview
4.FUNCTION OVERVIEW 4.1 PAIRING THE CAMERA AND MONITOR Step1: Press Menu / Exit key and the menu will pop up. MENU Step2: Select the camera icon and press OK key to enter into sub-menu, press the LEFT key or RIGHT key to select the camera to be paired. -
Page 17: Delete The Camera
MENU Camera Pairing Unpair... -
Page 18: Lullaby Setting
4.3 LULLABY SETTING You can soothe the baby to sleep by playing a gentle lullaby from the baby unit. Step1: Press Menu / Exit key and the menu will pop up. MENU Step2: Select the lullaby icon and press OK key to enter into sub-menu. -
Page 19: Feeding Timer Setting
4.4 FEEDING TIMER SETTING You can use the alarm to remind yourself to feed baby/change diapers/ sleep,etc Step1: Press Menu / Exit key and the menu will pop up. MENU Step2: Select the alarm icon and press OK key to enter into sub-menu. - Page 20 . Note4: If you don’t turn o the alarm, the alarm will ring for 1 minute. After 3 minutes the alarm will ring again for 1 minute. The alarm will ring for 3 times in total, after this the alarm goes o .
-
Page 21: Vox Setting
4.5 VOX SETTING This mode allows you to control the sound activation of your baby monitor. The VOX default setting is OFF. If there is no sound around the camera within 30 Seconds, it will stop transmitting. The monitor screen turns o when the camera is not transmitting. - Page 22 is Low sensitivity level; the baby have to make a lot of sound before the VOX function will be activate. is middle sensitivity level. is High sensitivity level; the baby don’t have to make a lot of sound before the VOX function will be activate.
-
Page 23: Temperature Settings
4.6 TEMPERATURE SETTINGS 4.6.1 Temperature Alarm Setting Step1: Press Menu / Exit key and the menu will pop up. MENU Step2: Select the temperature icon and press OK key to enter into sub-menu. Step3: Press the LEFT key or RIGHT key to select between ℃... -
Page 24: Temperature Hi/Lo Alert Limits
4.6.2 Temperature Hi/Lo Alert Limits Step1: Press LEFT key or RIGHT key to select (red) or (green) for Hi/Lo limits settings. Step2: Press the up key/down key to adjust the Hi limit when (red) is selected. Step3: Press the up key/down key to adjust the Lo limit when (green) is selected. -
Page 25: Setting
4.7 SETTING 4.7.1 Language Setting Step1: Press Menu / Exit key and the menu will pop up. MENU Step2: Select the setting icon and press OK key to enter into sub-menu. Language Setting Step3: Select the language setting and press... -
Page 26: Frequecy Setting
4.7.2 Frequency Setting Step1: Press Menu / Exit key and the menu will pop up. MENU Step2: Select the setting icon and press OK key to enter into sub-menu. Frequency Setting Step3: Select the frequency setting and press to enter into sub-menu, select the 60Hz if you are in North America, Select the 50Hz if you are in EUROPE. -
Page 27: Reset Setting
4.7.3 Reset Setting Step1: Press Menu / Exit key and the menu will pop up. MENU Step2: Select the setting icon and press OK key to enter into sub-menu. Reset Step3: Select the reset setting and press to enter into sub-menu, select YES if you need to reset it. -
Page 28: Technical Data
service@ifamily.vip... -
Page 29: Trouble Shooting
*Con rm that the Camera and Monitor Unit are ON(check power LED Product does indicator). not switch on *Con rm that Power adapters are properly connected. *The camera and Monitor Unit may be too far apart. *The battery power may be too low. - Page 30 * Night vision LED may be ON. Night vision mode operates in black Picture is black and white. and white *Turn on room lights to force monitor out of night vision mode. * Try moving the Camera Unit closer to the Monitor Unit The picture * Remove obstructions between the Camera and Monitor Unit.
-
Page 31: Fcc Statements
service@ifamily.vip... - Page 32 CUSTOMER SUPPORT If you encounter any problems in the process of using the product, please feel free to contact us, we will reply to you within 24 hours and resolve the issue in a way that satis es you.
- Page 33 //www.ifamily.vip/...
Need help?
Do you have a question about the SM651 and is the answer not in the manual?
Questions and answers
how do you set the monitor to stay on all time
No picture on my monitor.
Why is my camera upside down