
Related Manuals for Sunveytech MY-SNR-CX77

Summary of Contents for Sunveytech MY-SNR-CX77
- Page 1 DIGITAL WIRELESS BACKUP CAMERA SYSTEMS User Manual / Installation Instructions VEHICLE SAFETY SOLUTIONS Before installation please read the manual...
-
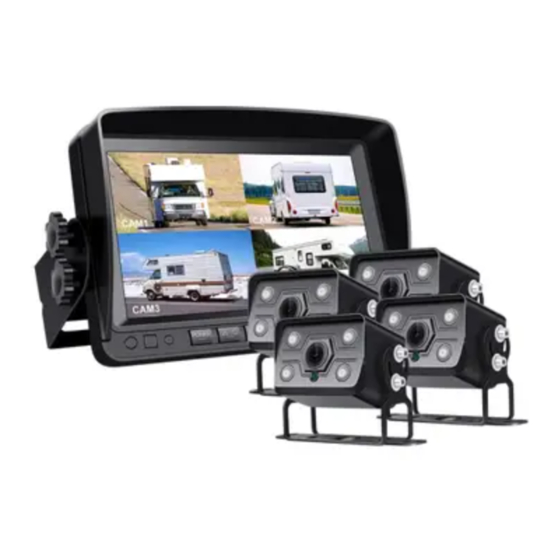
Page 2: What's In The Box
What’s in the Box? NOTE: The contents included may be different based on the kit you purchased. Please take the actual product as standard. 01. 7inch IPS Monitor 05. Car Charger 09. Antenna 02. Camera 06. Sunshade 10. Accessories 03. U-shaped bracket 07. - Page 3 Introduction Please read all of the installation instructions carefully before installing the product. Improper installation will void manufacturer’s warranty. Thank you very much for purchasing a Rear View Backup Camera System. With this manual you will be able to properly install and operate the unit.
-
Page 4: Monitor Operation
Monitor Operation Button Function Use this button to turn the monitor On and Off 1) Brightness "-" 2) Enter the menu select left 3) "-" 1) Brightness "+" 2) Enter the menu select right 3) "+" Switch channel 1) Menu 2) Return to previous level 1) Confirm key 2) Car ruler 3) Long press "SEL"... - Page 5 On the back of the monitor, you can insert an TF card Open the SD card slot on the monitor back with a screwdriver,insert SD card It is recommended to use high-speed TF card of class 10 or above.(Less than 128G) Plug in the card to start recording(“SEL”...
-
Page 6: Installation Diagram
Installation Diagram Monitor Installation Choose a monitor location in your vehicle that does not block your view and complies with local laws for safe driving. Do not place in an area where it might interfere with driving. Camera Installation Suitable Installation Position... -
Page 7: Connection Method
Connection method Car charger connect to wireless receiver in the monitor “+”ACC/Fuse/radio “+” Taillight “-” Ground “-” Note: Of connecting power directly to battery, the cameras always ON and therefore candrain battery. Therefore it is recommended to connect power to an ignition switched accessory power source. -
Page 8: Pairing The Camera And Monitor
Pairing the Camera and Monitor NO SIGNAL 1. Select the channel to be pairing 2. Enter the menu and select pairing 3. Start pairing 4. Waiting for matching and drawing successfully NOTE: when you need pairing,please confirm the circuit is properly connected and powered.If you need to pairing multiple cameras, please switch to the corresponding channel. -
Page 9: Specifications
Specifications Power Supply DC12 to 36V Wireless Frequency 2.4 GHz 2.4G Wireless network range 2406-2478MHz Wireless Range 300m(open area) Delaying Time <200ms Operating temperature -20°C ~ 80°C CAMERA Image Sensor 1/3 inch Waterproof Rating IP68K View Angle 127°[H] 170°[D] Camera Pixel 1000TVL MONITOR LCD Size... -
Page 10: Troubleshooting
Troubleshooting Problem Solution Check the cigarette lighter has 12-36V DC Output Monitor Won’t turn on Check the fuse in the Cigarette socket adapter Check if the camera is receiving power Camera and Monitor won’t pair Make sure to follow the instructions to operate the Pairing Check if the camera and monitor antennas are installed Distance between camera and monitor is too great.
Need help?
Do you have a question about the MY-SNR-CX77 and is the answer not in the manual?
Questions and answers