Advertisement
Quick Links
INSTALLATION
* Please read the following notice before installation *
1. Make sure that you or the professional are using our original connector in your first
installation, otherwise it could cause a short circus in the radio because the order of the
cable does not match correctly. If you use another connector, the radio may not turn on
or make any sound, even when you use our original connector for the second attempt.
Any damage caused by misuse of the wiring will not be included in the term of the
warranty.
2. After installing the radio, you may see some regular problems that most buyers can see,
but most of which can be verified and resolved by "F&Q"
Remove the stereo carefully from the box. keeping the box. For warranty and service of
the unit.
1. Remove the screws.
2. Unpack the car's dashboard and mounting bracket.
3. Check the size of the board window to meet the requirements. The holes of the lefit
alignment screws and the right plates.
4. By machine support fixed with screws in the dashboard.
5. Control panel installed.
PRECAUTIONS
Choose the mounting location carefully so that the unit will not interfere with the normal
driving functions of the driver.
Avoid installing the unit where it would be subject to high temperatures, from direct
sunlight or hot air from the heater, or where it would be subject to dust, dirt or excessive
vibration.
Use only the supplied mounting hardware for a safe and secure installation.
Adjust the mounting angle as desired.
Note
: Keep the release Key in the safe place as you may need it in future to remove the
unit from the car.
Advertisement

Subscribe to Our Youtube Channel
Related Manuals for Hikity 9601

Summary of Contents for Hikity 9601
- Page 1 INSTALLATION * Please read the following notice before installation * 1. Make sure that you or the professional are using our original connector in your first installation, otherwise it could cause a short circus in the radio because the order of the cable does not match correctly.
-
Page 3: Wiring Diagram
WIRING DIAGRAM WARNING Use the specified amperage fuse for each lead. Using a higher amperage fuse may cause serious damage. Power Cables Wiring: Black 1 -- Ground Black 2 -- Ground Red -- 12V positive Ignition Switch (ACC) Yellow -- 12V Battery positive Blue+Black-- Steering wheel Control line Orange -- Small Light Line Brown 1-- Steering Wheel Control Line... - Page 4 Camera Wiring: 1. Power cable: red and black Red -- reverse light positive Black -- reverse light negative 2. RCA cable: yellow port. insert into CAMIN port (yellow) on the radio 3. Make sure the pink cable on the radio power cable is connected to backing line. Thus, the device will show rear view image automatically when you are parking, and return to radio page when parking finishes.
-
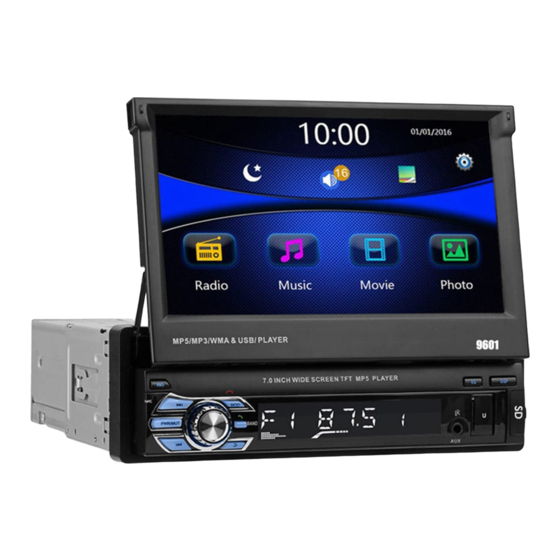
Page 5: Specifications
(4) If the map is still empty, click on the map to show "+"and "-" button, click "+" to SPECIFICATIONS magnify the map until it shows streets FM TUNER Frequency Range 87.5-108MHz 4. Why the car radio shows "No Signal" when I’m reversing? Sensitivity 10 dBu If the camera can light up when it connect to power, the camera can work. - Page 6 Main Functions...
Need help?
Do you have a question about the 9601 and is the answer not in the manual?
Questions and answers