
Subscribe to Our Youtube Channel
Related Manuals for Bells Of Steel BTZBK

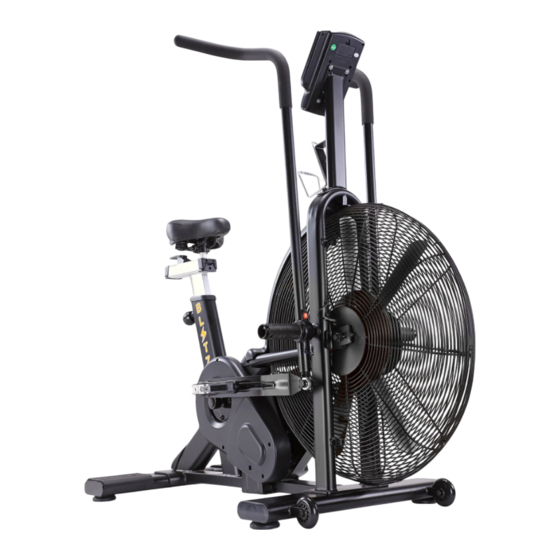
Summary of Contents for Bells Of Steel BTZBK
-
Page 6: Assembly Instruction
ASSEMBLY INSTRUCTION: 1.PREPARATION: A. Before assembling make sure that you will have enough space around the item. B. Use the present tooling for assembling. C. Before assembling please check whether all needed parts are available (at the above of this instruction sheet you will find an explosion drawing with all single parts (marked with numbers) which this item consists of. - Page 7 FIG.3: The left hand assembly (18), the right wrench assembly (21) and the outer tooth type gasket (92) are fixed to the main frame assembly (16) in accordance with the graphic method,the inner six angle flat head screws (78), flat washer (5), Spring washer(95),the lock nut (79) drive assembly connected then, locking;...
- Page 8 ADJUSTMENT *To adjust the seat height, slacken the spring knob on the vertical post stem on the main frame and pull back the knob. Position the vertical seat post for the desired height so that holes are aligned, then release the knob and retighten it.
-
Page 9: Display Functions
Monitor Instruction Manual DISPLAY FUNCTIONS TIME DESCRIPTION ·Display the rotation per minute with range from 0~ 199. ·Display current training speed. Maximum speed is 99.9 KM/H or ML/H. SPEED TIME ·Count up - No preset target, Time will count up from 00:00 to maximum 1:59:59 with each increment is 1 minute. - Page 10 2. The window of INTERVAL10/20 INTERVAL10/20 NTERVAL CUSTOM READY WORK REST TIME DISTANCE 、 、 、 、 、 、 、 、 CALORIES WATTS SPEEED RPM will flash by sequence in every 1s (Figure 4~Figure 16). 、 、 、 If no input of key operation or RPM signal or pulse input for 60s, computer will go to Sleeping mode. Figure 4 Figure 5 Figure 6...
- Page 11 3. Select Manual, Interval, Target Distance, Target Calories, Target HR, Target Time program: 3.1 Manual mode: ①In Standby mode, press START to start workout quickly, the buzzer sound 1 second. TOTAL TIME/ TIME/ DISTANCE/ CALORIES/ WATTS/ SPEED/ RPM start to count up (Figure 17). ②Whenever there is Pulse signal input, will light up and symbol will flash and display pulsevalue (Figure 18).
- Page 12 Figure 28 Figure 29 Figure 30 Figure 31 3.4 Interval CUSTOM: ①Press INTERVAL to select INTERVAL CUSTOM, press ENTER to enter into this mode then INTERVAL CUSTOM 00/XX flashes to be set along with buzzer beeps 1s. Press UP/DOWN to set 00/XX within 1~99 Circularly. Press ENTER to confirm along with buzzer beeps 1s then enter into next setting.(Figure 32) ②The TIME continues lighting up, WORK...
Need help?
Do you have a question about the BTZBK and is the answer not in the manual?
Questions and answers
What is the thread diameter of the pedals on the bells of steel blitz bike