Advertisement
Quick Links
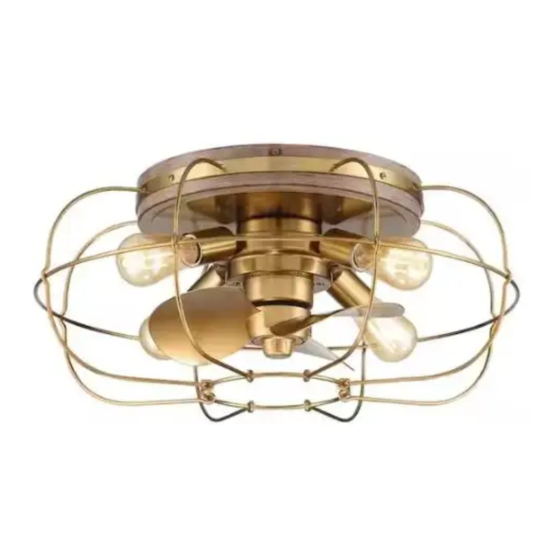
Model #AR-2339
USE AND CARE GUIDE
CEILING FAN
PATENT PENDING
Questions, problems, missing parts?
Contact Customer Service
e-mail us at
Support@Arranmorelighting.com
THANK YOU
We appreciate the trust and con dence you have placed in Arranmore Fan Company through the purchase of this ceiling fan. We strive to continually
create quality products designed to enhance your home. Visit us online to see our full line of products available for your home improvement
needs. Thank you for choosing Arranmore!
Advertisement

Subscribe to Our Youtube Channel
Related Manuals for ARRANMORE AR-2339

Summary of Contents for ARRANMORE AR-2339
- Page 1 THANK YOU We appreciate the trust and con dence you have placed in Arranmore Fan Company through the purchase of this ceiling fan. We strive to continually create quality products designed to enhance your home. Visit us online to see our full line of products available for your home improvement...
-
Page 2: Table Of Contents
Table of Contents Safety Information . . . . . . . . . . . . . . . . . . . . . . . . . . . . . . . . . . 2 Installation . -
Page 3: Warranty
Under no circumstances may a fan be returned without prior authorization from Arranmore. The receipt of purchase must accompany authorized returns and must be sent freight prepaid to Arranmore. The fan to be returned must be properly packed to avoid damage in transit;... -
Page 4: Pre-Installation
Pre-Installation TOOLS REQUIRED Phillips Wire stripper Step ladder screwdriver 1/4 in. Flat blade Wire cutter screwdriver HARDWARE INCLUDED NOTE: Hardware not shown to actual size. Install the wire rope parts kit Part Description Quantity Screw Screw Wire connectors Bulb 9V Battery Plastic bolt Wooden screw Install the wire rope parts kit... - Page 5 Pre-Installation (continued) PACKAGE CONTENTS Part Description Quantity Fan motor assembly Hanger bracket Blade assembly Plastic cover Metal frame Remote control Remote control wall plate Receiver...
- Page 6 Pre-Installation (continued) ENERGY EFFICIENT USE OF CEILING FANS Turn off the fan when not in the room. Ceiling fans do not cool rooms. Turning off the ceiling fan will save energy. ELECTRICAL AND STRUCTURAL REQUIREMENTS WARNING: To reduce the risk of fire, electric shock, or personal injury, mount the fan to an outlet box marked “Acceptable for fan support of 35 lbs.
-
Page 7: Installation
Installation Attaching the fan blade Attaching the metal frame Align the mounting holes on the lower metal frame (E) with CAUTION: To reduce the risk of personal injury, do not the mounting holes on the upper metal frame on the motor bend the blade when installing. - Page 8 Installation Install the wire rope...
- Page 9 Installation (continued) Connecting the wiring Installing the canopy receiver into the Canopy. WARNING: Ensure that the electrical wires are completely inside the canopy and not pinched between Connect green wires from motor shell to bare (ground) wire using the canopy and the ceiling. Failure to do so could result in wire connector.
- Page 10 Installation (continued) Using the remote control Preparing the remote control □ Use the HI, MED, LOW, and OFF buttons to control the fan IMPORTANT: Do not use a variable wall controller or speed. dimmer switch to control the fan. □ Use the Light button to turn the light on and off. NOTE: The remote unit has 16 different code combinations.
-
Page 11: Care And Cleaning
Care and Cleaning □ To clean the fan, wipe with a soft, dry cloth. □ Do not use cleaners with harsh abrasives or chemicals. Troubleshooting Problem Suggested Remedy The fan will not start. □ Check the main and branch circuit fuses or circuit breakers. □... -
Page 12: Remote Control Instructions
CEILING FAN REMOTE CONTROLLER OPERATION AND INSTALLATION INSTRUCTIONS (Please keep this instruction pamphlet.) IMPORTANT YOU MUST SET CEILING FAN MANUAL SWITCH TO HIGH SPEED AND LIGHT KIT (IF ANY) TO ON POSITION BEFORE OPERATING REMOTE CONTROL. IMPORTANT POINTS TO REMEMBER: Please read and save these instructions. - Page 13 CODE SWITCH CODE SWITCH: Codes are set by pushing dip switches up or down. It is imperative that the code used for both transmitter and receiver is exactly the same, otherwise remote controller will not work. Please note the code switch will enable you to operate a second remote controller independently.
- Page 14 Questions, problems, missing parts? Contact Customer Service e-mail us at Support@Arranmorelighting.com Retain this manual for future use.
Need help?
Do you have a question about the AR-2339 and is the answer not in the manual?
Questions and answers