
Related Manuals for Ergofino AD-NT001

Summary of Contents for Ergofino AD-NT001
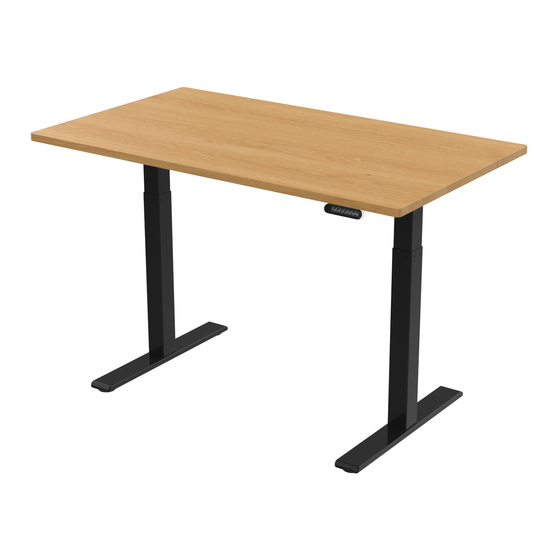
- Page 1 Assembly & Use Manual Model: AD-NT001 | AD-NT002 | AD-NT003 ELECTRIC HEIGHT-ADJUSTABLE DESK...
- Page 3 Preface This electric height-adjustable standing desk consists of a heavy-duty steel desk frame and a motorized height adjustment system. Please read and completely understand this manual before assembly and use. Instruction safety and warnings: FAILURE TO COMPLY WITH OR OBSERVE ALL INSTRUCTIONS AND WARNINGS REGARDING THE USE OF THIS PRODUCT MAY RESULT IN SERIOUS PROPERTY DAMAGE OR PHYSICAL INJURY.
- Page 4 WARNING - To avoid the risk of burns, fire, electric shock, or physical injury: Keep children away from electric height-adjustable desks, control units, and keypads. There is a risk of injury and electric shock. Close supervision is necessary when this furnishing is used by, or near children, invalids, or the disabled.
- Page 5 Do not insert anything into any seam or opening. Keep all electrical components dry. Do not operate this furnishing in an environment where aerosol (spray) products are being used or oxygen is being administered. Do not use outdoors.Inappropriate use of this product may cause property damage or physical injury.
- Page 6 MAKE SURE NO OBSTACLES ARE IN THE DESK'S PATH AND ALL CORDS ARE OF APPROPRIATE LENGTH FOR DESK TRAVEL. FAILURE TO COMPLY WITH OR OBSERVE ALL ASSEMBLY, SAFETY, AND OPERATION INSTRUCTIONS AND WARNINGS REGARDING THE USE OF THIS PRODUCT MAY RESULT IN SERIOUS PROPERTY DAMAGE OR PHYSICAL INJURY.
- Page 7 Preparation...
- Page 8 Checklist (different) (Power Wires*1 and Connector Wires*1)
- Page 9 Checklist...
-
Page 10: Installation
Installation Step 1: Assembling the feet Place the lifting column upside down, put the foot on top. Secure the adjustable foot pads to the feet. Align the mounting holes on the foot with the screw holes on the lifting column Tighten all 4 screws. - Page 11 Installation Step 2: Assembling the lifting columns 1 Separate (A/B/C/D) and...
- Page 12 Installation Assembling the lifting columns 2 Fix the crossbar A and B to the lifting column with the screws...
- Page 13 Installation Assembling the lifting columns 3 Fix the crossbar C and D to the lifting column with the screws...
-
Page 14: Step 3: Assembling The Frame
Installation Step 3: Assembling the frame Connect the center rail and the crossbars as shown. (two sides, screws are not used in this step) - Page 15 Installation Assembling the frame...
- Page 16 Installation Step 4: Assembling the side brackets Attach the side bracket to the lifting column with 2 screws for each side.
- Page 17 Installation Step 5: Fixing the crossbar Place the frame on the desktop and adjust the crossbars to fit the desktop. Secure the center rail to the cross- bars on both sides with 4 screws We recommend keeping a 5 cm distance between the side bracket and the edge of the desktop.
- Page 18 Installation Step 6: Assembling the desktop Secure the desk frame to the desktop with 8 screws on the edge and with 4 Screws in the middle (at the each side of crossbar A and C). You need a total of 12 screws and 12 washers We recommend to pre-drill the mounting holes.
- Page 19 Installation Step 7: Assembling the handset Secure the handset to the edge of the desktop with 2 Pan Head Screws...
- Page 20 Installation Step 8: Assembling the control box Secure the control box to the desktop by inserting the control box into the slot. (No screws needed)
- Page 21 Installation Step 9: Connecting the wires Connect the wires as shown. Power cord Use the connector wire to extend the motor cable on the one side. Connector wire Use the adhesive-backed cable clips to secure the wires. Make sure all cords have appropriate length to accommodate the change in height.
-
Page 22: Step 10: Adjusting The Feet
Installation Step 10: Adjusting the feet There is an adjustable foot pad under each foot. Adjust the pads to make the desk stable. -
Page 23: Ready For Use
Ready for Use Plug the Power Cord into a 110v or 220v outlet. IMPORTANT! You must RESET the desk prior to use: Press and hold on the Handset until the desk reaches its lowest height. Press and hold again for about 10s until the desk lowers a little bit more, slightly rises and stops. -
Page 24: Technical Specifications
Technical Specifications Height Range 70cm (27.6") - 120cm (47.2") Base width 100cm (39")min - 180cm (71")max Travel Speed 30mm (1.2") per second Weight Capacity 120kg (265 lbs) Duty Cycle 10%, Max. 2min on,18min off 4 Memory presets Soft Start/Stop... -
Page 25: Troubleshooting
Troubleshooting Reset Instructions If experiencing error messages showing on the handset or no response when trying to raise or lower, unplug the power cable and plug cord back in. Reset by holding "down" button for 5s. The desk will reach its lowest height and slightly rise and stop. (Buzzer will "beep"... - Page 26 Troubleshooting Reset Instructions If the handset displays "E11" or "E21", confirm that all wired connections are secure (legs to cables, cables to control box). Then perform the reset procedures above. If the error message remains after the reset or if the height between the legs exceeds 5cm, stop the reset procedure and contact us or local distributors.
- Page 27 There is a risk of injury and electric shock. Do not open any of the components: lifting columns, control box, or handset. There is a danger of electric shock. Keep all electrical components away from liquids. Importer: Ergofino GmbH In Laisen 31, 72766, Reutlingen, Germany info@ergofino.de www.ergofino.de Manufacturer: Shaoxing Naite Drive Technology Co.,Ltd.
Need help?
Do you have a question about the AD-NT001 and is the answer not in the manual?
Questions and answers