
Related Manuals for DIBSIES MODERN EXPRESSIONS TOY BOX


Summary of Contents for DIBSIES MODERN EXPRESSIONS TOY BOX
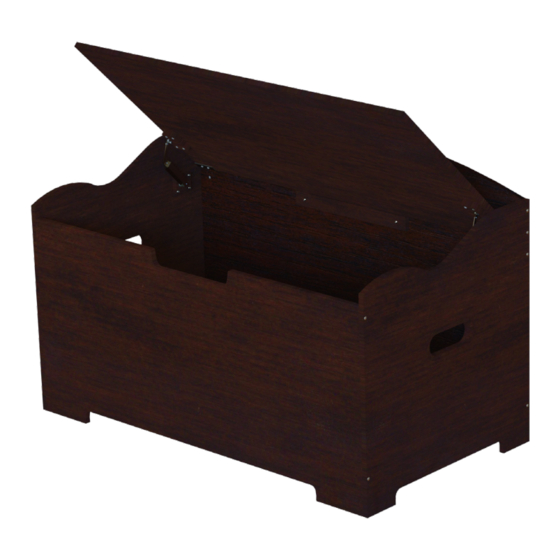
- Page 1 MODERN EXPRESSIONS TOY BOX Assembly Manual (For Espresso Version Only) Accompanying Assembly Video: www.dibsies.com/me-espresso-assembly SCAN FOR VIDEO...
-
Page 2: Pre-Assembly
Do not use if any parts are missing, damaged, or broken. Send email to customersupport@dibsies.com for replacement parts, if needed. Do not substitute parts. This product contains choking hazards from small parts and sharp points and is not suitable for children under the age of three. - Page 3 Part 5 x1 Part 6 x1 Part 7 x1 Part 8 x1 Part 9 x1 Part A - x2 Part B - x2 Part C - x13 Part D - x13 Part E - x4 Part F - x2 Part G - x12 Part H - x12 Part I - x2 Part J - x2...
- Page 4 INSTRUCTIONS Step 1 - Attaching the Part F Brackets Step 2 - Attaching the Part A Stud Locate Part 1 Locate Part 5 Begin Step One by locating Part 1 and place Begin Step Two by locating Part 5 and it flat on the ground with the holes facing place it flat on the ground with the holes upward, as shown.
- Page 5 INSTRUCTIONS Step 3 - Prepping the Part 7 Panel Locate Part 7 Begin Step Three by placing Part 7 flat on the floor with the bottom holes facing upward. Locate Part 8 and align it in the bottom cen- Next, locate Part 8 and align it with bottom center holes of Part 7, and push into place.
- Page 6 INSTRUCTIONS Step 4 - Attaching Part 9 Locate the Part 7 and Part 5 Panel assemblies Begin Step Four by locating the previously assembled Part 7 and Part 5 assemblies from Steps Two and Three, and with the assistance of another person, place them vertically parallel, as shown.
- Page 7 INSTRUCTIONS Step 5 - Attaching the Part 6 Panel Locate the Part C Locate Part 6 and align Secure the Part C Dowels into place Dowels Begin Step Five by locating the upper Secure the Part C dowels into place. Next, locate Part 6 and align it to the previously installed Part C dowels.
- Page 8 INSTRUCTIONS Step 7 - Installing the Part 2 Panel Push the Part 2 Locate the Part 2 Panel into place Panel and align Begin Step Seven by locating the Slowly push Part 2 all the way Part 2 Panel and inserting it into back into the slot of the Part 4 the slots at the bottom of the Part 5 side panel.
- Page 9 INSTRUCTIONS Step 9 - Attaching the Hinges Repeat these steps for the hinge Locate the Part J opposite side With the help of another person, keep the Locate the second Part J hinge and repeat lid open at an angle less than 90 degrees these same steps on the opposite side and and locate the Part J hinge.
-
Page 10: Customer Support
Customer Support For Customer Service Issues please contact us at: customersupport@Dibsies.com www.dibsies.com customersupport@dibsies.com 7014 Fairfield Business Center Dr. Cincinnati, OH 45014 © Dibsies 2020, All Rights Reserved...
Need help?
Do you have a question about the MODERN EXPRESSIONS TOY BOX and is the answer not in the manual?
Questions and answers