
Related Manuals for Genki KBR-JK370A


Summary of Contents for Genki KBR-JK370A
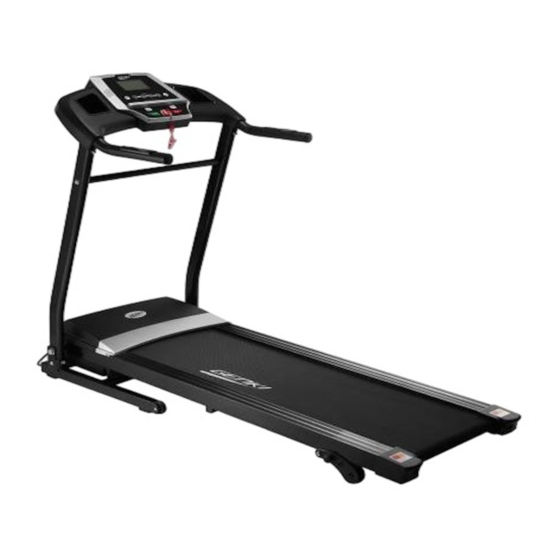
- Page 1 MOTORIZED TREADMILL INSTRUCTION Thank you very much for purchasing our product. Please read this instruction carefully before use it and keep the instruction at proper place.
-
Page 2: Safety Notice
1. CAUTION To avoid any hurts, please read this manual carefully before using. ◼ For safety purpose do not stand on running belt while start. ◼ Please stop immediately for any feeling of vomit、jerky during using. ◼ Please increase speed slowly if needed. ◼... -
Page 3: Technical Specification
◼ Do not start the machine when it is folded. ◼ Waterdrop is prohibited to run into the machine , especially to motor, power line and plug. ◼ Danger may cause if wearing long dress or other unsuitable dresses during use. ◼... - Page 4 Safety Key Short screw and 8arc pad M8*16 Long screw and 8arc pad M8*70 Silicone oil Wrench Cup holder Fasten bar 2. Take out 2 long screws and pads, fix the left and right frame with base frame by that screws and pads.
-
Page 5: Control Panel
6. CONTROL PANEL 1. Place the emergency stop safety key on the yellow circle area of the panel. Clip the other end of the safety key onto your clothes and stand on the running belt. 2. Press “START” key, the machine will start by 1.0KM/H after 3 seconds. 3. - Page 6 programs then press “START” to start the machine. 7. During the machine worked and use auto program the “+ -” key can not available. If need select auto program please select it first when the machine stand by. 8. Two hands touch the pulse sensor, the screen will show the heart rate frequency. 9.
-
Page 7: Folding Up And Setting Down
7. FOLDING UP AND SETTING DOWN NOTE: Ensure the Power Switch is in the 'OFF' position and the power cord is unplugged from the electrical outlet. FOLDING UP: ⚫ Holding the rear end of deck directly by one hand, then lift the deck up until the Cylinder(A) 'pops' down into the locked position. -
Page 8: Running Belt Adjustment
9. RUNNING BELT ADJUSTMENT (1) Running belt deviate to left Start the machine by speed at 2-3Km/h without loading, use die nut to make the screw go 1/4 circle(see fig1). Then make the machine running without loading 1-2 minutes. Please adjust like this to make the belt till to mid place. -
Page 9: Parts List
11. Overview Drawing 12. PARTS LIST Serial Part Name Spec unit Computer Cover Computer Board Upper Handrail Bar Q235 Cross Large Flat Head Tapping Screw ST4*25 Cover Self-Locking Nut Middle Handrail Pipe Q235 Arc Gasket φ8 Half Round Head Hexagonal Screw M8*16 φ8 Half Round Head Hexagonal Screw... - Page 10 Power Line On/Off Switch Left & Right Support Frame Q235 Half Round Head Hexagonal Screw M8*70 φ12 Outer Hexagonal Screw M12*70 Bottom Motor Cover Square Pipe Plug 30*40-PP Bottom Frame Q235 Square Foot Pad Cross Large Flat Head Self-Drilling Screw ST4.2*16 Outer Hexagonal Screw M8*30...
Need help?
Do you have a question about the KBR-JK370A and is the answer not in the manual?
Questions and answers