
Related Manuals for R9 Technology G200


Summary of Contents for R9 Technology G200
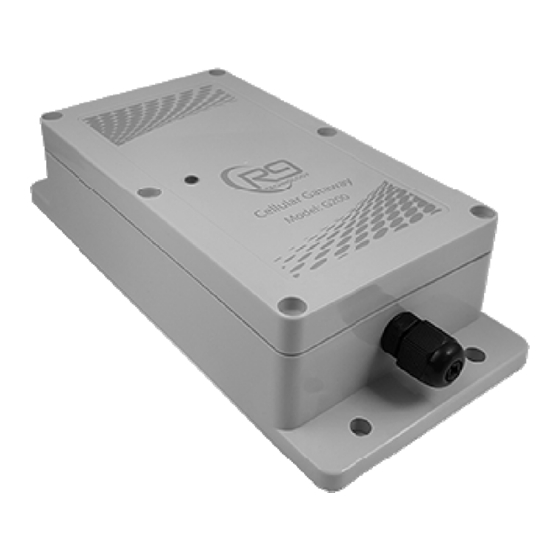
- Page 1 — R9 Technology G200 Gateway Installation Guide This instruction sheet provides information on installation of the G200 Gateway. Release 1.5...
- Page 2 Option- Other fasteners types or double-sided foam adhesive tape can also be used to install the G200 gateway. Mounting Location Considerations: Mount the G200 above a 120V 60Hz power outlet. The G200 gateway should be installed as high as possible for best RF (wireless) performance.
- Page 3 3 to10 minutes. There is no power switch on the gateway device. When the G200 gateway is plugged into AC power for the first time, the unit will power on and initialize (boot up). After ~ 30 seconds of initialization, the gateway will output a faint audible chime, and the front LED will start to flash.
- Page 4 Installation is now complete! Verify the G200 Gateway is recognized in the online portal, and can communicate to each SN400 sensor node. Steps for provisioning of the node/gateway system, and general operation of the web-based dashboard are located in the R9 Online Portal User Guide.
- Page 5 — For questions and support, please contact R9 Technology 17217 Waterview Parkway Suite 1.202Y Dallas, TX, 75252, USA Product information www.r9tech.com Support e-mail address requests@r9tech.com...
Need help?
Do you have a question about the G200 and is the answer not in the manual?
Questions and answers