
Related Manuals for ExBrite WYJSFL3601ACBXE26


Summary of Contents for ExBrite WYJSFL3601ACBXE26
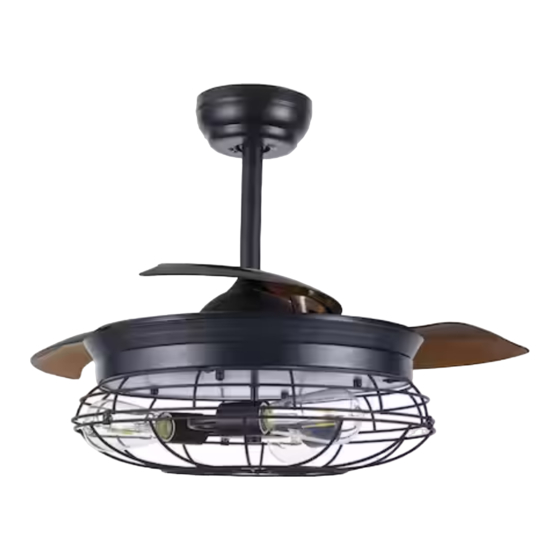
- Page 1 Size:148x210mm 36"Fan Ceiling User manual WYJSFL3601ACBXE26 120 V~ 60 Hz 34 W (MOTOR) 3xE26 25 W Max. (Not included)
- Page 2 ....................SAFETY TIPS OBSERVE THE FOLLOWING: READ AND SAVE THESE INSTRUCTIONS WARNING: TO REDUCE THE RISK OF FIRE, ELECTRIC SHOCK, OR PERSONAL INJURY, MOUNT TO OUTLET BOX MARKED 'ACCEPTABLE FOR FAN SUPPORT OF 35 LBS(15.9 KG) OR LESS' AND USE MOUNTING SCREWS PROVIDED WITH THE OUTLET BOX AND/OR SUPPORT DIRECTLY FROM BUILDING STRUCTURE.
-
Page 3: Parts List
....................PARTS LIST Description 1 ... . Mounting Bracket Downrod 2 ... . Canopy 3 ... . Canopy Screws 4 . - Page 4 .......... ..........FEATURES DOWNROD INSTALLATION For normal ceilings .............. PREPARING FOR INSTALLATION Unpack and inspect fan carefully to be certain all contents are included. Use metal outlet box suitable for fan support (must support 35 lbs). Before attaching fan to outlet box, ensure the outlet box is securely fastened by at least two points to a Turn off power at fuse box to avoid...
-
Page 5: Mounting Bracket Installation
....MOUNTING BRACKET INSTALLATION MOUNTING OPTIONS Choose a MOUNTING OPTION NORMAL DOWNROD OPTION If installing downrod supplied with fan, proceed to page 7, step 5. Install mounting bracket (1) to outlet box in ceiling using the screws and washers provided with the outlet box......... - Page 6 ..............NORMAL DOWNROD OPTION Feed motor lead wires through downrod/canopy assembly and insert downrod into downrod yoke. Make sure to align hole in downrod with the hole in downrod yoke. Install yoke cross pin (1) through yoke and downrod. Insert clamp pin (2) into cross pin until it snaps into place.
- Page 7 ............WIRING OPTIONS MOUNTING Make wiring connections from the house and the fan to the remote receiver (2) as shown. Connect using wire nuts (1) Once wiring step has been completed, (provided). Make sure that all exposed slide the wired remote receiver in wiring is secured inside wire nuts.
- Page 8 ..............LIGHT FIXTURE INSTALLATION White Blue Remove the three mounting screws for the light kit pan identified . Make wiring connections from the fan motor assembly to the light kit as shown. Connect using wire nuts (1) (provided).Make sure that all exposed wiring is secured inside wire nuts.
-
Page 9: Light Fixture Installation
..............LIGHT FIXTURE INSTALLATION Remove the 4 fixing screws from the light kit pan. Keep them for next step. The metal cage has 4 slots. Raise up the metal cage by aligning the 4 slots to the 4 round holes from the light kit pan. Install the 4 screws removed previously into the round holes of the light kit pan and tighten all 4 screws securely. - Page 10 ............HOW TO OPERATE YOUR CEILING FAN 23A 12V Restore electrical power to the outlet box by turning on the electricity at the main fuse box. To make the fan operational, open battery door by pressing and sliding down the battery door. Install a 23A 12V batteries into the hand-held remote transmitter(if not used for long periods of time, remove the batteries to prevent damage to the transmitter).
-
Page 11: Maintenance
..................REMOTE CONTROL The remote buttons function as follows: 1. Turning fan On – press and release. = low speed = medium speed LIGHT ON/OFF = high speed STOP 2. Light On/Off - Press and release 3. Fan Stop - Press and release 4. -
Page 12: Troubleshooting Guide
TROUBLESHOOTING GUIDE If you have difficulty operating your new ceiling fan, it may be the result of incorrect assembly, installation, or wiring. In some cases, these installation errors may be mistaken for defects. If you experience any faults, please check this trouble shooting chart.
Need help?
Do you have a question about the WYJSFL3601ACBXE26 and is the answer not in the manual?
Questions and answers