
Related Manuals for Syscall Nttworks SR-A Series

Summary of Contents for Syscall Nttworks SR-A Series
- Page 1 User Manual SR-A Series User Manual Please read the user manual carefully before start using the device.
-
Page 2: Table Of Contents
Table of Contents 1. Components & Specification · · · · · · · · · · · · · · · · · · · · · · · · · · · 3 2. Device Layout & Installation · · · · · · · · · · · · · · · · · · · · · · · · · · · 3 3. -
Page 3: Components & Specification
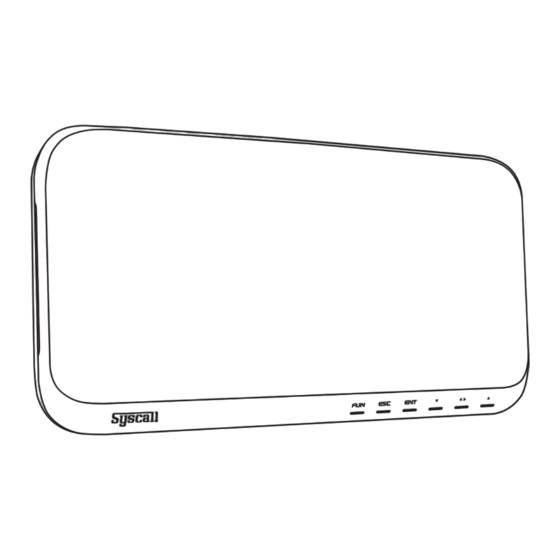
1. Components & Specification Components Adapter Receiver (Display monitor) Bracket Manual (DC 12V 1A) Specification Features Frequency FSK/433 MHz 1. High-performance RF IC/ Voice IC Power Adapter 12V /1A SMPS(Output cable 5M) 2. Firmware update, manage bell data & ringtones Dimension W280 x L145 x H40(mm) / 600g 3. - Page 4 BACK SIDE Bracket fastener hole Adapter connector jack Power switch Speaker Installation Plug-in the adapter and insert the connector into the jack. Fix the bracket on the wall, and install the monitor. Turn ON/OFF the power by power switch. Quick Guide of Setting menus Default Range Bell Registration...
-
Page 5: Function Setting
3. Function Setting 3-1. Bell Registration [F1] Register up to 450 call bells 1. Press FUN for 3sec to enter the function mode Bell registration and then press ENT. 3sec 2. Set the call bell number by and then Press enter after set the number ▼/◀▶/▲... -
Page 6: Display Time Setting
3-3. Display Time Setting [F3] 1. Press FUN for 3sec to enter the function mode. Display time setting ▲ 2. Press twice and then press ENT. ▲ 3sec Twice 3. Set the display time by Set display time ▼/◀▶/▲ * Range: 1~99sec (Default: 10sec) = Infinity (remove from the display by ESC) ▲/▼... -
Page 7: Delete The Registered Bell
3-5. Delete the Registered Bell [F5] 1. Press FUN for 3sec to enter the function mode. Delete the registered bell ▲ 2. Press 4 times and then press ENT. ▲ 3sec 4 times 3. Set the call bell number that you want to delete Press enter after set the number ▼/◀▶/▲... -
Page 8: Clear Bell Registration
3-7. Clear Bell Registration [F7] Register a clear bell, in order to clear the received bell from the receiver. 1. Press FUN for 3sec to enter the function mode. Clear bell registration ▲ 2. Press ▲ 6 times and then press ENT. 3sec 6 times 3. -
Page 9: Rolling Interval Time Setting
3-9. Rolling Interval Time Setting [F9] 1. Press FUN for 3sec to enter the function mode. Rolling interval time setting ▲ 2. Press 8 times and then press ENT. ▲ 3sec 8 times 3. Set the interval time of rolling by Set the interval time ▼/▲... -
Page 10: Group Number Setting
4-2. Group Number Setting [E2] Set the group number when it uses with the multi-transmitter. 1. Press FUN for 5sec to enter the extension mode. Group number setting ▲ 2. Press once and then press ENT. ▲ 5sec Once 3. Set the group number by Set the group number ▼/◀▶/▲... -
Page 11: Channel Number Setting
4-5. Channel Number Setting [E5] Set the channel number when it uses with the multi-transmitter. 1. Press FUN for 5sec to enter the extension mode. channel number setting ▲ 2. Press 4 times and then press ENT. ▲ 5sec 4 times 3. - Page 12 ■ SYSCALL France - www.syscallglobal.fr 0033 (0)1 84 17 61 81 - contact@syscall.fr 242 boulevard de Stalingrad 94500 Champigny sur Marne France Manufacturer ■ NTTWORKS CO., LTD 413-9 NTTWORKS Bldg, Galhyun-Dong, Eunpyong-Gu Seoul, Korea...
Need help?
Do you have a question about the Nttworks SR-A Series and is the answer not in the manual?
Questions and answers