Table of Contents
Advertisement
Quick Links
Advertisement
Table of Contents

Related Manuals for Breeze Dryer Multi Folding Frame Clothesline (3 in 1)

Summary of Contents for Breeze Dryer Multi Folding Frame Clothesline (3 in 1)
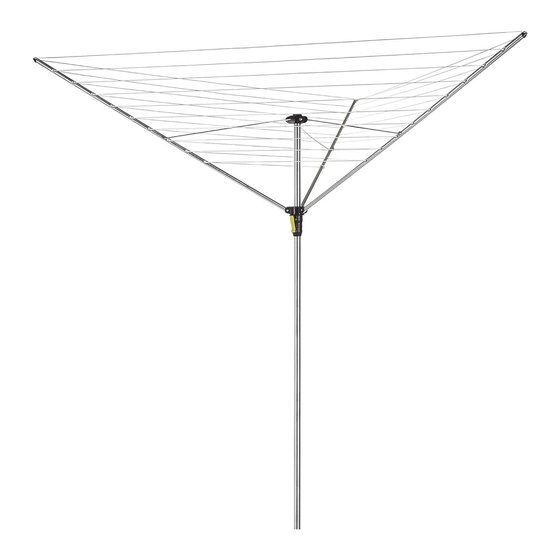
- Page 1 The Multi Folding Frame Clothesline (3 in 1) IMPORTANT –READ THESE INSTRUCTIONS BEFORE INSTALLING & USING YOUR CLOTHESLINE Slim Line Mini Line Long Line Note the following for future reference Product Name Date of purchase: Place of purchase: Introduction...
-
Page 3: Carton Contents
1. Carton Contents Item Description Item Description Front Bar Left Hand Hole Cover for Mini Line Front Bar Right Hand Wall Bracket Front Bar Handle Line Arm Left Hand Chicago Bolt - Male Arm Right Hand Chicago Bolt - Female Front Bar Handle M6 x 16mm Countersunk Socket Screw Front Bar Joiner... - Page 4 2. Choose the Installation Location Before installing the Multi Folding Frame Clothesline, measure the height and width of your mounting location. Be sure to allow clearance around the clothesline. We recommend a minimum of 4” (100mm) one either side of the clothesline and 16”...
-
Page 5: Mounting The Wall Brackets
3. Mounting the Wall Brackets Due to the wide range of installation applications, we recommend visiting your local hardware store for assistance in selecting the correct mounting hardware (ie. slip collar anchors for brick or block and lag screws/washers for wood framing). A level and straight edge are recommended to ensure that Brackets are aligned both vertically and horizontally. - Page 6 4. Installing the Arms 1. Fit the End Caps over the Arms and Struts. 2. Align the holes in the Arms with the upper holes in the Bracket. 3. Push through the and secure with the 5mm Hex Keys provided. Chicago Bolts 4.
- Page 7 5. Assemble the Front Bar Front Bar for Mini Line ShshortShortMini Front Bar for Slim Line Front Bar for Long Line...
-
Page 8: Assembly Steps
6. Assembly Steps: 1. Note the location of the holes prior to assembly of the Front Bar. They must be facing down. 2. Use a rubber mallet/hammer to tap the Front Bar Joiner into one of the Front Bars. Continue tapping until the center slot in the Front Bar Joiner aligns with the end of the Front Bar and check that the hole in the Front Bar lines up with the screw thread in the Front Bar Joiner. - Page 9 7. Assemble the Front Bar to Arms 1. Insert Corner Brackets into the Front Bar and secure with ST4.2x13 Screws. (Step 1) 2. Install the Front Bar with Corner Brackets into the Arms and secure them with ST4.2x13 Screws. (Step 2) Step 1 Step 2 Note: Install hole covers in spreader bar holes on Mini.
- Page 10 8. Adjusting the width of your Folding Frame Clothesline 1. The width of the Multi Folding Frame Clothesline can be reduced to your specific installation needs or to align with existing framing. 2. Determine the new Wall Bracket spacing for your installation location. 3.
- Page 11 9. Thread the line 1. Thread the line through the Tensioner Cover. 2. Pull the line down through the top of the Line Tensioner. (Step 1) 3. Loop the line back up through the right hand hole leaving a loop below. (Step 2) 4.
- Page 12 10. Operation of your clothesline: 1. To raise your clothesline, grip the Front Bar Handle and lift from the closed position slowly (Fig.1–A). The struts will click when they reach the low height (Fig.1-B). Gently let go of the Handle in up position. 2.
- Page 13 11. Multi Position Struts: The strut locking mechanism allows the Folding Frame clothesline to be positioned in one of three ways. 1. Locked open at maximum height: great for drying large sheets and towels. 2. Locked open at low height: perfect for hanging out small items. 3.
-
Page 14: Warranty Information
® in workmanship and materials for 10 years, and the polycore line for 1 year, from the date of the purchase of the product. Breeze Dryer is not responsible for normal wear and tear, for products used commercially or for failures caused by accidents, abuse, alteration, modification, misuse, or improper care. -
Page 15: Care And Maintenance
Tips for your Original Online Experience Only use your clothesline to hang and dry laundry. Remember the clothesline is not a children’s toy. The clothesline must be closed up in extreme weather like high wind, etc. The safety load shall not exceed 22 pounds (10 kg) for Mini Line, 44 pounds (20 kg) for Slim Line or 66 pounds (30 kg) for Long. Care &...
Need help?
Do you have a question about the Multi Folding Frame Clothesline (3 in 1) and is the answer not in the manual?
Questions and answers