Advertisement
Quick Links
Advertisement

Related Manuals for Monkey Vision MOMETER PRO

Summary of Contents for Monkey Vision MOMETER PRO
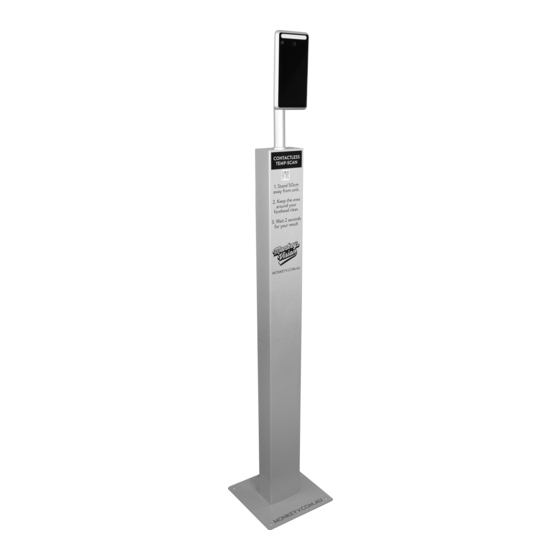
- Page 1 Monkey MOMETER TEMPERATURE SCANNING•FACIAL RECOGNITION•ACCESS CONTROL QUICK START GUIDE...
- Page 2 INTRODUCTION The Monkey MOMETER PRO has been specifically developed to help Australians take the necessary health and safety precautions as we get back to life post the initial Covid-19 lockdown. With accurate, contactless temperature scanning and the option of activating personal registration and access control, it’s the perfect solution for of fices, hotels, buildings,...
- Page 3 6. Please don’t plug audio equipment, alarms and other external interfaces or terminals directly to the unit. 7. The Monkey Mometer Pro works best in room temperature between -100C and +550C and relative humidity between 10% - 90%. But if you’re working somewhere the room temperature is below 00C or above 300C you should seriously consider looking for another job.
-
Page 4: Installation Tips
INSTALLATION TIPS The Monkey MOMETER PRO’S primary function is to measure temperature. This means it is sensitive to changes in temperature and humidity in its surrounding environment. Ensure your unit it set up in a place with constant temperature, at least 3 metres away from a direct heating or cooling source and not directly under a vent. - Page 5 TO BUILD YOUR STAND: THE STAND HAS THREE MAIN PARTS: A BASEPLATE AND TWO UPRIGHT POSTS. (YOU SHOULD ALSO HAVE A POWER CABLE, TWO BACK PLATES, A LARGE SPACER RING AND 20 BOLTS) STEP 1 STEP 2 STEP 3 The upright posts have four holes Attach the baseplate to one of the Carefully place the other post in each end.
- Page 6 TO ATTACH YOUR MONKEY MOMETER PRO: STEP 1 STEP 2 STEP 3 STEP 4 STEP 5 STEP 6 Loosen the large nut at Feed the cords through Tighten the nut as much as the bottom of the the hole at the top of you can by hand.
- Page 7 You’re good to go! The Monkey MOMETER PRO will tell you if something is wrong – like if you need to stand closer to or further away STEP 6 from the unit, or if you need to clear things away from your forehead for a more precise temperature measurement.
- Page 8 CONNECTOR INTERFACE INTRODUCTION 1. USB 5V DM DP GND A and B Normal open, default normal open, identification passed-connection, (alarm output 2) 2. Access Control (output) C and D Normal close, default normal close, identification passed-disconnection, (alarm output 2) 3. Reset Key Hard reset 4.
Need help?
Do you have a question about the MOMETER PRO and is the answer not in the manual?
Questions and answers