Advertisement
Quick Links
*To complete the Universal Water Blend can, water reducible paint must be added. For best
results, the air compressor must apply 130 PSI of continuous pressure.
*To complete the Universal Solvent Blend can, solvent based paint must be added. For best
results, the air compressor must supply 110 PSI of continuous pressure.
1. Wear safety glasses.
2. Detach the clear plastic plunger attachment from the top of the cap.
3. Slide open the Fill One door, then firmly press the plunger attachment and mate it with the plunger. Make
sure the nipple is facing down.
4. Remove the clear plastic cap from the top of the fill can. Press the metal reservoir cup onto the top of the
can. Slide the cap into the metal reservoir cup, pressing down so that it mates with the bottom of the cup.
5. Pour filtered paint to the reservoir cup, leaving a 1/4 inch gap (6mm) at the top unfilled. Overfilling will
cause paint to spill out during the filling process.
6. Place the reservoir and can into the filling machine, keeping them connected at all times.
Slide the brim of the reservoir cup into the reservoir slot. Rotate the black base counterclockwise to snug the
connection between the can and cup. Do not overtighten base.
7. Closing the door will activate the machine and depress the plunger. Leave the door closed for 10 seconds.
This will inject approximately 3 ounces (90mL) of paint into the can.
8. Open fill machine door. Turn the black base clockwise to loosen can and reservoir before removing them
from the machine.
9. Separate metal reservoir cup from the can. Separate the plastic cap from the reservoir by hand or by
pressing the cup down on a work surface, which will release the cap.
10. Insert sprayhead using a slight twisting motion with the spray nozzle pointing away from you.
11. Shake can vigorously for 30 seconds to mix the contents.
12. Invert the can and spray for 3 seconds to clear the valve and sprayhead. Place cap back on the can.
13. To fill more cans with the same paint, repeat steps 1 thru 12.
14. Disconnect compressed air hose from compressor when not in use.
Note: Since this aerosol can is incomplete without the addition of paint, the custom packer
assumes all responsibility for completing the filling operation as well as the performance of the
finished product (including long term can stability).
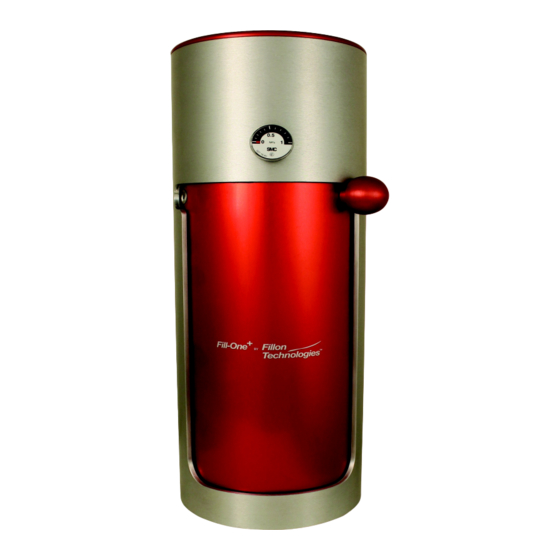
Z-2501-1 Fill One Machine
An aerosol can filling machine that uses compressed air
to fill pre-charged cans. Our unique cap lets you avoid
messy prep and cleanup while leaving you with the
actual color inside the cap for easy reference. This is a
must have tool for paint stores and contractors. See
filling instructions for more information.
***An air compressor capable of delivering 130 psi
continuously is required and is not included with the
purchase of this machine.***
DIRECTIONS:
Advertisement

Related Manuals for Seymour Z-2501-1


Summary of Contents for Seymour Z-2501-1
- Page 1 Z-2501-1 Fill One Machine An aerosol can filling machine that uses compressed air to fill pre-charged cans. Our unique cap lets you avoid messy prep and cleanup while leaving you with the actual color inside the cap for easy reference. This is a must have tool for paint stores and contractors.
- Page 2 Using either the solvent or water blend can, detach the clear plastic plunger attachment from the top of the cap. Slide open the Fillon door, then firmly press the plunger attachment into the plunger. Make sure the nipple is facing down.
- Page 3 Gently place the reservoir and can into the filling machine, keeping them connected at all times. Slide the brim of the reservoir cup into the reservoir slot. Rotate the black base counterclockwise to snug the connection between the can and cup. Close door. Close door.
Need help?
Do you have a question about the Z-2501-1 and is the answer not in the manual?
Questions and answers