Advertisement
Quick Links
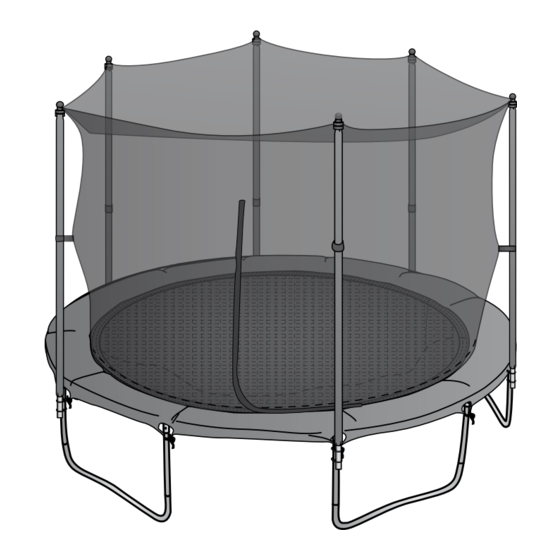
Assembly, Installation and Use Manual
14ft Round Trampoline Enclosure
084-0263
Stop
Please read and understand this manual before any assembly.
Before beginning assembly of product, make sure all parts are present.
Compare parts with packaging contents list. If any part is missing, or if you
have any questions, contact the vendor's customer service department at
1-866-567-4089.
Version 4
084-0263-Cantire-14 ft Trampoline Enclosure-GB-01.indd 1
11-10-20
5:47
Advertisement

Related Manuals for JumpTek 084-0263


Summary of Contents for JumpTek 084-0263
- Page 1 Before beginning assembly of product, make sure all parts are present. Compare parts with packaging contents list. If any part is missing, or if you have any questions, contact the vendor’s customer service department at 1-866-567-4089. Version 4 084-0263-Cantire-14 ft Trampoline Enclosure-GB-01.indd 1 11-10-20 5:47...
-
Page 2: Table Of Contents
Dear Customer, Thank you for choosing the JumpTek trampoline enclosure. We hope it will provide many hours of quality exercise to make you feel better, look better and enjoy life to its fullest. It is proven that a regular exercise program can improve physical and mental health. -
Page 3: Safety Instructions
This is especially important if you are over the age of 35, have never exercised before, are pregnant, or suffer from any illness. >7,5 m 084-0263-Cantire-14 ft Trampoline Enclosure-GB-01.indd 3 11-10-20 5:47... -
Page 4: Parts List & Diagram
Quantity Upper support Spacer pole Upper pole foam (pre- Bolt clamp installed) Foam sleeve Locking nut Lower pole foam (pre- Enclosure net installed) Lower support Ball cap screw pole U-shaped bolt Ball cap 084-0263-Cantire-14 ft Trampoline Enclosure-GB-01.indd 4 11-10-20 5:47... -
Page 5: Assembly
Connect all six upper support poles (1) to the six lower support poles (5). Make sure that the locking • tabs “click” into the openings of the upper supporting poles (5). Note: All of the supporting poles come with pre-installed pole foams (2, 4). Opening Locking tab 084-0263-Cantire-14 ft Trampoline Enclosure-GB-01.indd 5 11-10-20 5:48... - Page 6 Adjust the height level of the supporting pole to reach an appropriate position and tighten the • connection with a spanner (not provided). The bottom end of the lower supporting pole (5) should reach half of the height of the trampoline’s vertical leg. 084-0263-Cantire-14 ft Trampoline Enclosure-GB-01.indd 6 11-10-20 5:48...
- Page 7 Vertical leg Repeat the steps above to attach all six supporting poles onto the vertical legs of the trampoline. • After completing the assembly, the supporting poles should look like the illustration below. • 084-0263-Cantire-14 ft Trampoline Enclosure-GB-01.indd 7 11-10-20 5:48...
- Page 8 Guide the spring through the enclosure net’s eyelet and the trampoline bed’s V-ring and reattach the • spring to the trampoline frame. Repeat the same steps for each spring in a clockwise direction. Eyelet Enclosure Trampoline 084-0263-Cantire-14 ft Trampoline Enclosure-GB-01.indd 8 11-10-20 5:48...
-
Page 9: Information On Trampoline Use
Remove all objects that might interfere with the jumper from the surroundings of the • trampoline. Pay attention to what is above, below and around the trampoline. When it is not in use, keep the trampoline secured to prevent it from being used without • supervision. 084-0263-Cantire-14 ft Trampoline Enclosure-GB-01.indd 9 11-10-20 5:49... -
Page 10: Training With The Trampoline
• forth between the hands and knees. Develop an even landing on all of the four points. Look slightly in front of your hands when landing. Push to • rebound to your feet. 084-0263-Cantire-14 ft Trampoline Enclosure-GB-01.indd 10 11-10-20 5:49... -
Page 11: Cleaning And Care
Storing For extended periods of disuse disassemble the enclosure net and trampoline and store them in a clean • and dry place. TECHNICAL DATA 196 x Ø 426 cm 19.2 084-0263-Cantire-14 ft Trampoline Enclosure-GB-01.indd 11 11-10-20 5:49... -
Page 12: Limited Warranty
LIMITED WARRANTY This JumpTek product is guaranteed for 1 year from the date of original retail purchase against defects in materials and workmanship. Subject to the conditions and limitations described below, this product, if returned to us with proof of purchase within the stated warranty period and if covered under this warranty, will be repaired or replaced (with the same model, or one of equal value or specification), at our option.
Need help?
Do you have a question about the 084-0263 and is the answer not in the manual?
Questions and answers