Table of Contents
Advertisement
Quick Links
Advertisement
Table of Contents

Subscribe to Our Youtube Channel
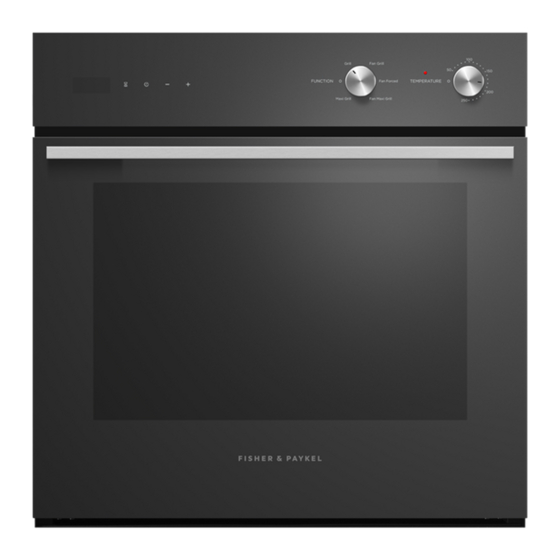
Summary of Contents for Fisher & Paykel ELBA OB60SC
- Page 1 INSTALLATION INSTRUCTIONS Built-in Oven OB60SC Single models NZ AU 590913 C 10.15...
-
Page 2: Safety And Warnings
SAFETY AND WARNINGS IMPORTANT SAFETY INSTRUCTIONS WARNING! Electrical Shock Hazard Always disconnect the appliance from the mains power supply before To avoid hazard, follow these instructions carefully before installing or using this ● ● appliance. carrying out any maintenance or repairs. Connection to a good earth wiring system is essential and mandatory. - Page 3 PRODUCT DIMENSIONS (TOP OPENING MODELS) FRONT SIDE PRODUCT DIMENSIONS Overall height of product Overall width of product overall depth of product (excluding handle and knobs) Height of chassis Width of chassis Depth of chassis Depth of oven frame and control panel Electrical supply (=distance between front of chassis and front of oven door, excl.
- Page 4 CABINETRY DIMENSIONS (TOP OPENING MODELS) Electrical supply 16-20 mm SIDE CABINETRY DIMENSIONS Minimum inside width of cavity Overall width of cavity Inside height of cavity Overall height of cavity Minimum inside depth of cavity Note: If installing a cooktop above the oven, ensure adequate clearance is provided for the cooktop as per the cooktop manufacturer’s instructions.
- Page 5 PRODUCT DIMENSIONS (SIDE OPENING MODELS) FRONT SIDE PRODUCT DIMENSIONS Overall height of product Overall width of product overall depth of product (excluding handle and knobs) Height of chassis Width of chassis Depth of chassis Depth of oven frame and control panel (=distance between front of chassis and front of oven door, excl.
- Page 6 CABINETRY DIMENSIONS (SIDE OPENING MODELS) Electrical supply IMPORTANT! 16-20 mm Doors of adjacent cabinetry may need adjusting to allow the oven door to open properly: a minimum clearance of 2.5mm is recommended. SIDE CABINETRY DIMENSIONS Minimum inside width of cavity Overall width of cavity Inside height of cavity Overall height of cavity...
-
Page 7: Prior To Installation
PRIOR TO INSTALLATION Before you install the oven, make sure that the benchtop and oven cavity are square and level, and are the required dimensions ● ● the installation will comply with all clearance requirements and applicable standards and regulations ●... -
Page 8: Electrical Connection
ELECTRICAL CONNECTION SECURING THE OVEN TO THE CABINETRY IMPORTANT! 1 Position the oven in the prepared cavity. This oven must be connected to the mains power supply only by a suitably qualified ● ● IMPORTANT! person. This oven must be earthed. Do not lift the oven by the door handle. -
Page 9: Final Checklist
FINAL CHECKLIST TO BE COMPLETED BY THE INSTALLER Make sure the oven is level and securely fitted to the cabinetry. Check the lower trim is undamaged. Open the oven door slowly until it is fully open and check there is adequate clearance between the bottom of the door and the lower trim. This is to ensure correct air circulation. - Page 12 www.elba.co.nz www.elba.com.au Copyright © Fisher & Paykel 2015. All rights reserved. The product specifications in this booklet apply to the specific products and models described at the date of issue. Under our policy of continuous product improvement, these specifications may change at any time. You should therefore check with your Dealer to ensure this booklet correctly describes the product currently available.


Need help?
Do you have a question about the ELBA OB60SC and is the answer not in the manual?
Questions and answers