Advertisement
Quick Links
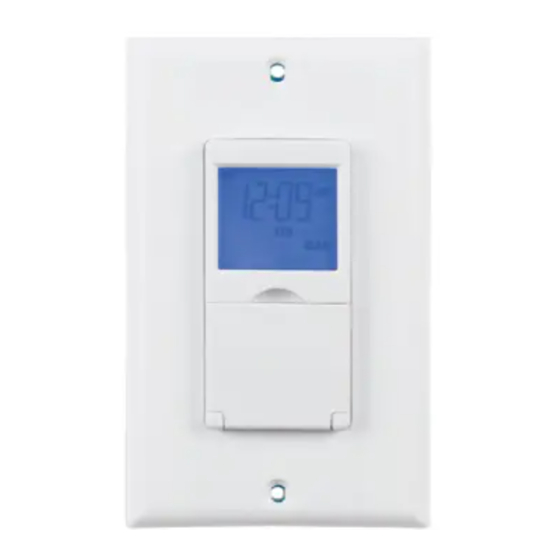
MEW-DT1875
User Instru
ns
18 ON/OFF per day
With ON/OFF/Timing shift function
With Ni-MH recharging battery
Min. Setting time: 1 minute
Max. Setting time: 7 days
Supply voltage: 125V, 60Hz
Contact rating: 15A/1875W Resistive
10A/1250W Tungsten, 10A/1250W Ballest, 1/2HP, TV-5
Operating temperature: 5°F - 122°F
Storage tempuerature: -4°F - 140°F
Insulation class: II
Protection class: IP20
Important: inductive (starting load) should always be calculated especially
when controlling lighting (because of variable inductive loads).
If this load exceeds 8 Amps then it is imperative that an electrician be used.
The manual override button allows you to turn the timer on and off at
any time.
Easy-to read large LCD screen with display clock.
Up to 18 ON events and 18 OFF events daily.
Random security setting allows to respectively postpone ON and OFF
times by 0-30 minutes to create a "lived-in" look.
Turn DST on or off with one simple push.
Before wiring, please cut OFF the power at the breaker.
When replacing an existing switch, please make sure that the neutral wire is
available in the box.
Connect the Ground wire (typically Green/Bare Copper) from the wall box
(or earth screw) to the GREEN wire of the timer using a wire nut.
Connect the Neutral wires (WHITE) from the wall box to the WHITE
wire of the timer using a wire nut.
Connect the Hot wire (BLACK) from the wall box (from the breaker) to the
BLACK wire of the timer using a wire nut.
Connect the Load wire (Black or red) from the wall box (from the light) to the
RED wire of the timer using a wire nut.
Use a wire nut to cap off the blue wire.
Before wiring, please cut OFF the power at the breaker.
When replacing an existing switch, please make sure that the neutral wire is
available in the box.
MEW-DT1875
Connect the Ground wire (Green/Bare Copper) from the wall box
(or earth screw) to the GREEN wire of the timer using a wire nut.
Connect the Neutral wires (White) from the wall box to the WHITE
wire of the timer using a wire nut.
Connect the Hot wire (Black) from the wall box (from breaker) to the
BLACK wire of the timer.
Travelers:
Traveler 1: Connect Traveler 1 (from load side) to the RED wire of the
timer.
Traveler 2: Connect Traveler 2 (from load side) to the BLUE wire of the
timer.
Traveler 1: Connect Traveler 1 (from the timer) and load's hot wire to
the COMMON terminal (usually black or copper colored) of the 3-way
switch.
Traveler 2: Connect Traveler 2 (fromt the timer) and loads's hot wire to
the COMMON terminal (usually black or copper colored) of the 3-way
switch.
Before wiring, please cut OFF the power at the breaker.
When replacing an existing switch, please make sure that the
neutral wire is available in the box.
HOT wire: Connect the Hot wire from the wall box (from breaker) to
Traveler 1 (from the timer) and the jumper, then connect
jumper to COMMON terminal (usually black or copper colored)
of the 3-way switch.
Traveler 2: Connect Traveler 2 (from the timer) to either terminal (usually
brass colored) of the 3-way switch.
Connect the Ground wire (Green/Bare Copper) from the wall box
(or earth screw) to the GREEN wire of the timer using a wire nut.
Connect the Neutral wires (WHITE) from the wall box (from breaker)
to the WHITE wire of the timer. The load's neutral should also be
connected using a wire nut.
Connect the Lights Hot wire (Black) from the wall box to the RED
wire of the timer.
STEP 4: INSTALL THE TIMER AND THEN MOUNT THE WALL PLATE
STEP 5: TURN THE POWER ON.
MEW-DT1875
Advertisement

Related Manuals for Maxxima MEW-DT1875

Summary of Contents for Maxxima MEW-DT1875
- Page 1 Traveler 1: Connect Traveler 1 (from the timer) and load’s hot wire to When replacing an existing switch, please make sure that the neutral wire is MEW-DT1875 the COMMON terminal (usually black or copper colored) of the 3-way available in the box.
- Page 2 Press the “DAY” button to to start cycling through the days of the week until you reach the desired day. Fig 05 displays the screen when “DAY” is pressed. Press and hold the “HOUR” button for 4 seconds or more to switch DST on or off. Press the “HOUR”...
Need help?
Do you have a question about the MEW-DT1875 and is the answer not in the manual?
Questions and answers