Advertisement
Quick Links
Advertisement

Related Manuals for dadada Chicago


Summary of Contents for dadada Chicago
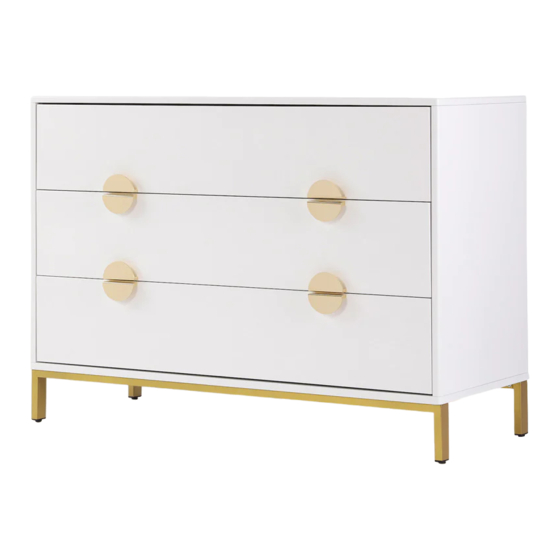
- Page 1 Chicago Dresser Assembly Instructions...
- Page 2 first moments in mind. From form to function, base materials to baby-safe finishes, each piece is created to grow alongside little ones and provide parents with a trusted foundation for their family’s most precious memories.
- Page 3 We strongly recommend assembling this unit on a soft surface, like carpet or a blanket. When moving dadada furniture, always lift the product off the floor. Dragging or sliding the furniture can both damage the product and scratch your floors.
- Page 4 Before you start to assemble, we highly recommend watching the instructional video on our website: dadadababy.com Your baby’s first dresser...
-
Page 5: Parts List
Parts List Please check to make sure you have all parts listed here before assembling. For any missing or faulty parts, please contact our Customer Care team. Customer Care contact info can be found on the last page of this manual. - Page 6 16 17 ×1 ×1 18 19 ×48 ×48 ×8 ×8 ×8 ×1 M6x10 ×8 ×4 ×6 ×6 Ø3x16 M6x35 ×16 ×8 ×6 ×18 Plastic bracket M4x20 Ø4x40 ×30 ×1 ×3 +3 E xtra +3 Extra +3 Extra +3 Extra +3 Extra...
-
Page 7: Tools Required For Assembly
Tools Required for Assembly (not included) Images for illustration purposes only. - Page 8 Overview...
- Page 9 Overview...
- Page 10 ×2 ×16 ×6...
- Page 11 ×6...
- Page 12 ×6 ×8...
- Page 13 ×8 ×8 ×4 Turn over...
- Page 14 ×8 ×6 ×4...
- Page 15 ×8 Front ×6 ×6 Put the plastic bracket insert if necessary...
- Page 16 ×18 ×16 ×8...
- Page 17 ×18...
- Page 18 ×18 WARNING This is a permanent label. Do not remove!
- Page 19 Furniture Anti-Tipping Kit Installation WARNING Children have died from furniture tipover. To reduce the risk of furniture tipover: • ALWAYS install tipover restraint provided. • NEVER put a TV on this product • NEVER allow children to stand, climb, or hang on drawers, doors, or shelves.
- Page 20 Anti-Tipping Kit The hardware provided is for masonry or drywall without available wood stud. Please contact your local hardware store if you have questions regarding your wall material. Tools Requirements...
- Page 21 ×4 ×2 Attach two brackets securely to the back top rail of the furniture using the short screws provided ,through the smaller hole. Then at the appropriate height and positioned over wood stud(s), make two marks with a pencil. Drill four 5/16 inch (8mm) diameter holes through the wall at the height you marked with pencil.
- Page 22 Drive the plastic plugs into the holes, using a harmer if needed. Attach two brackets securely to the wall using the long screws provided. 2.76’’ 2.76’’ Lace the end of the restraint strap through the larger hole in each mounting bracket. Bring both ends together and slide draw it through until all slack is removed.
- Page 23 WARNING This is a permanent label. Do not remove! How to balance the gap between the drawer fronts? Adusting the drawers to even out the spaces. Rotate the regulation screw clockwise to lower the drawer. Rotate it Rotate the regulation screw clockwise to lower the drawer. anticlockwise to raise the drawer.
- Page 24 How to remove or reassemble the drawers Follow the corresponding image below Pull the brackets under the drawer How to take out or reassemble the drawer ? inwards to release the interlocking system Follow the appropriate pictogram, pull inwards the bracket under the drawer to release the drawer Lift up the drawer and remove it care- interlock system.
- Page 25 Finish...
-
Page 26: Care / Cleaning / Maintenance
Care / Cleaning / Maintenance • Regular care, cleaning, and maintenance will extend the life of your furniture. • dadada furniture should not be exposed to direct sunlight, extreme temperatures, or moisture, as this can result in irreparable damage. • In case of water splashes, remove water immediately and wipe. -
Page 27: Limited Warranty
Limited Warranty • We guarantee this product for a period of 1 year from date of purchase. • The warranty covers any product failure which may occur due to manufacturing fault. • The warranty does NOT include normal wear and tear, or parts that are damaged due to incorrect installation and assembly, misuse, or neglect. -
Page 28: Customer Service
• Copy of your receipt • Model number of the unit purchased • Description/part number of the missing or faulty part • Quantity of the parts needed dadada Customer Care team contact information: Website: dadadababy.com Phone number: (800) 722-5798 Email address: service@dadadababy.com...
Need help?
Do you have a question about the Chicago and is the answer not in the manual?
Questions and answers