
Related Manuals for BE Ag & Industrial BE-PFS G Series


Summary of Contents for BE Ag & Industrial BE-PFS G Series
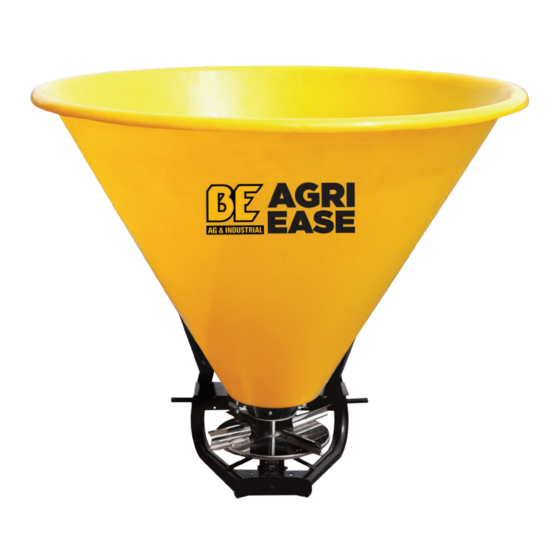
- Page 1 SPIN SPREADER BE-PFSXXXG ASSEMBLY INSTRUCTIONS FOR MODELS: • BE-PFS250G • BE-PFS400G • BE-PFS500G PURCHASE DATE MODEL NO. SERIAL NUMBER DEALER...
- Page 3 Hardware 1x Lock Nut M10 2. 1x Adjustment Lever 3. 1x Nylon Washer 4. 1x Pressure Spring 5. 1x Hex Head Bolt M10x70 6. 1x Indicator 1x Flow Adjustment Rod 8. 4x Flat Washer 10mm 9. 4x Hair Pin 10. 1x Rod Selector 11.
- Page 4 Installing Adjustment Lever Parts Required: 1. Lock Nut M10 2. Adjustment Lever 3. Nylon Washer 4. Pressure Spring 5. Hex Head Bolt M10x70 6. Indicator 7. Flow Adjustment Rod 8. Flat Washer 10mm 9. Hair Pin 10. Rod Selector 11. Pin Connector Install Adjustment Lever in Frame as shown in Figure 1.
- Page 5 Attach Rod Selector to Frame next to Flow Adjustment Rod. Secure with Pin Connector and Hair Pin. (Figure 3.) Figure Installing Braces Parts Required: 8. Flat Washer 10mm 17. Brace Left 18. Brace Right 19. Hex Nut M10 20. Lock Washer 10mm 21.
- Page 6 Placing Hopper Parts Required: 9. Hair Pin 12. Retainer Bushing 13. Seed Disc 14. Distribution Disc 15. Flat Washer 32mm 16. Snap Ring Ø38 Hopper Place Retainer Bushing in Hopper and secure firmly. (Figure 5) Figure 5. Place Seed Disc and Distribution Disc over Place Flat Washer and secure with Snap the Hopper as shown in Figure 6.
-
Page 7: Front Of Unit
Using pieces of wood (not included), create a base leveled at the same height as the Guard for easy installation. (Figure 8.) Figure 8. Direction Note position of hopper openings in relation to the front of the spreader. Figure 9. Hopper Openings Front of Unit... - Page 8 Place Hopper over Frame. (Figure 10.) Figure 9. Connect Rod Selector to Seed Disc, secure with Hair Pin. (Figure 11.) Figure 11. BE-PFSXXXGxxx ASSEMBLY INSTRUCTIONS...
- Page 9 Connect Flow Adjustment Rod to Distribution Disc. Secure with Hair Pin. (Figure 12.) Figure 12. Installing Agitator Parts Required: 22. Agitator 23. Nylon Washer 24. Hex Head Bolt M8x45 25. Lock Nut M8 Install Agitator in Hopper and secure with Bolt and Lock Nuts as shown in Figure 13.
- Page 10 Securing the Hopper Parts Required: 19. Hex Nut M10 26. Bolt Carriage M10x25 27. Flat Washer 10.5mm 28. Lock Washer Level Hopper and drill 5 orifices to attach the Frame and Braces according to Figures 14 and 17. Hole 1 Figure 14.
- Page 11 The base is made of wood can be removed. Drill the remaining 4 holes in both sides of the Hopper according to Braces. Secure with hardware to Hopper Reinforcement Bar. (See Figures 16 and 17.) Interior Figure 16. Hole 2 Hole 2 Hole 3 Hole 3...
-
Page 12: Flow Adjustment
PROPER COMPLETE ASSEMBLY LEFT RIGHT FLOW ADJUSTMENT BE-PFSXXXGxxx ASSEMBLY INSTRUCTIONS... - Page 13 BE-PFSXXXGxxx ASSEMBLY INSTRUCTIONS...
- Page 14 B RA B E R EQ .CO M WGSALES@BRABEREQ.COM PHONE: 604-850-7770 FAX: 604-850-7774 TOLL FREE PHONE: 1-877-588-3311 TOLL FREE FAX: 1-800-665-7334...
Need help?
Do you have a question about the BE-PFS G Series and is the answer not in the manual?
Questions and answers