Advertisement
Quick Links
Advertisement

Subscribe to Our Youtube Channel
Related Manuals for Tutti Bambini Tivoli 211363


Summary of Contents for Tutti Bambini Tivoli 211363
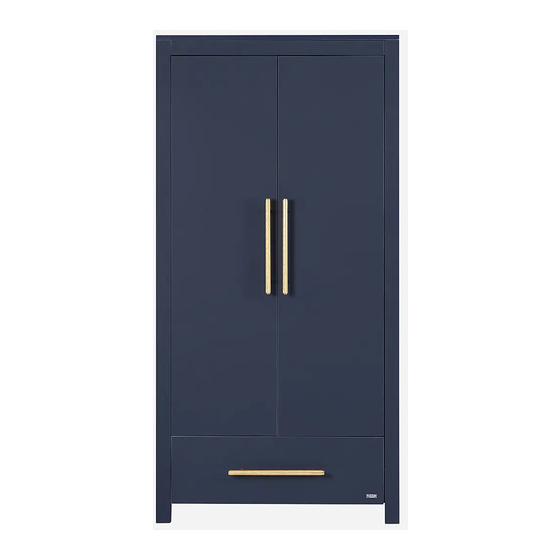
- Page 1 Tivoli Wardrobe Assembly Instructions...
- Page 2 Conforms to BS EN 14749:2005 Tutti Frutti Direct Ltd. Unit 3, 1000 North Circular Road, London, UK, NW2 7JP t: + 44 (0) 208 368 5800 e: customerservice@tuttibambini.co.uk www.tuttibambini. com Tivoli Wardrobe 211363 IMPORTANT: RETAIN FOR FUTURE REFERENCE, READ CAREFULLY...
- Page 3 • Damaged part number • A photo or video of the damaged part Tutti Bambini guarantee your product against faulty manufacture for a period of 12 months from date of receipt of purchase. This does not affect your statutory rights...
-
Page 4: Parts List
Parts List Hardware List 1pc for replacement 1 pc 1 pc 49 pc Hanging rail ends 4x16mm 6.5x40mm 2pc for replacement Hanging rail 1 pc 1 pc 50 pc support 10/6mm 15x11.5mm 1 pc 1 pc 8 pc Corner support M6x24mm Bolts 200x30mm... - Page 5 Assembling into wardrobe E x 14 PCS A x 48 PCS Assemble metal dowels A x 48. Assemble wooden dowels E x 14. www.tuttibambini.com...
- Page 6 Assembling into wardrobe B x 8 PCS B x 2 PCS Assemble locking nuts 8 x B. Assemble locking nuts 2 x B. B x 13 PCS B x 2 PCS Assemble locking nuts 13 x B. Assemble locking nuts 2 x B. www.tuttibambini.com...
- Page 7 Assembling into wardrobe B x 13 PCS B x 10 PCS Assemble locking nuts 13 x B. Assemble locking nuts 10 x B. L x 6 PC D x 4 PCS F x 2 PC Attach handle 2 x F to door. At tach door hinges 6 x L to the doors At tach doors to side www.tuttibambini.com...
- Page 8 Assembling into wardrobe R x 1 PCS N x 1 PCS O x 1 PCS Attach hanging rail supports N to the led Assemble hanging rail hanging rail R .then assblem to the shelf using 1 x O screws M x 1 PCS G x 1 PCS P x 1 PCS Q x 3 PCS...
- Page 9 Assembling into wardrobe C x 8 PC K x 8 PC H x 1 PC 4x16mm I x 1 PC F x 1 PC G x 1 PC Assemble anti falling hardware H x 1, I x 1, Assemble the drawer G x 1.
- Page 10 9. WARNING: In order to prevent overturning this prouduct must be used with proper wall attachment devices. 10. Any additional or replacement parts are obtained from the Tutti Bambini or its distributor. Product development dictates that components may occasionally differ from the ones shown in the diagrams of these instructions.
- Page 12 Notes 24/09/2018 12:39...
- Page 13 Join Us Follow us on Facebook TuttiBambiniUK Follow us on Twitter TuttiBambiniUK Follow us on Instagram TuttiBambiniUK 102-0070 Tutti Bambini Bed assembley instructions.indd 11 24/09/2018 12:39...
- Page 14 .com 102-0070 Tutti Bambini Bed assembley instructions.indd 12 24/09/2018 12:39...
Need help?
Do you have a question about the Tivoli 211363 and is the answer not in the manual?
Questions and answers