
Related Manuals for Wuloo WL-888


Summary of Contents for Wuloo WL-888
- Page 1 Wuloo Wireless Intercom System Model: WL-888 FCC ID: 2AQQS-888 E-mail: support@wulooofficial.com Facebook page: @WulooOfficial...
- Page 2 User-friendly design. This product is shipped with a quick start guide and detailed instructions. You can also contact the Wuloo service team for product related questions and help at any time! We are dedicated to providing customers with a 100% satisfactory service.
-
Page 3: Table Of Contents
Contents 1. What’s Included in The Box? 1.1 Intercom Overview 2. Getting Started 2.1 Connect AC Power 2.2 Set Channel & Code 2.3 Make an “Address List” 2.4 Test Connecting 2.5 Distribute Different Stations to Different Users 2.6 Notes 3. Advanced Settings 3.1 Volume Setting 3.2 Power ON/OFF 3.3 Channel &... -
Page 4: What's Included In The Box
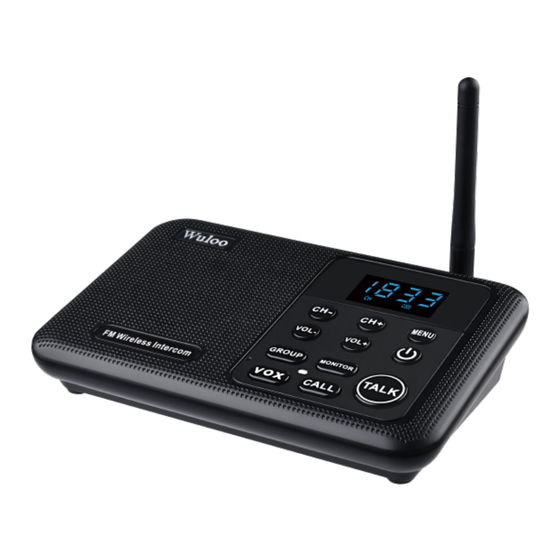
1. What’ s included in the Box 1.1 Intercom Overview Every intercom station has the following accessories. If you purchase additional stations, each new intercom station will come with its own set of the accessories listed below. Power Port (DC 5V 1A) Channel Number Speaker VOL- / VOL+... - Page 5 2.1Connect AC Power Every intercom is equipped with an adapter (DC 5V1A) and a cable. Please connect every intercom station to your local AC power. We kindly suggest that you use the original adapter and cable that was included in your packaging to turn on your device(s).
- Page 6 This intercom is an updated version. It will restore the original Channel&Code number within 1 minute of intercom inactivity after you use”Lock Channel&Code number ” function. How to use”Lock Channel&Code number” function: After you set a Channel&Code number(num- bers in the Screen stop flashing means you finished setting) and you want to lock this Channel&Code number as the original number of this intercom station, you can Press&Hold the MENU button for 3 seconds (you can heard the beep sound after 3 seconds) to lock this Channel&Code number.
-
Page 7: Test Connecting
2.4 Test Connecting The steps for testing your connection are as follows: Step 1:Separate intercoms at least 5 meters apart to prevent interference Step 2: Set up each intercom to have the same code, but different channels. For this test, Intercom A will have channel 03, code 01 while Intercom B will have channel 05, code 01 . -
Page 8: Notes
2.6 Notes 1. You will need to press and hold the TALK button when TALK you want to speak to another user. Simply clicking the TALK button is an invalid entry; TALK 2. You cannot press the TALK button on both sides of the TALK system at the same time. -
Page 9: Advanced Settings
3.Advanced Settings 3.1 Volume Setting This intercom has 8 levels of volume available. Press VOL+/VOL- to set the volume. 8 levels of volume available 3.2 Power ON/OFF Press and hold the ON/OFF button for about 3 seconds to open/close the intercom. You can close it when you don’t want to get any voice interference. -
Page 10: Functions Description
This intercom is an updated version. It will restore the original Channel&Code number within 1 minute of intercom inactivity after you use”Lock Channel&Code number ” function. How to use”Lock Channel&Code number” function: After you set a Channel&Code number(num- bers in the Screen stop flashing means you finished setting) and you want to lock this Channel&Code number as the original number of this intercom station, you can Press&Hold the MENU button for 3 seconds (you can heard the beep sound after 3 seconds) to lock this Channel&Code number. -
Page 11: Group
“GROUP” function update: Add a switch for GROUP function For Wuloo intercom system have sold a huge amount in USA, so some customers will get interference from other home or pick up strange conversation when your neighbors also bought Wuloo intercom system. -
Page 12: Monitor
3.4.3 MONITOR Put the intercom in the room you wish to have monitored (for example, a baby’s room), and then press the MONITOR button . This intercom unit will stay in transmit mode, where it will constantly send MONITOR audio to any intercom unit with same channel and code. The monitor function has a 10-hour time limit. If you need to monitor for a longer period of time, you will need to reset it again every 10 hours. -
Page 13: Call
3.4.5 CALL Set the channel and code to the same settings as the intercom you want to call, then press the CALL button . Both your intercom and other user’s intercom will ring. Other intercoms can hear the CALL ring, they can press and hold the TALK button to speak to you and release the TALK button TALK TALK... - Page 14 Present “VOX” Press the VOX button to enter VOX mode, and you do not need to press and hold the TALK button to speak Notes: 1.VOX mode and MONITOR mode are very similar, but also have a few key differences: Monitor mode VOX mode An intercom unit in MONITOR mode...
- Page 15 Usage Scenario 2:The general manager’s office has something important to tell the financial department and needs to ask the financial manager to come to his office right away. In this case, the general manager can use the CALL function to call the head of the financial department by pressing and holding the TALK button to send the message.
-
Page 16: Additional Notes
4.Additional Notes Notes: 1. The intercom system is a real-time communication system which has no memory or storage function. Therefore, you cannot receive any information while you are talking to other users. 2. Please note that you will need to set the same channel and code if you want 2 intercom stations to receive communication. -
Page 17: Adding Additional Units
The intercom units 1. Try setting up the units in different locations. If the units work in a different do not work location but not in your home, the issue may be with the walls of your home or office. 1. -
Page 18: Warranty
We will do our best to answer you within 12 business hours. You can also visit our official Facebook page and @WulooOfficial. We will reply to you immediately if our admin is online, or usually within 6 hours if the admin is not immediately available. Thank you very much for choosing Wuloo! 8.Warranty We believe in honesty and reliability for all our products.
Need help?
Do you have a question about the WL-888 and is the answer not in the manual?
Questions and answers