Advertisement
Quick Links
Please Contact Moen First
For Installation Help, Missing or
Replacement Parts
(USA)
1-800-BUY-MOEN (1-800-289-6636)
WWW.MOEN.COM
(Canada)
1-800-465-6130
WWW.MOEN.CA
Por favor, contáctese primero
con Moen
Para obtener ayuda de instalación, piezas
faltantes o de recambio
011 52 (800) 718-4345
WWW.MOEN.COM.MX
Veuillez d'abord contacter Moen
En cas de problèmes avec l'installation,
ou pour obtenir toute pièce manquante
ou de rechange
1-800-465-6130
WWW.MOEN.CA
• HELPFUL TOOLS For safety and ease of garbage disposal replacement, Moen recommends the use of these helpful tools.
• HERRAMIENTAS ÚTILES Para que el cambio del triturador sea fácil y seguro, Moen le recomienda usar estas útiles herramientas.
• OUTILS UTILES Par mesure de sécurité et pour faciliter le remplacement du broyeur à déchets, Moen suggère l'utilisation des outils suivants.
Optional Dishwasher Connector Kit
Kit optativo para conexión del lavavajillas
Trousse optionnelle de raccord au lave-vaisselle
Adjustable Wrench
Llave ajustable
Clé anglaise
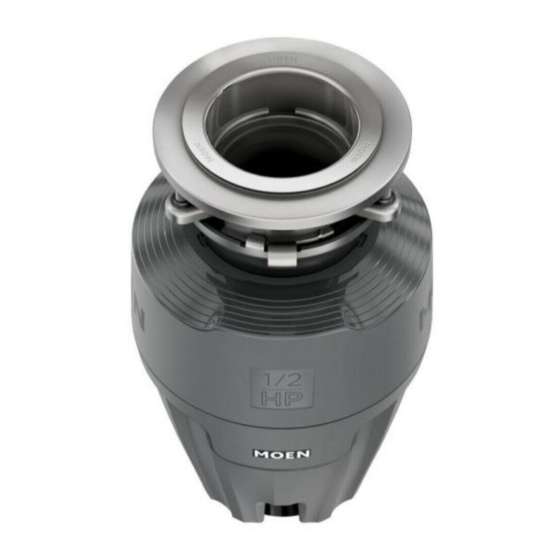
GARBAGE DISPOSAL
TRITURADOR DE DESPERDICIOS
BROYEUR À DÉCHETS
Inscrire les numéros du modèle et de série du produit acheté :
Flashlight
Linterna
Lampe de poche
Safety Glasses
Adjustable Pliers
Gafas de seguridad
Alicate ajustable
Lunettes de sécurité
Pinces réglables
Sealant
Sellador
Mastic
Image is for reference only
(Style varies by model)
La imagen es sólo como referencia
(El estilo varía por el modelo)
Cette image est fournie à titre iinformatif seulement
(Le style varie selon le modèle)
Record Purchased Model and Serial Number:
Registre el modelo adquirido y su número de serie:
(Save instruction sheet for future reference)
(Guarde la hoja de instrucciones para futura referencia)
(Garder ces directives pour référence ultérieure)
Register Online:
Regístrese en línea:
S'enregistrer en ligne :
www.moen.com/product-registration
Flathead
Pencil
Screwdriver
Lápiz
Destornillador
Crayon
de punta chata
Tournevis à
tête plate
Phillips
Screwdriver
Destornillador
Phillips
Tournevis
Phillips
Wire Strippers
Pelacables
Pince dénude- ls
INS10719C - 6/22
Required for Optional Hardwire Installation
Necesario para la instalación optativa del
cableado permanente
Requis pour l'installation câblée optionnelle
Wire Cutters
Corta alambre
Pince coupe- ls
Cable Connector
Conector para cable
Connecteur de câble
Wire Nuts
Tuercas para cables
Capuchons de
connexion
Advertisement


Need help?
Do you have a question about the GT33c and is the answer not in the manual?
Questions and answers